All serious hiking enthusiasts know the struggle of finding the best food to bring on the trail. That’s why we created this guide with tips and gear to help prep and pack the best backpacking meals for your next adventure.
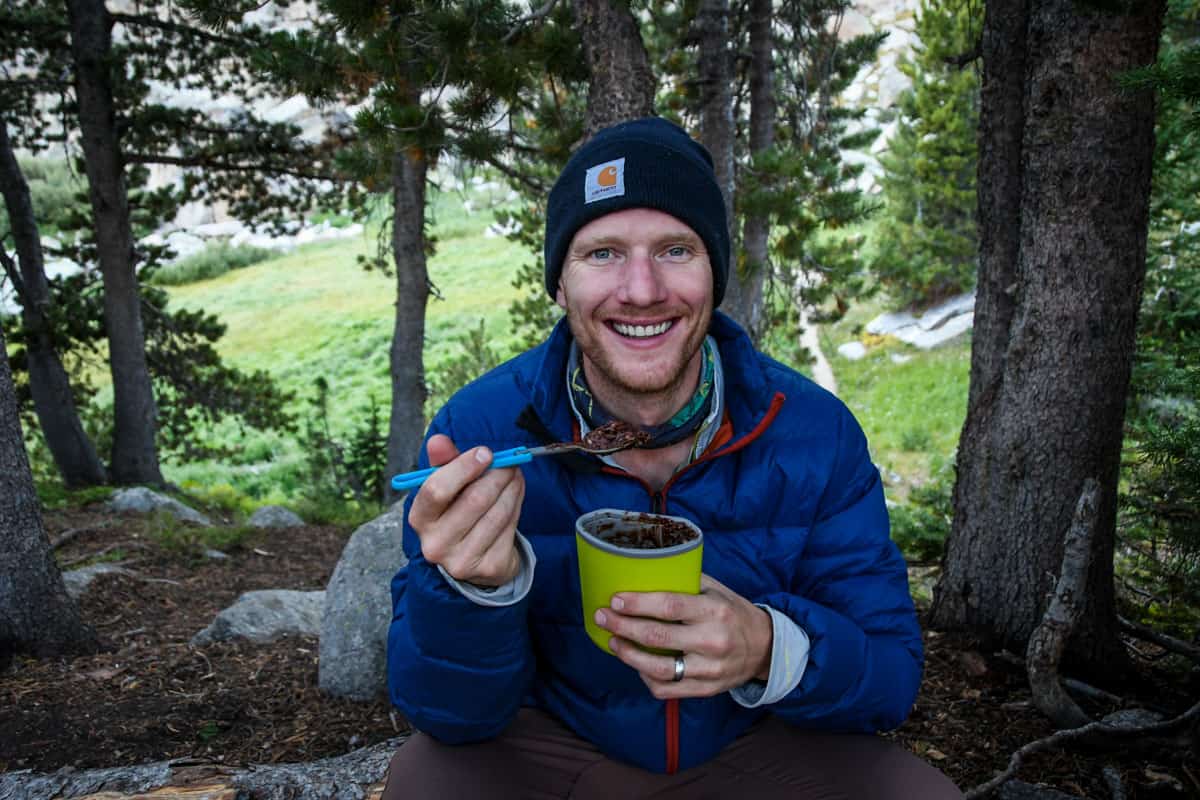
When planning a backpacking trip, it’s easy to get caught up in deciding where to go and which backcountry permits to put in for, as well as what gear and clothing you’ll need. Food is often an afterthought because, let’s face it, backpacking meals aren’t usually the most exciting.
Backpacking food should be an important consideration. It’s very literally what fuels your body as you push it to the limits on the trail.
With that in mind, you can’t simply pack a couple of sandwiches, a jerky stick, and a Ziploc baggie of trail mix the way you might for a fairly straightforward day hike. Good backpacking meals require a bit more thought.
Ideally, you want to choose backpacking meals that are nutritionally balanced, nourishing (and tasty!), and physically lightweight. Luckily, doing exactly that has never been easier.
In this guide, we’re sharing delicious, easy backpacking meals you can make yourself, honest recommendations on some of the best store-bought dehydrated backpacking meals, plus tips on everything from proper food storage to what gear to buy for cooking.
Article contents
- Meal planning for a backpacking trip
- Easy backpacking meal ideas
- Best dehydrated backpacking meals
- DIY backpacking meals
- Tips for dehydrating meals
- Backpacking gear for meal prep
- Tips for backpacking food prep and packing

Meal planning for a backpacking trip
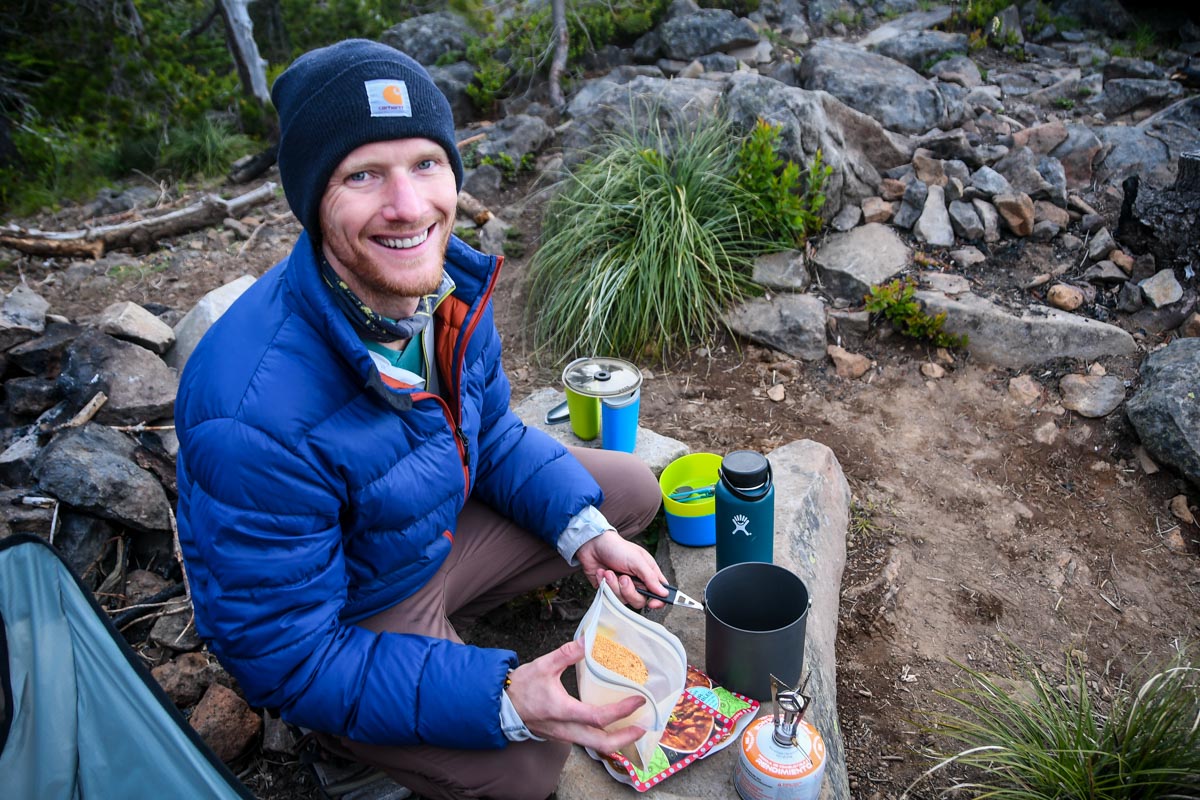
Before we share some of our favorite go-to easy backpacking meals, it’s important to understand some of the basics.
Difference between camping meals and backpacking meals
If you’re somewhat new to backpacking or camping, you may not realize that backpacking meals are very different from camping meals.
When camping, you’re typically at one campground with a fire pit, or grill. Your vehicle is likely parked within reasonable walking distance. This is technically car camping, but it’s most often referred to as simply “camping.”
Camping generally means that you don’t have to worry about pack weight, so you can be as extravagant as you wish with meals.
In contrast, backpacking meals are meant to provide nourishment and sufficient energy and calories for multiple days in the wilderness — but they also need to be lightweight.
With that in mind, avoid foods known to cause blood sugar levels to spike, which are primarily those high in sugar and carbs. Because weight and bulk are major concerns, you also want to avoid any physically larger food items, like canned goods.
On that same note, keep in mind that Leave No Trace principles apply in the backcountry, and you’ll have to carry all your food waste (including packaging!) out with you.
How much food should you take backpacking?
While there are many variables, the average adult needs approximately 200-300 calories per hour while doing a relatively strenuous activity like hiking. While backpacking, it’s better to consume more calories, not less.
Assuming you’re hiking steadily for about eight hours, that works out to about 2,400 calories per person, per day. To be safe, bump that up to 2,500 calories minimum, or 1.5-2.5 pounds of food.
You should take into account your body mass, eating habits, and the type of hiking you’ll be doing.
Someone on a steep 14-mile hike needs significantly more calories than someone logging an easier eight miles. Along the same lines, someone with a larger build may require additional calories.
For longer backpacking trips, you may want to consider using a more in-depth calorie calculator.
What kinds of food should you bring on a backpacking trip?
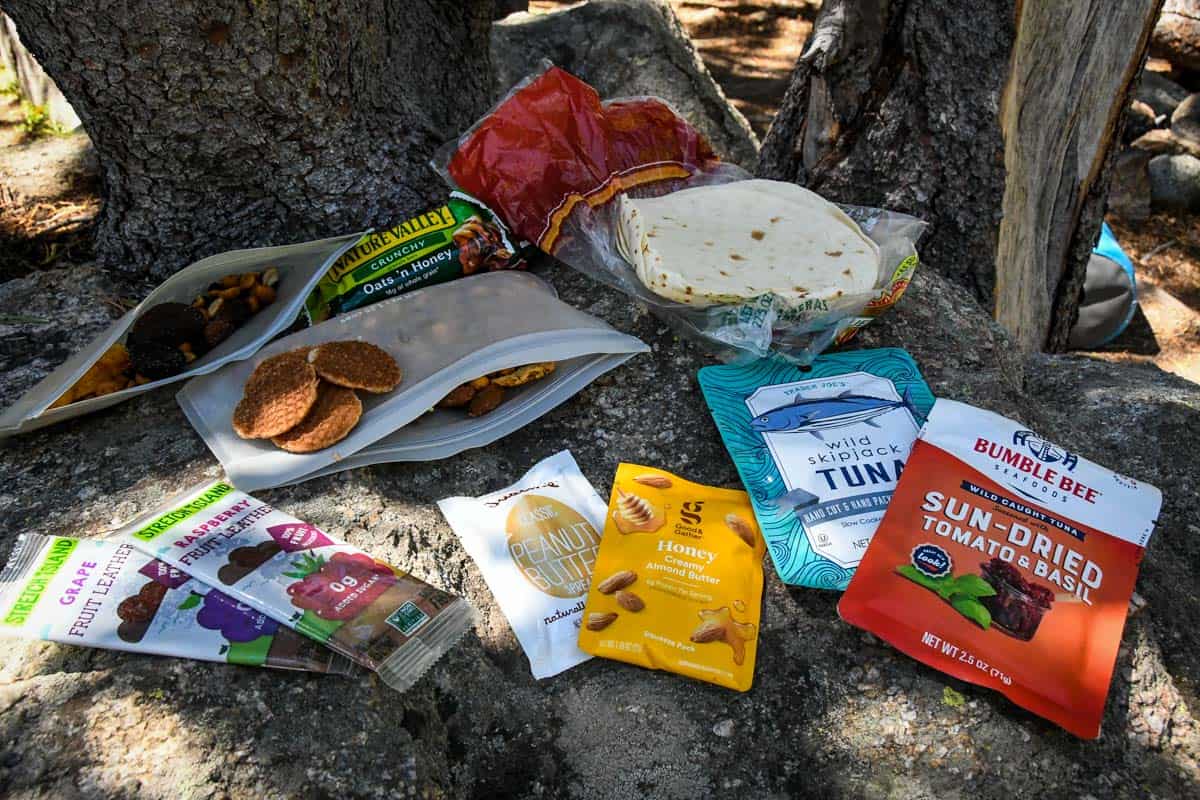
The best backpacking meals and snacks are a combination of complex carbs, proteins, healthy fats, sodium, and natural (not refined!) sugars. It’s also important to bring foods you genuinely like, in order to stay satisfied and motivated on the trail.
Most foods should be shelf-stable, items that won’t spoil after a few days. A few fresh foods such as cured meats, bread, fruit, or veggies, are also fine — and even encouraged, for variety.
These are some staples that should be on your backpacking meals shopping list:
- Instant oatmeal
- Powdered milk
- Nut butter – great with oatmeal, cookies, crackers, or even noodles!
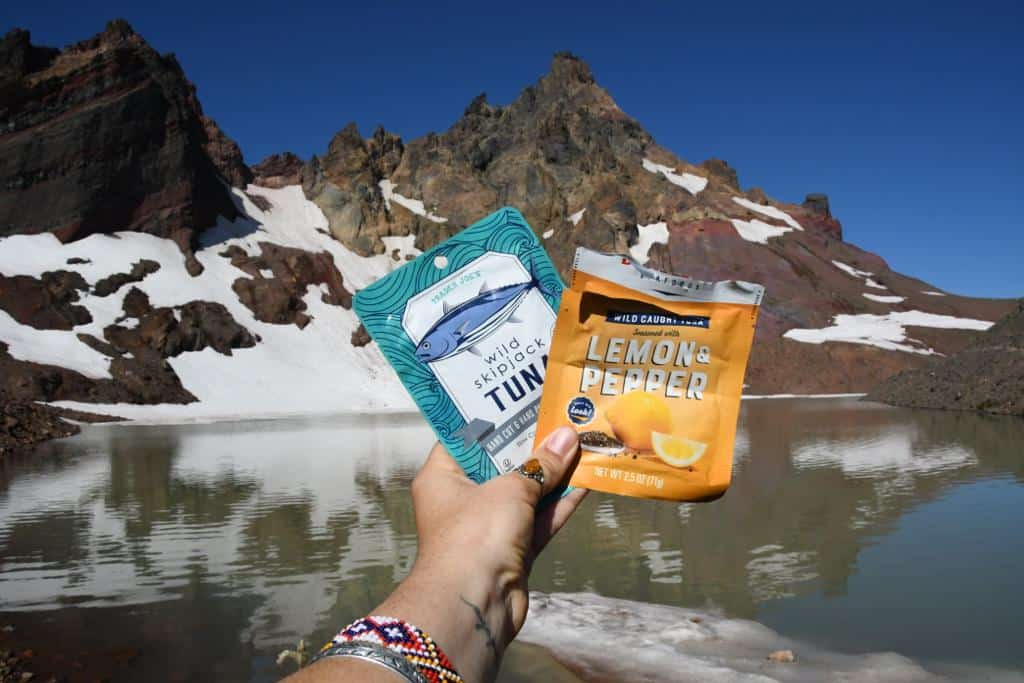
- Tuna or salmon (in foil packets instead of cans)
- Powdered eggs
- Pasta and/or rice, dehydrated to save pack weight
- Pancake mix
- Cured meats like prosciutto or salami
- Hard cheese such as Parmesan or gouda (aim to eat it in the first few days!)
- Soup packets
- Seasoning packets for flavoring meals
- Stock cubes
- Small container of oil for cooking (repurposed applesauce pouches and travel-size toiletry bottles are great containers!)
- Nutritional yeast – a vegan staple for adding flavor
- Coffee
- Tea bags
- Hot chocolate (with marshmallows!) or chai packets for a treat
- Pre-packaged backpacking meals – we’ve rounded up the best ones below
Easy backpacking meals
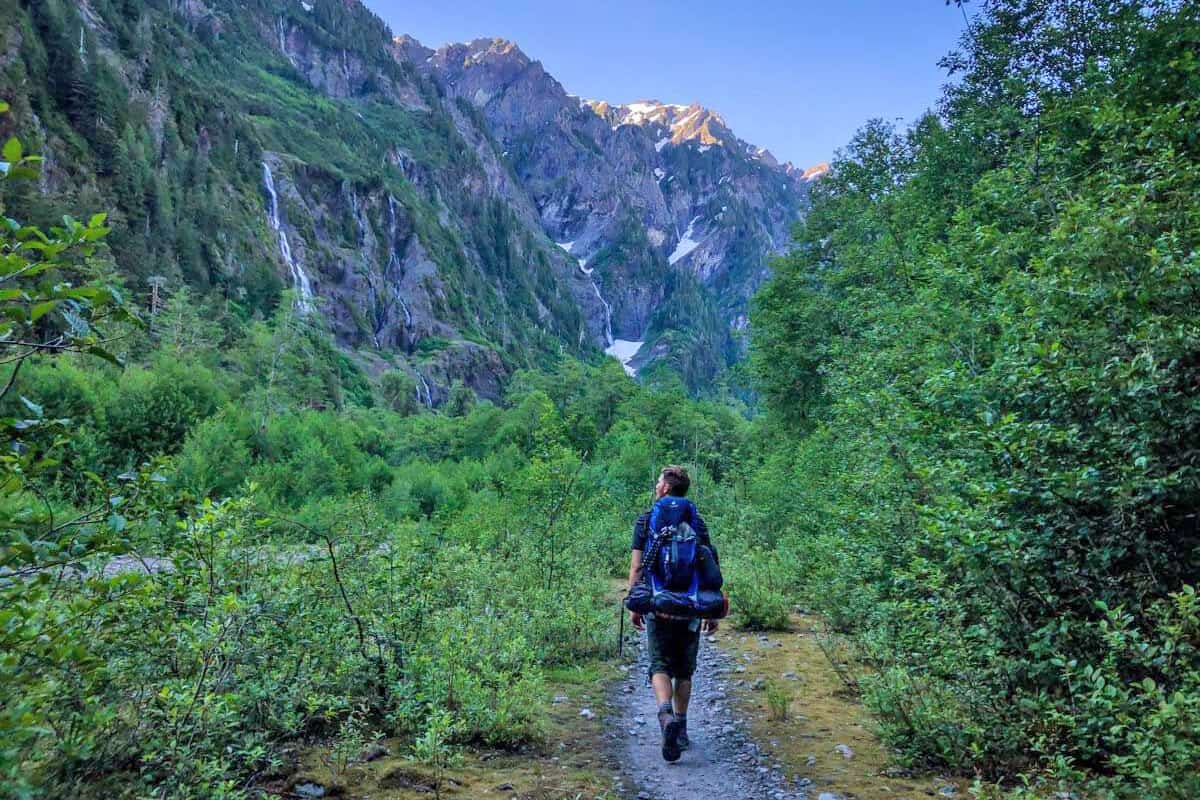
Despite a longstanding reputation, there’s no “rule” that says backpacking meals should be tasteless.
Making your own backpacking meals is easier than you probably thought. The only thing to be mindful of is that you’ll need access to water for cooking.
Here are some ideas for easy backpacking meals you can DIY, and the best store-bought dehydrated backpacking meals.
Energizing oatmeal
Mix instant oatmeal with boiling water and powdered milk over your stove. For taste and energy, add cinnamon, chia seeds, chocolate chips, banana chips, or dried berries.
To keep things simple yet switch it up, make oatmeal on multiple days mixed with instant coffee or nut butter for a boost of caffeine and protein.
Quesadillas
Tortillas are lightweight and last for days. They also cook quickly, conserving fuel.
Stuff tortillas with hard cheese and dried veggies like bell peppers, corn, or mushrooms, then heat over your stove. Don’t forget condiments!
Bonus: use leftover tortillas to make quick breakfast burritos or lunchtime wraps with tuna or chicken packets!
Egg scramble
Mix egg crystals (we’re fans of OvaEasy) with water and cook to make a fuss-free, protein-rich meal that works well for breakfast or dinner.
Add eggs to just about any meal to bump up the protein, and pair them with a tortilla for a simple, tasty burrito.
If you have a dehydrator, you can add dried veggies for more flavor and fiber.
Mac & cheese
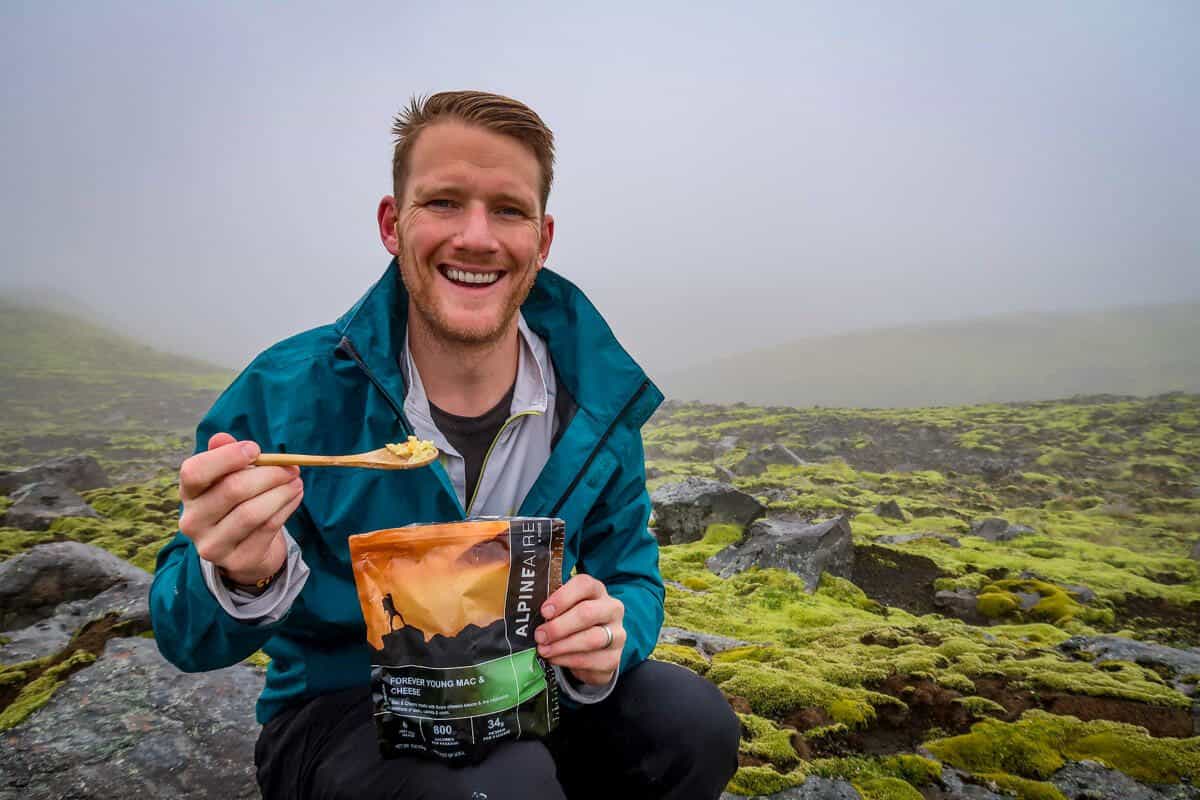
For this easy backpacking meal, you’ll need a box of store-bought mac and cheese, plus some dehydrated vegetables. Bulk it up with powdered milk, jerky or salami, and a dash of your favorite condiments.
Mix all ingredients into a pot with a splash of water and bring to a boil. Stir the mixture frequently while it simmers and devour it!
Veggie risotto
Although rice is somewhat tricky to clean up while backpacking, it’s fantastic for serving a crowd. Risotto, short-grain rice, is best for backpacking because it cooks up creamier and sticks together well.
Using dehydrated or instant risotto, heat the grains with a couple spoonfuls of powdered milk, a stock cube, water, and a little oil. Add dehydrated vegetables like mushrooms, zucchini, squash, and bell peppers.
Once the risotto is cooked, serve with cheese or nutritional yeast, and seasoning.
Even with these easy backpacking meals, it’s nice to have a few pre-packaged dehydrated meals — an even easier option for long trail days or when you want some variety.
Best dehydrated backpacking meals
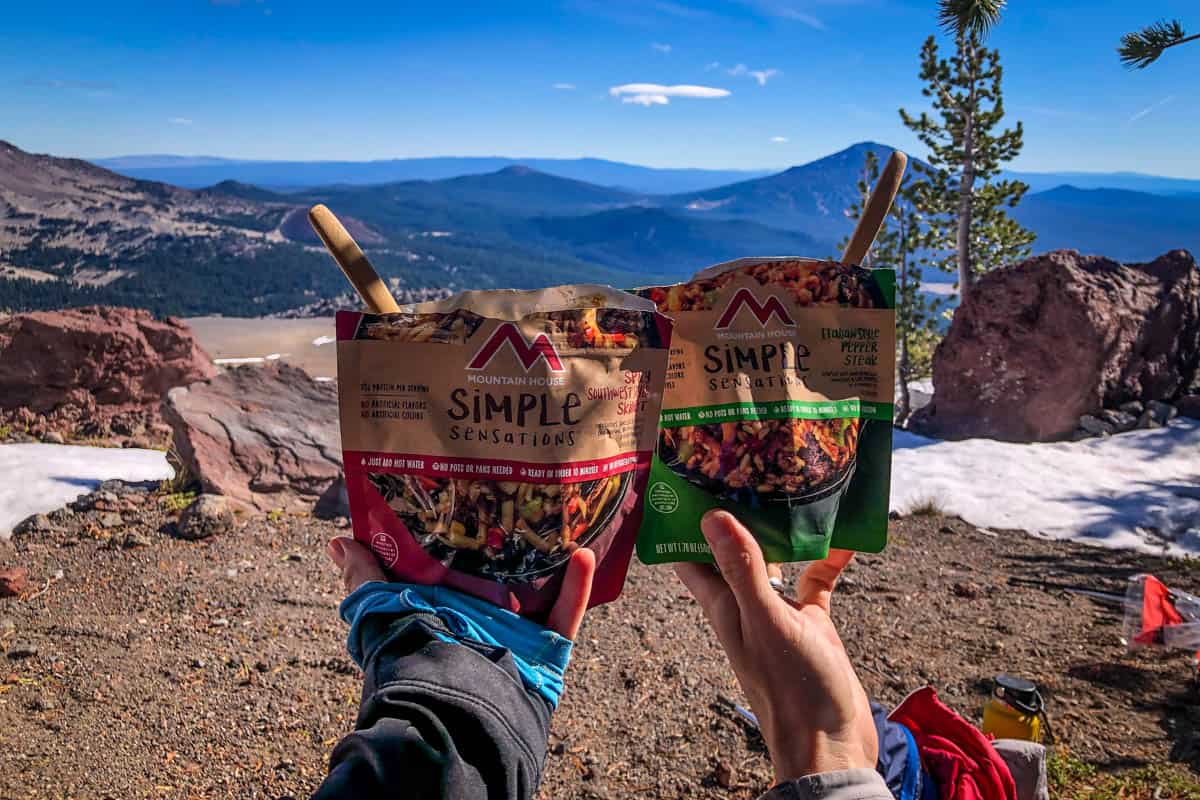
Not all ready-to-heat dehydrated backpacking meals are created equal! These brands consistently deliver great flavor and texture.
- Alpineaire: uses a process similar to hydration to retain 98% of the nutrients in the foods.
- Peak Refuel: protein-heavy backpacking meals made using real meat. Alongside staples like beef stroganoff and chicken teriyaki, they offer scrumptious granola and breakfast skillets.
- Backpacker’s Pantry: a sustainably-minded brand catering to vegans and vegetarians, while meat options use USDA beef and chicken.
- Trailtopia: Trailtopia breakfasts are particularly good, especially the oatmeal or egg scramble. They’re also known for yummy desserts including cheesecake and rocky road.
- Heather’s Choice: healthy meals made with all-real ingredients free from artificial flavors and preservatives. High in calories and healthy fat, the best-selling salmon chowder uses real wild-caught Alaskan salmon.
DIY dehydrated backpacking meals
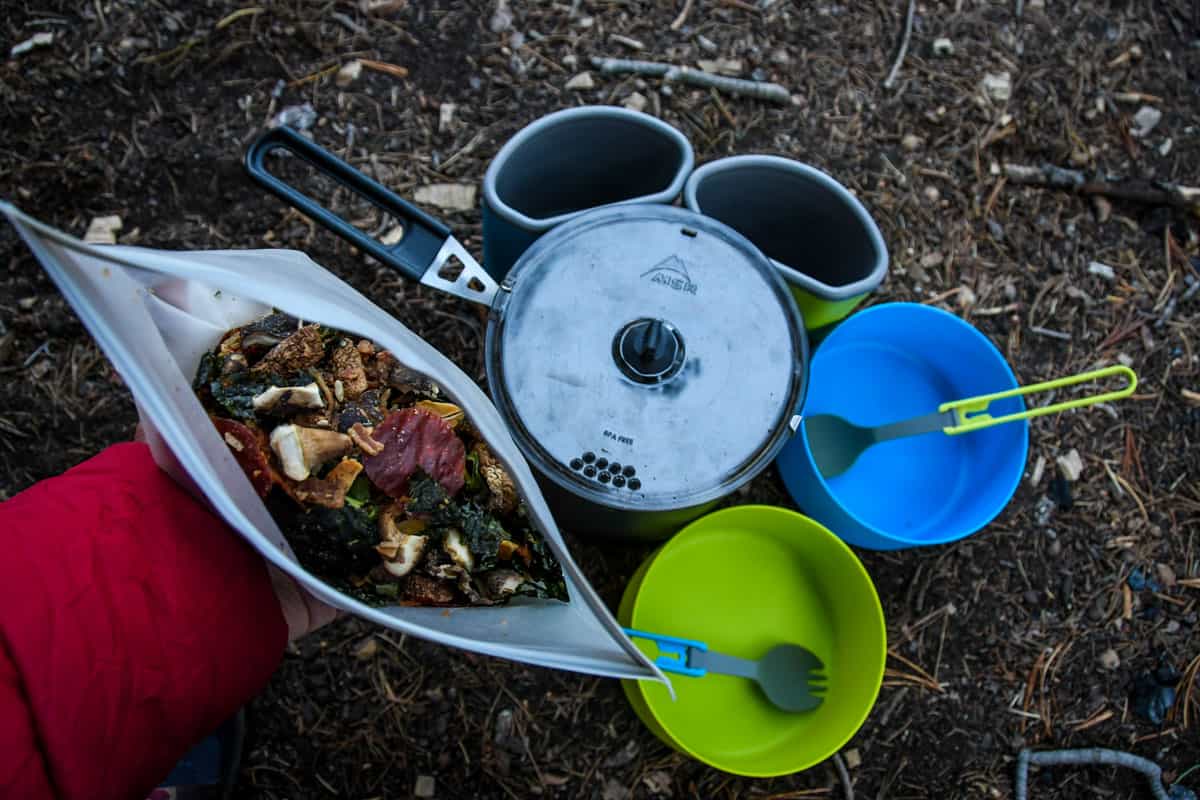
We love making our own backpacking meals using our dehydrator to bring on backcountry trips. We’d highly recommend trying it out yourself!
Why make your own backpacking meals?
It saves money
Since buying pre-made backpacking meals can be really expensive, making them ourselves saves a ton of money.
If you plan to do at least 3 days/nights in the backcountry during a summer season, we think making them yourself is well worth the time.
It’s easy
Dehydrating meals is much simpler than you might think. We like to turn our favorite meals into backcountry meals. With a little practice, you’ll figure out what items dehydrate best!
They taste better!
Honestly, we find most pre-made backpacking meals to be a bit, well… blah. After choosing between beef stroganoff and chicken pot pie for the 50th time, we figured that we could make something better. And we were right!
We can pack them with veggies (which are typically few and far between in the store-bought meals), and we can come up with exciting flavor combos.
Looking for a dehydrator? We have this one, which is budget-friendly and good for beginners!
7 DIY Backpacking Meal Ideas
We’ve experimented with lots of different recipes and have turned some of our favorite meals into DIY backpacking staples!
1. Breakfast scramble
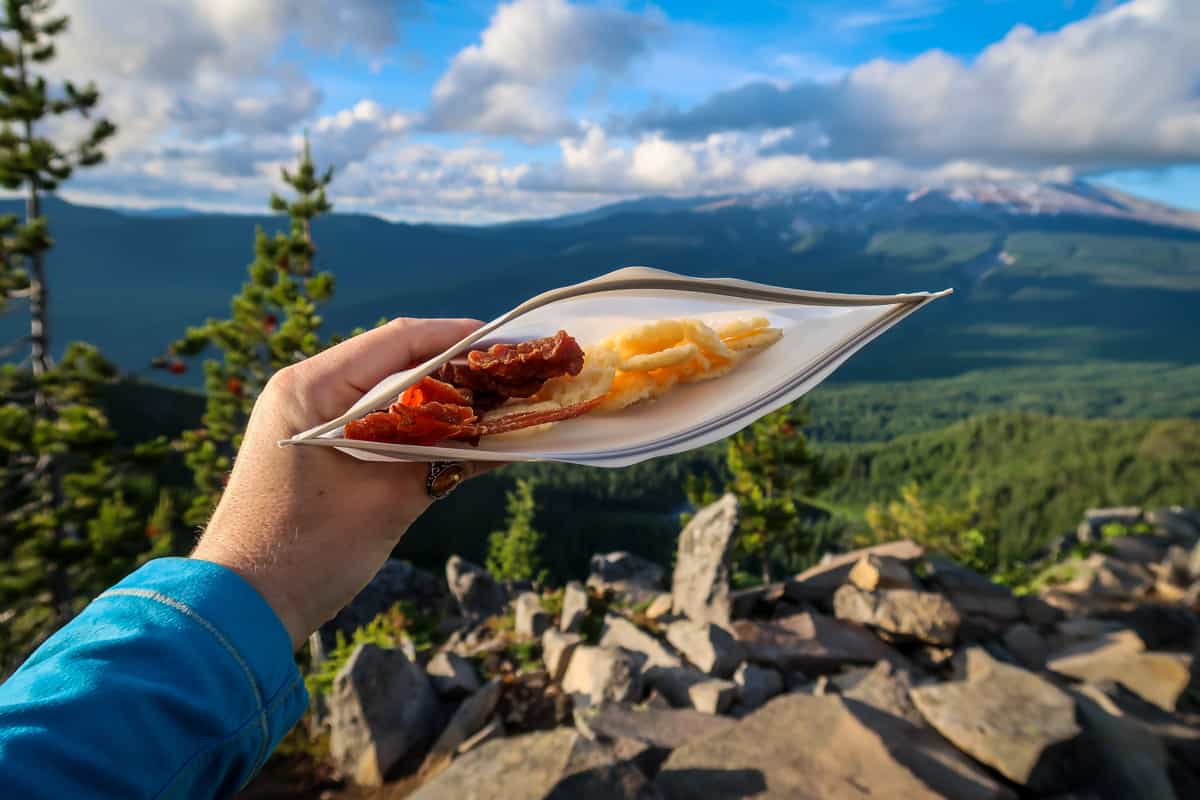
For a hearty morning meal (or hey, you could make it at night too!), nothing beats a breakfast scramble.
- powdered eggs (you can buy these at REI)
- freeze dried hashbrowns (you can buy these at most grocery stores)
- Bacon bits
- variety of dehydrated vegetables: I like green onions, bell peppers, jalapenos
- Dehydrated sriracha “dimes”: I squeeze a coin-sized amount of sriracha on a silicone liner sheet (like these) and dehydrate them. They take a while to fully dehydrate, but they work well for adding to any meals we want to “spice up”!
- salt, pepper, garlic powder
- Optional: pack a tiny bottle of sriracha or an individual packet of hot sauce for serving
2. Chicken Burrito Bowl
One of our all-time favorites, this recipe can be amended based on your personal preference!
- Minute rice
- Dehydrated chicken: I’ve found canned chicken works best
- You can omit the chicken to make this vegetarian
- dehydrated corn (I like dehydrating the fire roasted corn from Trader Joes)
- variety of dehydrated vegetables: I like green onions, bell peppers
- dried jalapenos
- Dried black beans
- Dried cilantro
- Dried pineapple (optional, but adds a nice flavor!)
- Dehydrated sriracha “dimes”: I squeeze a coin-sized amount of sriracha on a silicone liner sheet (like these) and dehydrate them. They take a while to fully dehydrate, but they work well for adding to any meals we want to “spice up”!
- Seasonings: salt, pepper, cumin, garlic powder, cayenne (optional)
- Optional Toppings:
- pack a tiny bottle of sriracha or an individual packet of hot sauce for serving
- small bag of tortilla chips (they’ll get crushed in your pack, but it’s a nice topping!)
3. Camp Oatmeal
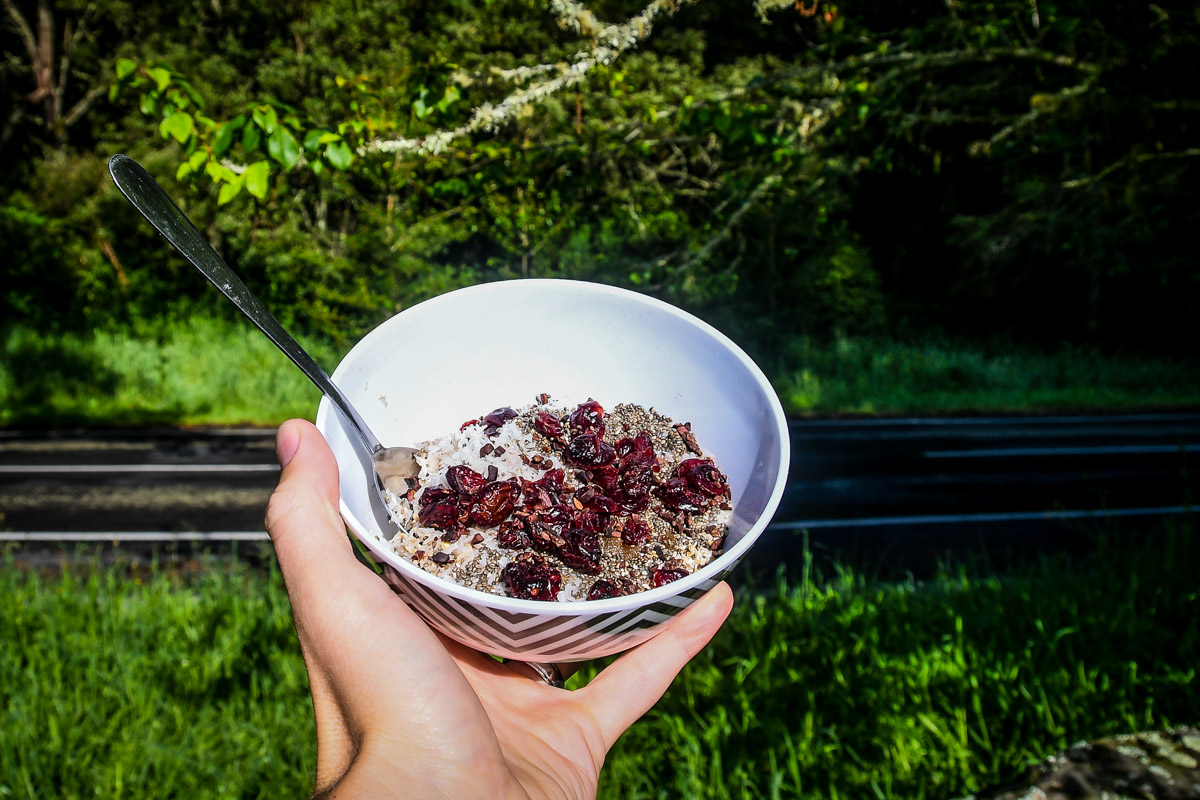
Super simple and healthy breakfast with endless flavor combinations!
- Minute oats
- Chia
- Coconut sugar (or brown sugar)
- Coconut milk powder
Optional flavor combos
- Dried apples + cinnamon + walnuts
- Dried cherries or cranberries + cocoa powder + chocolate chunks
- Dried pineapple + coconut flakes
4. Adult Mac ‘n Cheese
After a long hike, there’s not much that tastes better than this “grown up” twist on a classic.
- Mac ‘n cheese box (I like Annie’s white cheddar): cook the pasta, dry it off, then dehydrate it. This means it will require less water and cooking time in the backcountry.
- Dried green onions
- Dried jalapenos (optional)
- Dried garlic
- Bacon bits
- Seasonings: packet of cheese powder that comes with the mac ‘n cheese + garlic, salt and pepper
- Optional Topping:
- Crispy French fried onions (this is a topping, so store it in a separate baggie)
5. Spicy Peanut Noodles
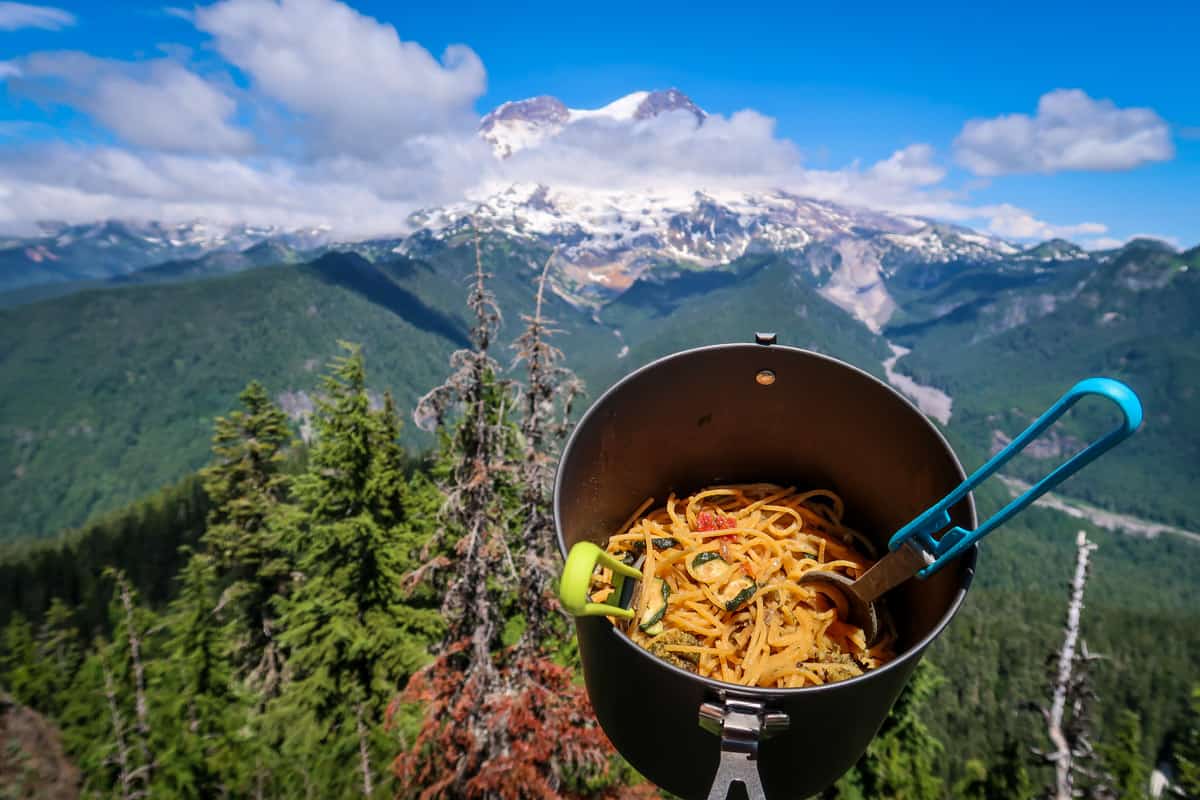
Spicy and creamy, this will warm you up and reenergize you after a long hike!
- Rice noodles
- Dehydrated chicken (optional): I’ve found canned chicken works best
- Green onions
- Jalapenos
- Dried carrots
- Dried cilantro
- Sesame seeds (optional)
- Dehydrated sriracha “dimes”: I squeeze a coin-sized amount of sriracha on a silicone liner sheet (like these) and dehydrate them. They take a while to fully dehydrate, but they work well for adding to any meals we want to “spice up”!
- Coconut milk powder
- Peanut butter powder
- Seasonings: salt, pepper, ginger, garlic powder
- Optional Toppings:
- Peanuts
- individual hot sauce packet
- Individual packet of soy sauce
6. Kimchi Fried Rice
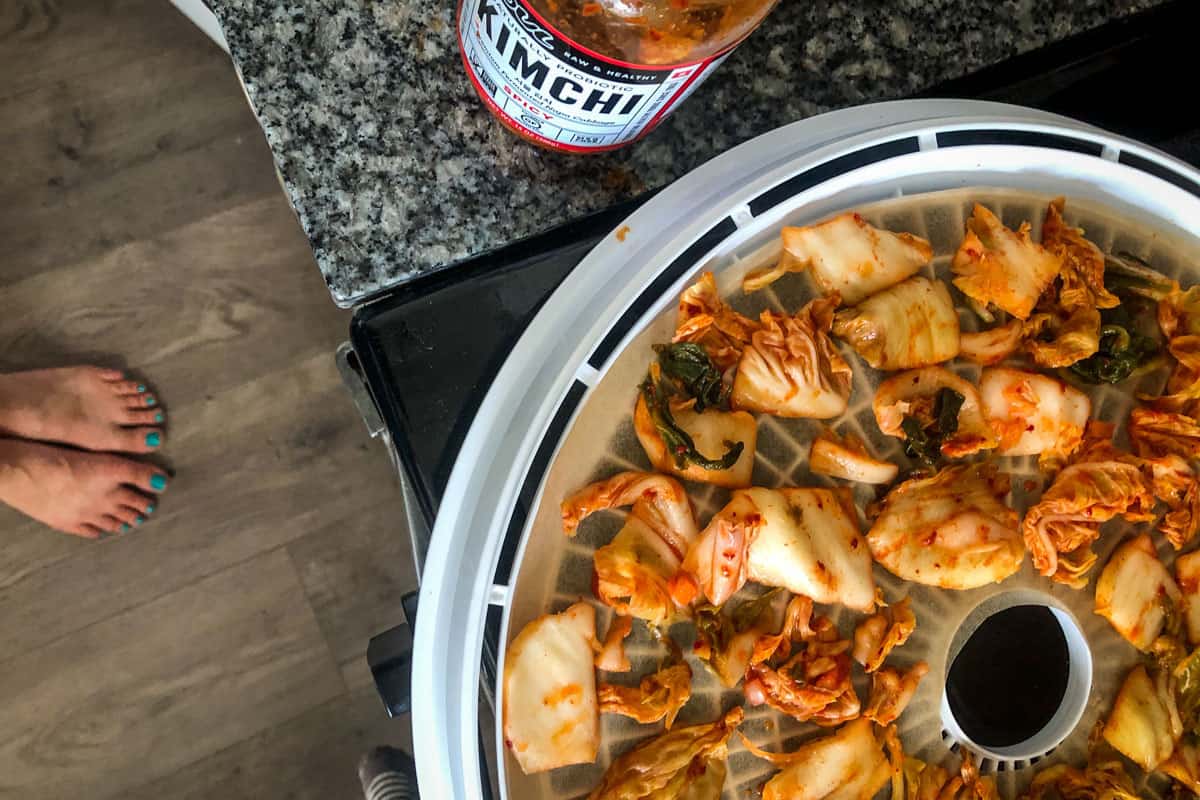
We lived in Korea, and love this meal! We decided to try to make it into a backcountry dish and were surprised by how well it turned out! It’s not authentic, but it’s a good replica.
- Minute rice
- Dehydrated kimchi (this actually dehydrates very nicely)
- Green onions
- jalapenos
- Bacon bits (optional)
- Dried peas
- Dried cilantro
- Dried garlic
- Dehydrated sriracha “dimes”: I squeeze a coin-sized amount of sriracha on a silicone liner sheet (like these) and dehydrate them. They take a while to fully dehydrate, but they work well for adding to any meals we want to “spice up”!
- Seasonings: salt, pepper, ginger, sesame seeds, Korean seasoning (you can omit if you can’t find this)
- Optional Toppings:
- Nori seaweed sheets
- individual packet of hot sauce
- individual packet of soy sauce
7. Camp Brownie Batter
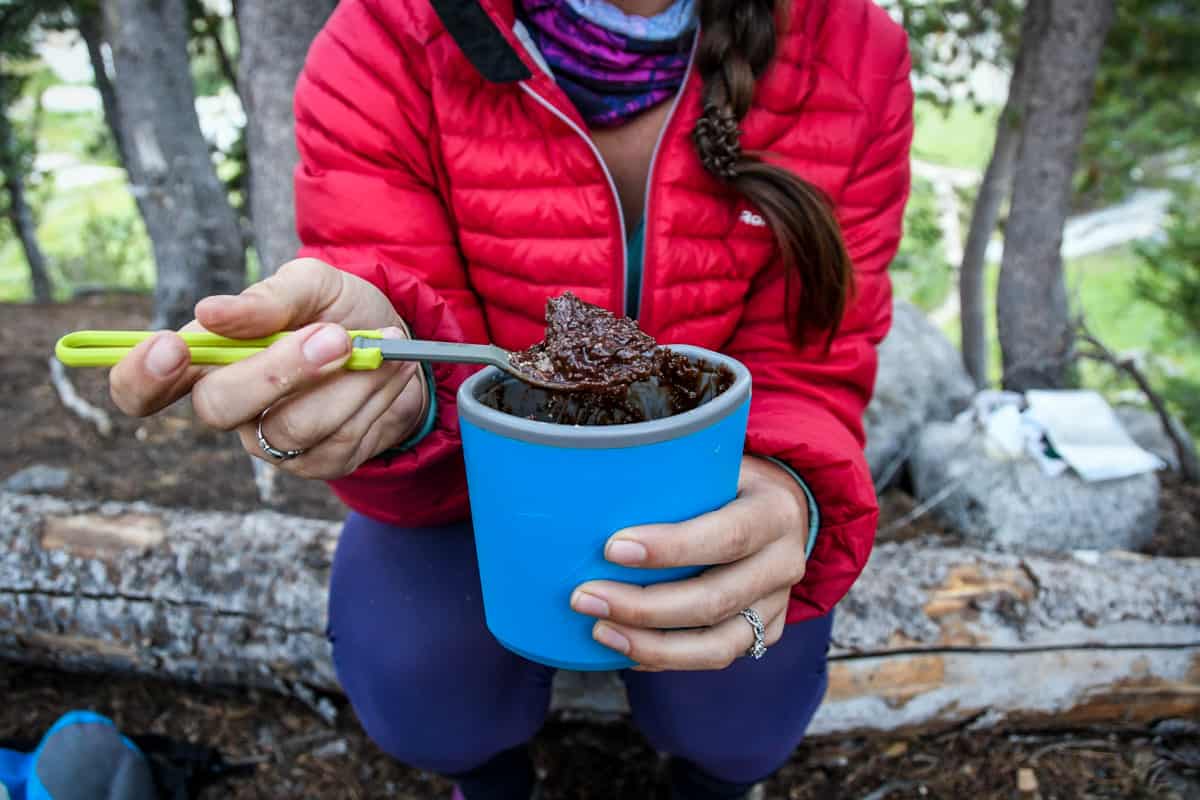
Just what it sounds like – ooey gooey, rich and chocolatey! This is a perfect backcountry dessert to satisfy your sweet tooth. Plus, it is super easy!
- Ghirardelli triple chocolate brownie mix (or your favorite brownie mix)
I usually put a ¼ cup per person into a silicone baggie (plus any other additional ingredients I want to add).
Choose a couple of additional ingredients to add if you’d like:
- Powdered peanut butter
- Individual pack of nut butter (I like these maple almond butter packs from Justin’s)
- Individual pack of coconut oil (you can find these at some Trader Joe’s stores, or you can order them here)
- Shredded coconut
- Chocolate chunks (you can add these or buy brownie mix that already has them inside)
- Crushed pretzels
At camp, simply add hot water to the portion of brownie mix until it is the consistency of brownie batter. Start with just a tiny bit of water, and stir. You likely need less than you think, and you don’t want it to be soupy.
Then, stir in nut butter or coconut oil if you’d like.
Tips for dehydrating meals
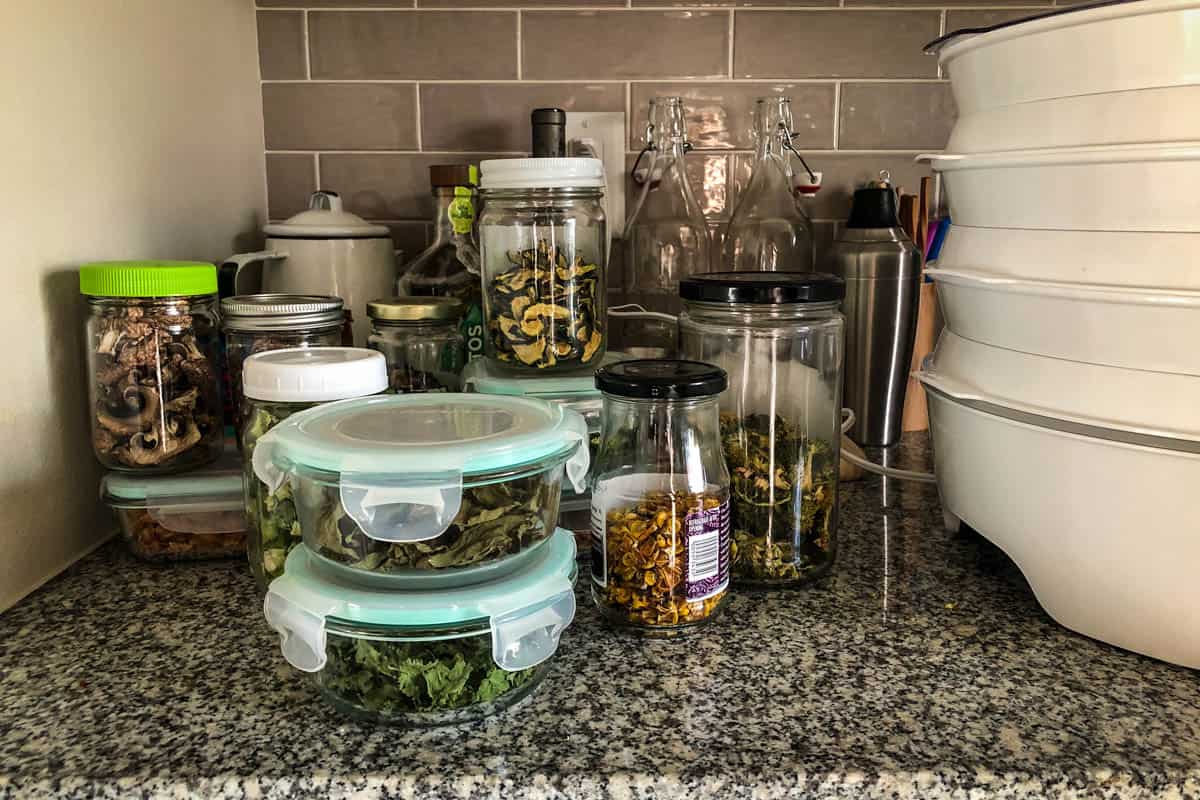
These tips will help you as you start experimenting with making your own DIY backcountry meals.
Buy ingredients dehydrated
These items are easy to buy already dehydrated, and it can make the process easier:
- bacon bits
- Coconut milk powder
- powdered eggs (find these at REI)
- powdered peanut butter
- powdered cheese
- dried hash browns
- freeze dried fruit
- freeze dried herbs
- Crispy French fried onions (good for topping)
Store your meals in silicone baggies
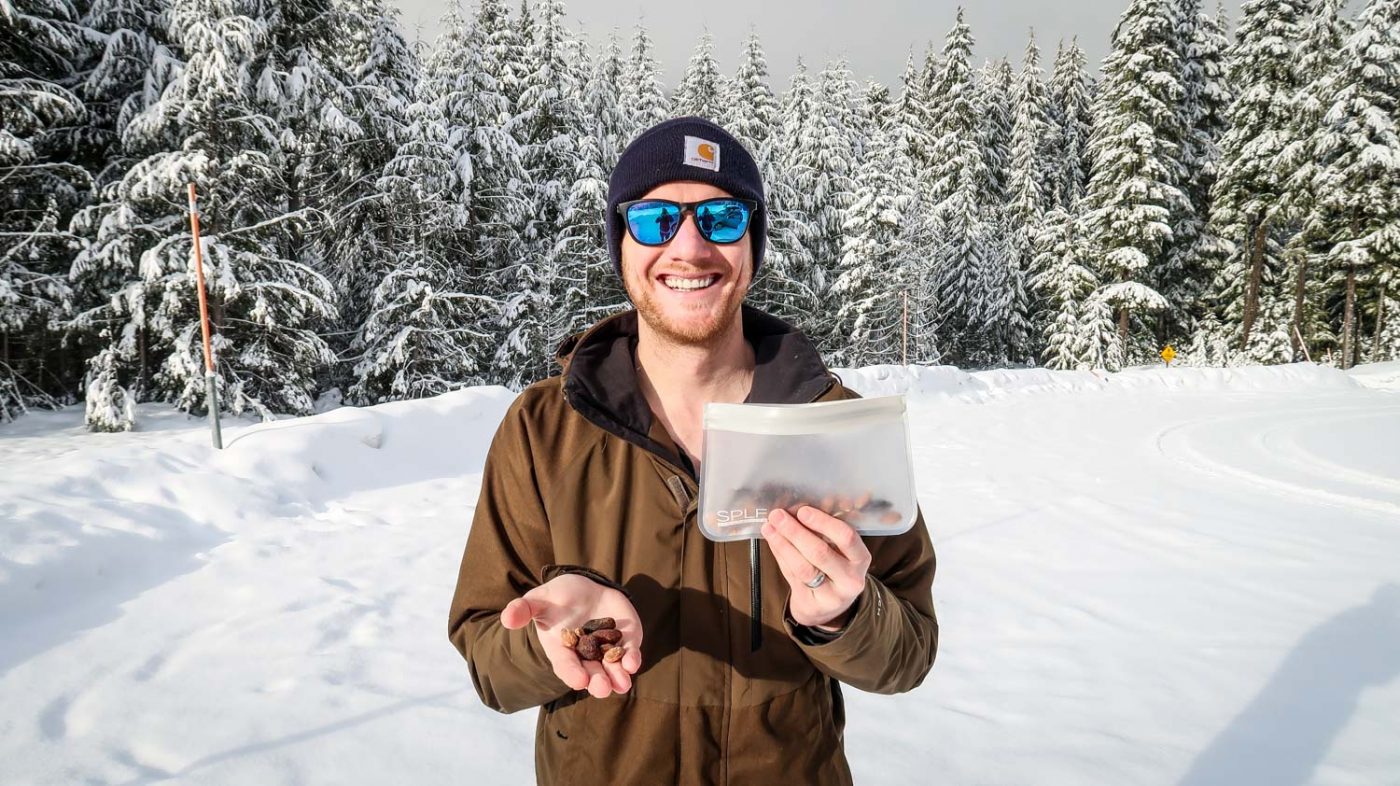
These are reusable and create less waste. Plus, you can soak them with hot water in the baggie so you create fewer dishes.
- Stasher bags are super high quality and will last forever!
- These silicone baggies are really budget-friendly, and we’ve had a great experience with them.
Pack condiments
Whenever we’re at a restaurant that has hot sauce packets or soy sauce, we take a few. These are great for bringing into the backcountry to spice up your meals!
Practice
Before bringing a meal into the backcountry, practice cooking it at home to see how it works. You’ll learn if there’s anything you need to change or add.
After practicing with a few different types of meals (ones with rice vs. pasta), you’ll get the hang of it.
Know the different dehydrating techniques
- You can either dehydrate a bunch of ingredients separately, then use them to create meals. This is typically what we do. We have many jars of dehydrated veggies to choose from when putting together meals.
- Dehydrate a pre-cooked meal. Alternatively, you can cook a meal – like chili, for example. Then, you can spread the prepared meal on top of the dehydrator tray (be sure you have a silicone tray insert). This won’t look very pretty when it’s dehydrated, but you’ll have it seasoned just the way you like it!
Snacks
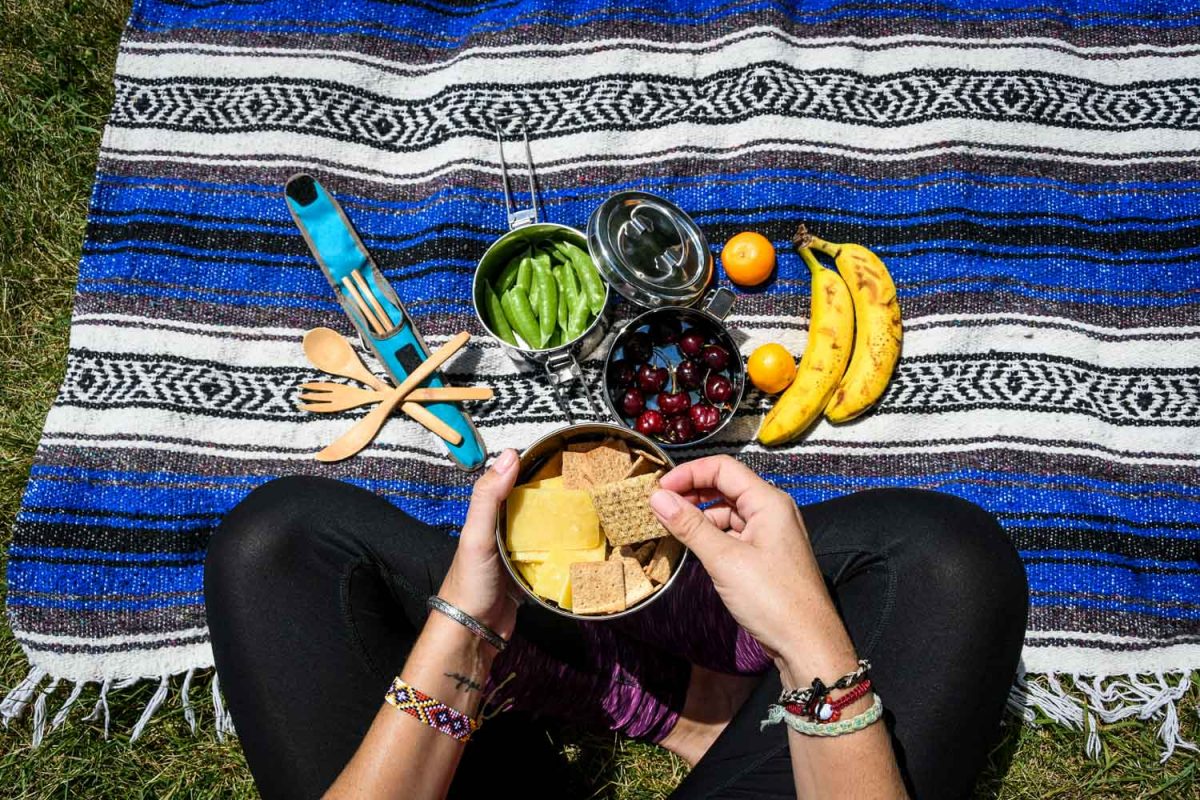
Snacks are just as important as backpacking meals, keeping you going between meals.
The best hiking snacks, like those listed below, give you sustained energy without spiking blood sugar.
- Trail mix with nuts, seeds, and natural sugar from dried berries or dark chocolate – you can buy it pre-packaged, but it’s cheaper (and usually healthier!) to make your own
- Dried fruits like banana chips and apricots (look for varieties with no sugar added!)
- Protein bars
- Fresh fruit like apples and oranges – keep in mind fresh is heavier than dried, so bring just a few pieces
- Jerky
- Hard candies
- Electrolytes in the form of powdered drink mixes or gummies
Backpacking gear for meal prep
In addition to the actual food and snacks, there are a few pieces of meal prep gear that make cooking easier.
Jetboil
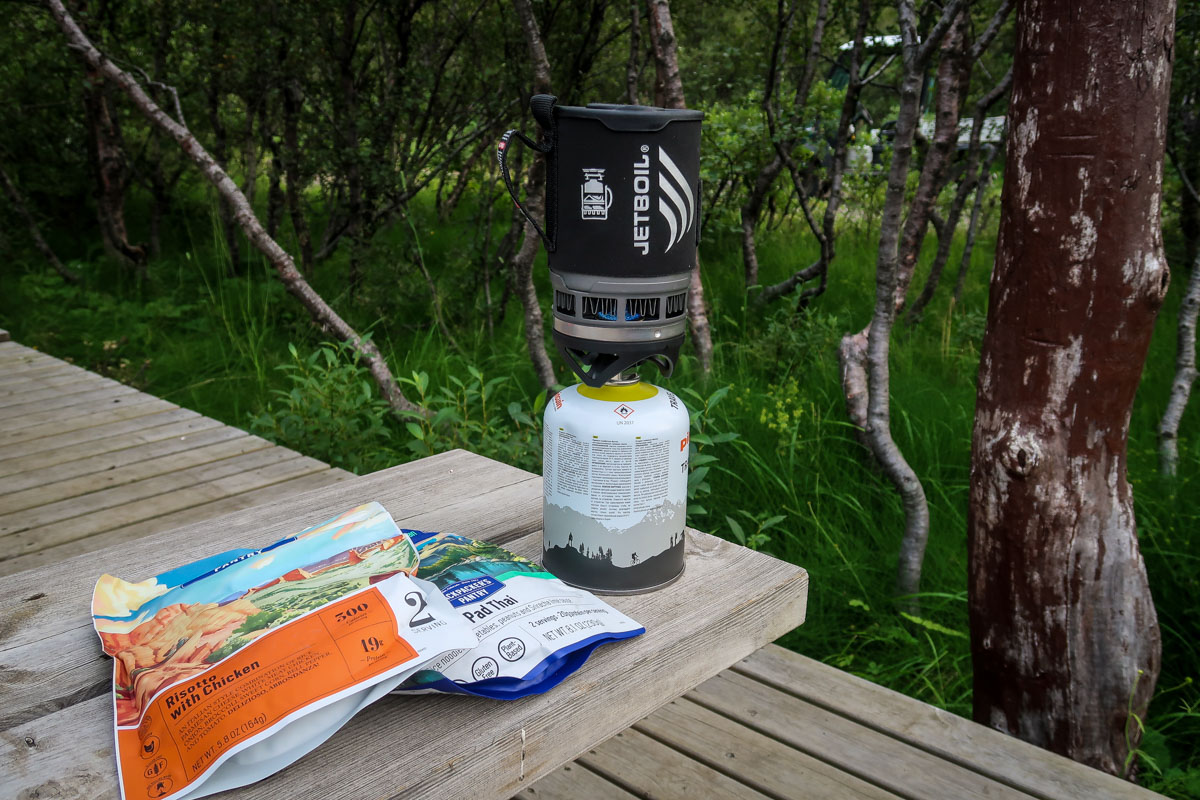
No matter how light you pack, a backpacking stove is essential. There are a TON of options out there, but Jetboil offers the most reliable, fuss-free setup.
These ultra-compact stove systems pack down super light and are a breeze to set up.
JetBoil’s products generally fall into two categories: Fast Boil or Precision Cooking.
Fast Boil stoves achieve a rapid boil in mere minutes. They’re ideal if you want to keep your pack weight to a minimum.
Precision Cooking stoves have a regulator, which allows them to simmer and function in colder temperatures. The regulator adds a fractional amount of extra weight.
If you’re torn between the two, the biggest thing to consider is that Fast Boil stoves have only one level: full blast.
Cooking pot
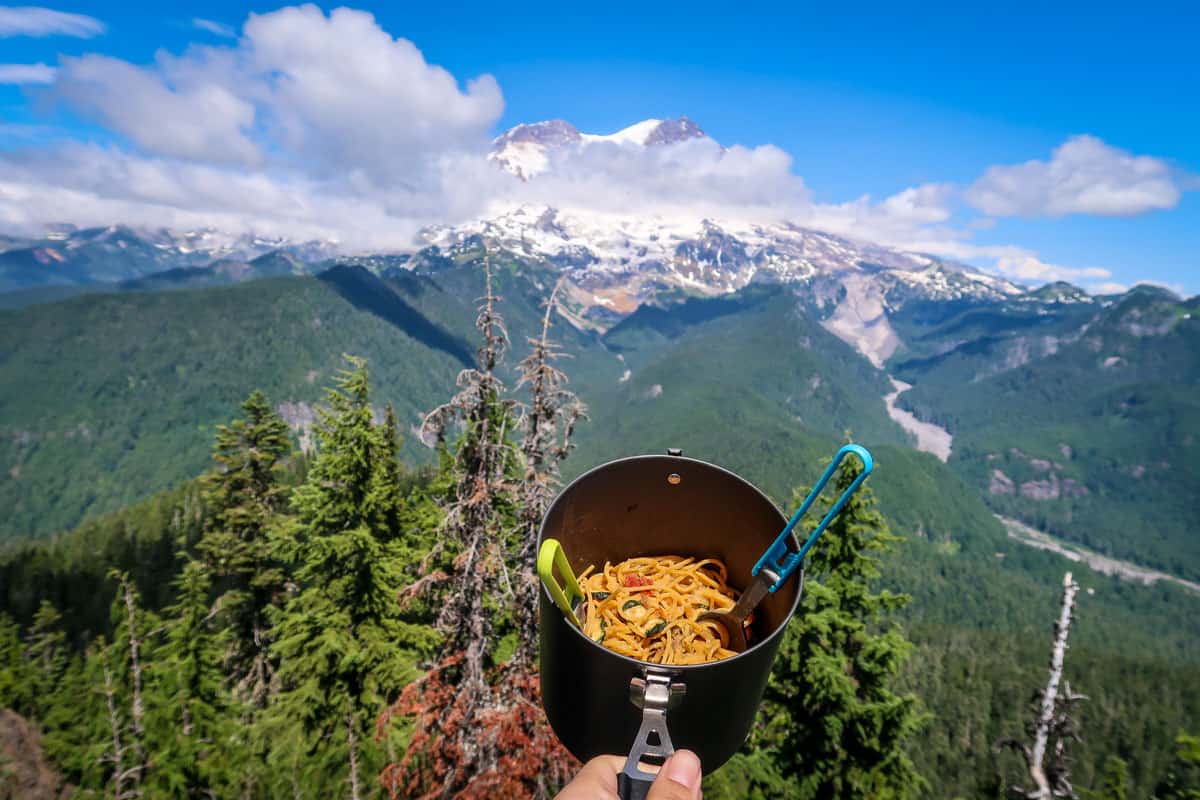
Most Jetboil stoves (and other cooking systems) come with a cooking pot that doubles as a measuring cup and bowl, and everything nests nicely together.
If you have a stove that doesn’t come with a pot or you prefer a different setup, you’ll need to purchase a cooking pot separately. Don’t forget a stirrer for cooking and serving!
Bowl and utensils
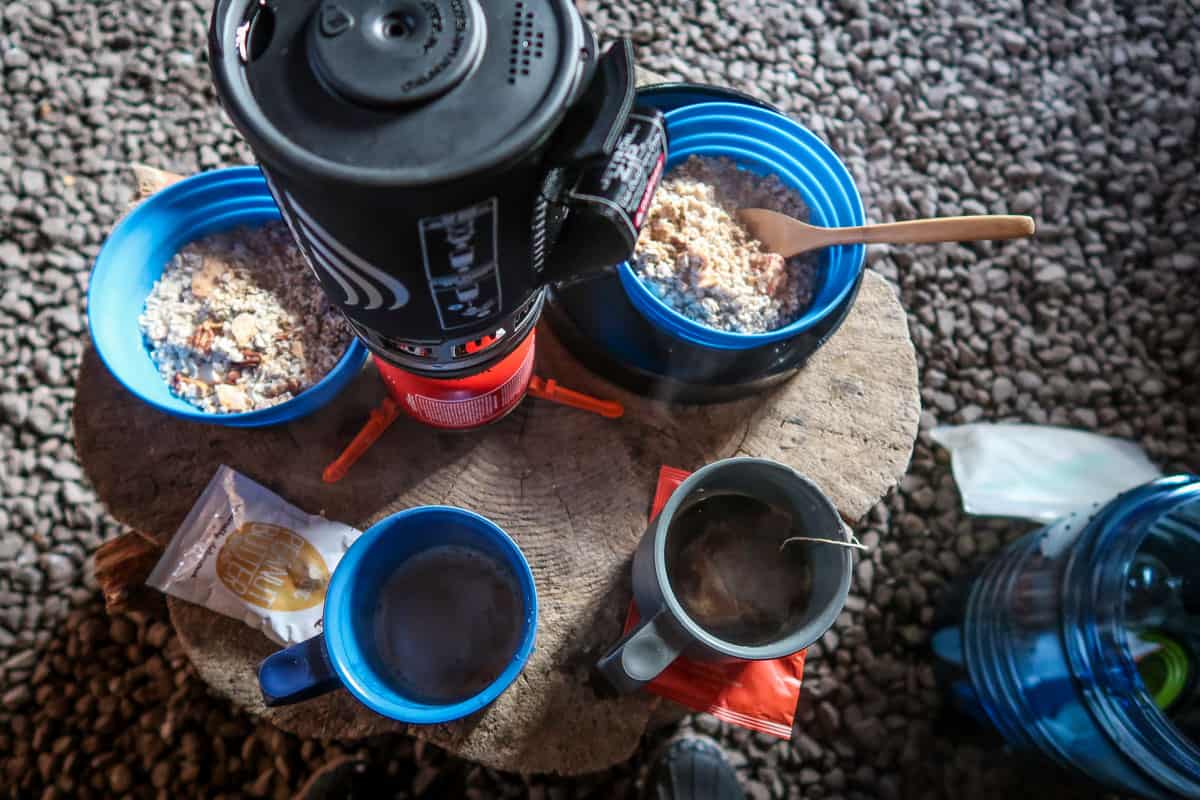
In addition to the cooking pot/bowl combo that comes with your stove, you need at least one additional bowl and utensil for eating with.
Rather than carrying multiple utensils, invest in a “spork” that lets you eat anything from oatmeal to soup to noodle dishes with.
Better yet, look for a nesting “mess kit,” which will include a plate and/or bowl and utensil.
Food dehydrator
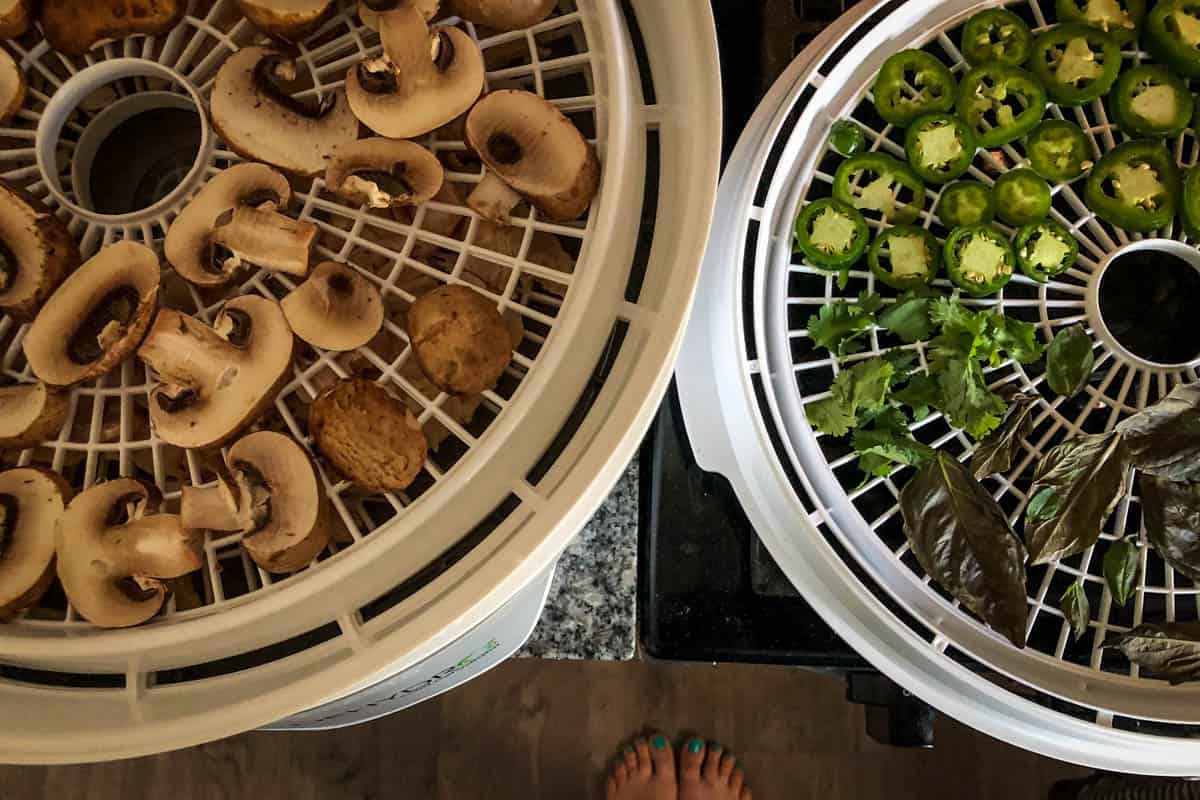
If you plan to make your own dehydrated backpacking meals, you should strongly consider buying a food dehydrator.
Dehydrators evaporate moisture from food. They work well on fruits, vegetables, legumes, grains, rice, pasta, and some meat and seafood.
Once you dehydrate food, you can substantially diversify your backpacking meals. Plus, dehydrated backpacking meals are expensive! In the long run, investing in a dehydrator will save you money.
Investing in one is also recommended for those with specific dietary needs, such as vegans or those with food sensitivities.
Tips for backpacking food prep and packing
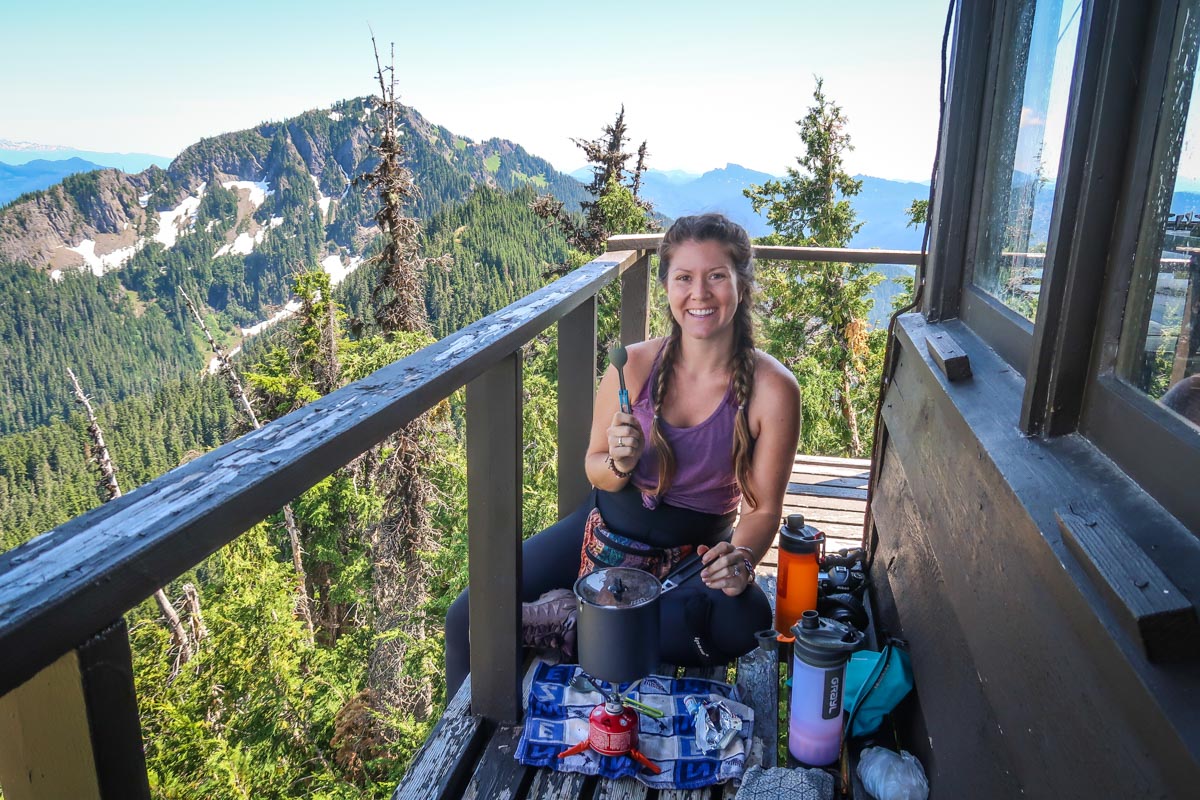
Now that you’re armed with some recipes, the best pre-made backpacking meals, and a gear list, here are some tips on how to prepare and pack.
- Pre-prep oatmeal: Mix dry oatmeal with your favorite seeds, dried fruits, and spices in a Ziploc ahead of your trip (this also works for pancake mix!).
- Keep it simple: Although it’s tempting, don’t over-complicate backpacking meals. Less really is more.
- Meal plan: This spares you from having to make decisions when you reach camp for the night, plus ensures you eat any perishables at the start of the trip.
- Ration: Keep some of your favorite backpacking meals and snacks for the last days, when your energy will be depleted.
- Do a test run: Practice new recipes at home before your adventure — the backcountry is not a good test kitchen!
- Eat dessert: Having a tasty dessert to look forward to lifts your spirits and acts as a great motivator.
- Variety is key: Without overpacking, include a balance of textures and flavors. Think sweet/salty or soft/crunchy.
- Pack a trash bag: You need to carry EVERYTHING out, so choose lightweight, sealing plastic bags to eliminate mess and odors.
- Bring enough fuel: Spend time figuring out how much fuel you’ll realistically need, and bring extra (this is a great experiment for your test run!).

You may also like…
- A Beginner’s Guide to Backpacking
- Hiking Lunch Ideas to Keep You Fed on the Trail
- Best Hiking Snacks to Hit the Trail With
- 7 Principles of Leave No Trace (+ why you should care!)
Save this article on Pinterest for later!
We want to hear from you!
Have you ever made your own backpacking food before? Do you have any favorite backpacking meals you think we should add to this list? Comment below and let us know!


I think this is a great guide for anyone looking to go backpacking and make sure they have the best and most nutritious food on their trip. It gives great recommendations for both store-bought meals and homemade meals, as well as tips on how to properly store and cook your food. I think this is essential information for all serious hiking enthusiasts, especially those who are new to the activity.