Washington’s Rattlesnake Ledge is one of the most beautiful and most accessible day hikes within an hour of Seattle. We put together this detailed guide to Rattlesnake Ledge so you know exactly what to expect when you hit the trail.
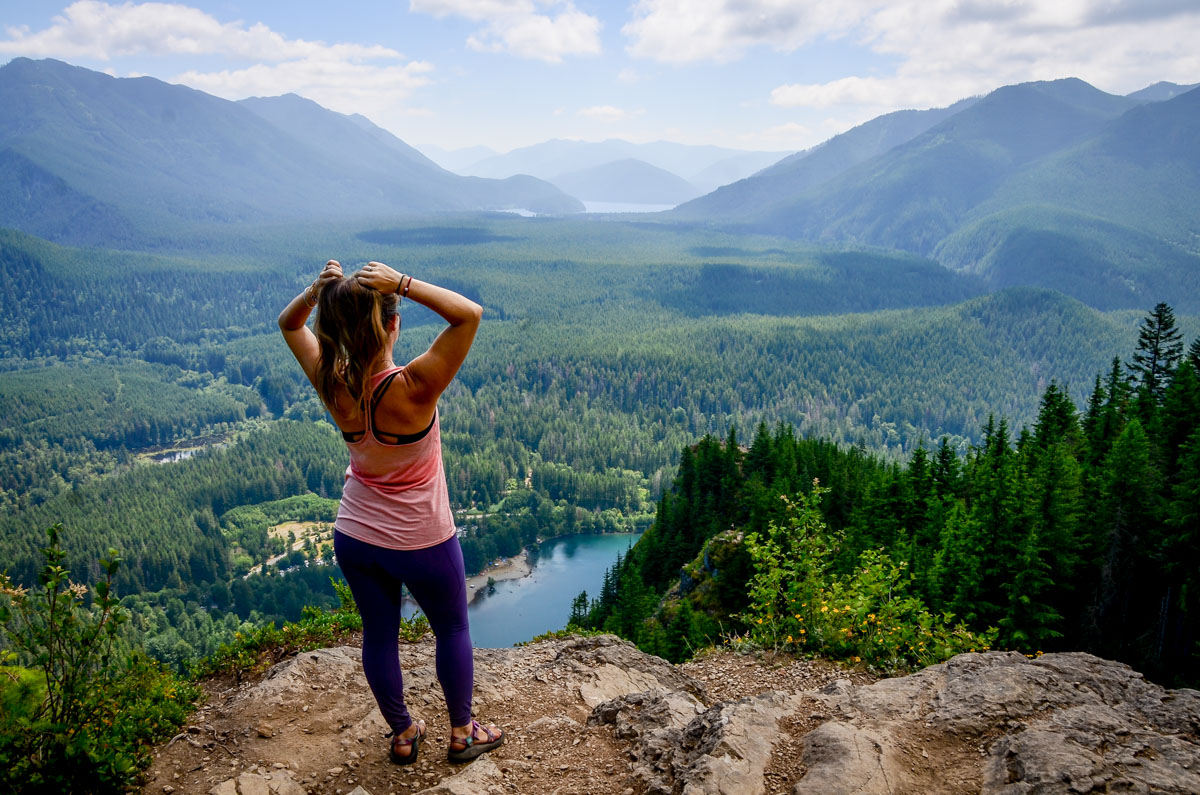
If you ask any Seattle local what their favorite day hike is near the city, Rattlesnake Ledge almost always makes it to the top of the list. It’s a short drive from the city and is one of the first snow-free trails during the season, so many people escape to this trail for an early or late season hike without the hassle of snow.
With panoramic views over Snoqualmie Pass and Rattlesnake Lake, this is the perfect trail to experience a small taste of Washington’s picturesque, rugged wilderness and escape the bustling city.
The name, “Rattlesnake Ledge”, alludes to a more difficult trail, but is actually relatively easy depending on your fitness level. You’ll encounter hikers of all ages, including pups, exploring this trail to explore the three different scenic viewpoints over the mountains.
No matter if you’re spending a few days in Seattle or passing through Snolquamie, this is a trail worth exploring. We go over everything you need to know to hike Rattlesnake Ledge including what to expect on the trail, what to pack, and tips for a successful visit.
Article Contents
- Hike at a glance
- Know before you go
- The route
- Tips for hiking Rattlesnake Ledge
- Where to camp
- What to pack

Rattlesnake Ledge hike at a glance
- Location: North Bend, Washington
- Distance: 5.3 miles, out-and-back
- Elevation: 1,459 ft
- Difficulty Rating: Moderate
- Timing: 3 hours
- Pets: Yes, must be leashed
- Permits: No
- View the trail notes
One of the best hikes near Seattle, Rattlesnake Ledge is popular for its proximity to the city and high reward for rather minimal effort, compared to other, more difficult hiking trails in the area.
You’ll hike on a well-maintained trail through dense pines to arrive at three stunning viewpoints. It will be crazy to think you’re only 30-minutes from Seattle when you witness these views!
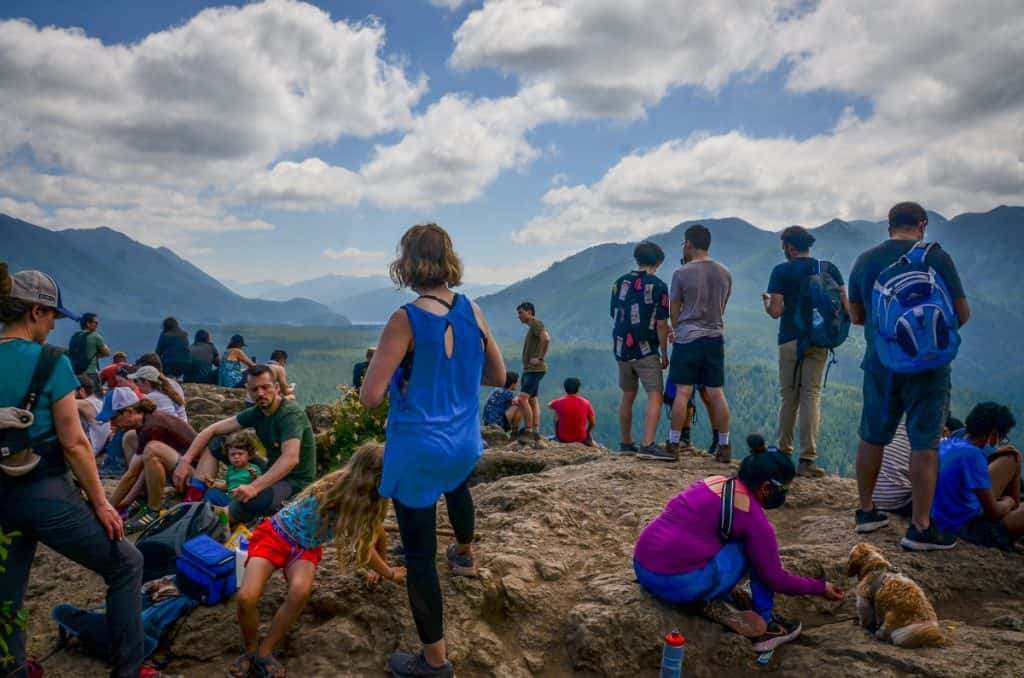
The trail is located just east of Seattle in North Bend near the Rattlesnake Mountain Scenic Area, making this one of the best hikes near Seattle. Due to its popularity, expect to be joining a ton of other trail-lovers when you hike this trail, especially in good weather during the summer months.
Things to know before you go
There are a few key things you’ll want to know about while planning your Rattlesnake Ledge Hike.
Best time of year for the Rattlesnake Ledge Hike
Although the trail to Rattlesnake Ledge is open year round, it’s best accessed from May to September when conditions are favorable. The summer months bring the most crowds, so we recommend this hike in the late spring or early fall for a bit more solitude.
Aim to hike this trail on a day with clear weather, or avoid the days following a rain shower since the trail can get muddy.
If you are visiting on a nice summer day, do your best to arrive early and avoid weekends and holidays to experience a quieter trail. This is one of the most popular day hikes near Seattle, so expect lots of company during your hike.
How long does it take to hike Rattlesnake Ledge?
For the average person, it takes around three hours to hike up to Rattlesnake Ledge and back down. This time doesn’t include stopping at the various viewpoints, so it may take a little longer if you choose to take in the views at each stop.
This trail is most popular as a day trip from Seattle since it’s a short drive away from downtown. It’s the perfect way to start a weekend trip in Seattle or as a quick stop before heading to Snoqualmie Pass or Leavenworth.
Because there isn’t any camping available at any of the viewpoints or lake, this hike cannot be done as a multi-day. Many people completing overnight backpacking trips in this area continue on the trail past Rattlesnake Ledge to go to Rattlesnake Mountain.
How difficult is the Rattlesnake Ledge hike?
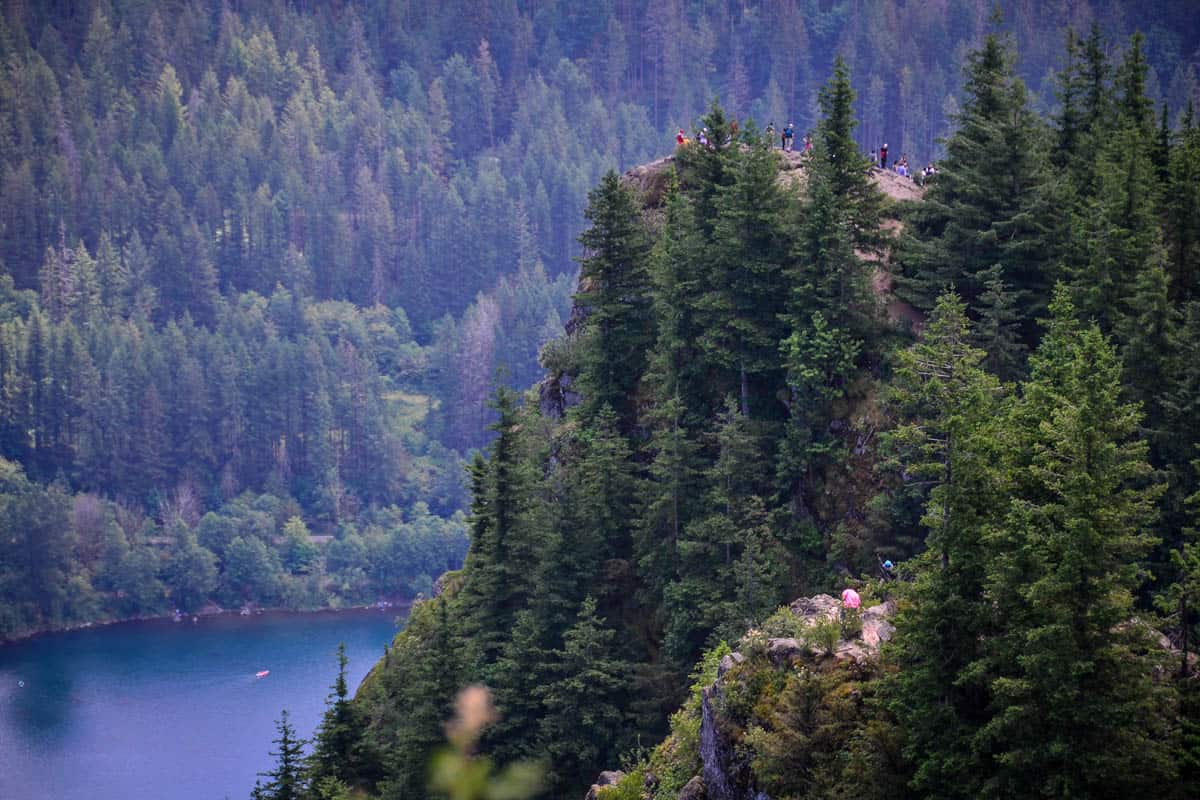
The Rattlesnake Ledge hike is an excellent trail for beginner or novice hikers. This trail is often compared to other hikes in the area that also hold a moderate rating, which is why a lot of people consider it to be one of the “easier” trails in the area.
However, with steady elevation gain plus switchbacks the whole way up, you’ll still work up a sweat and feel challenged by this trail. Ample water, snacks, and breaks at the various viewpoints will make this an enjoyable way to spend the day.
Wildlife on the trail
Wildlife sightings on the Rattlesnake Lake Trail are common, but since it’s so well-trafficked, you’re more likely to encounter deer, squirrels, and birds. Black bears and cougars are other types of animals in this area, but they’re more uncommon to see, and especially not on such a high-trafficked trail.
Always maintain a safe distance between you and any wildlife you encounter. If you’re bringing any type of snack to have on the trail, make sure to pack out all your trash, even fruit peels and nuts shells, to keep the animals safe and the trail clean.
Despite the trail having ‘rattlesnake’ in the name, note that there aren’t any rattlesnakes in this area. North Bend used to have open, grassy fields in some areas and when the wind blew threw the grass it was said that it sounded like rattlesnakes, hence the name.
The route
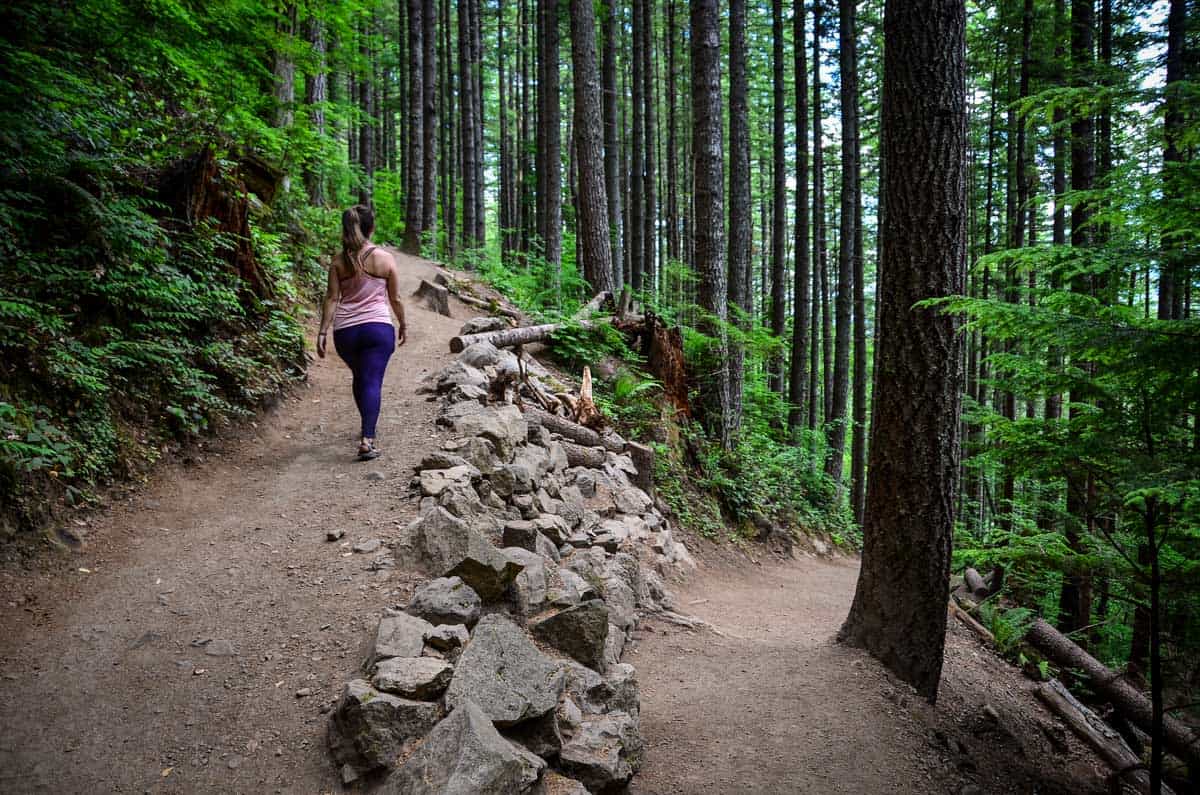
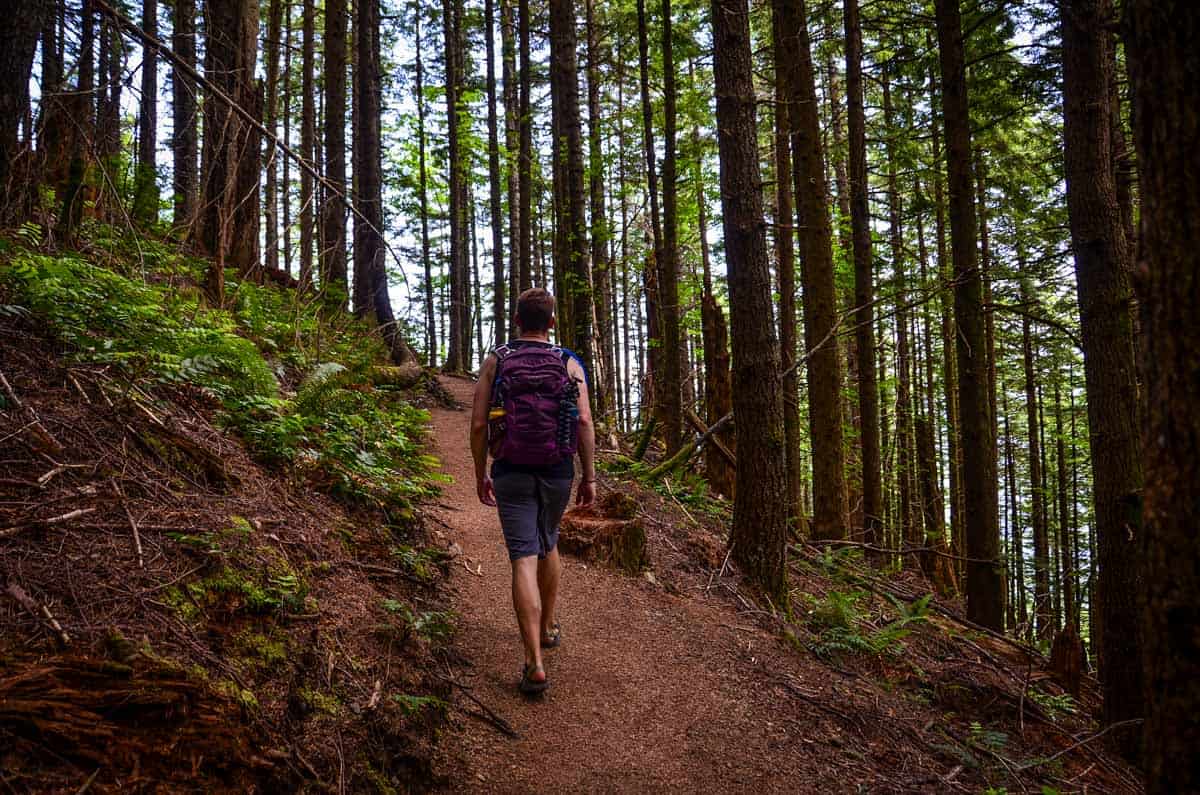
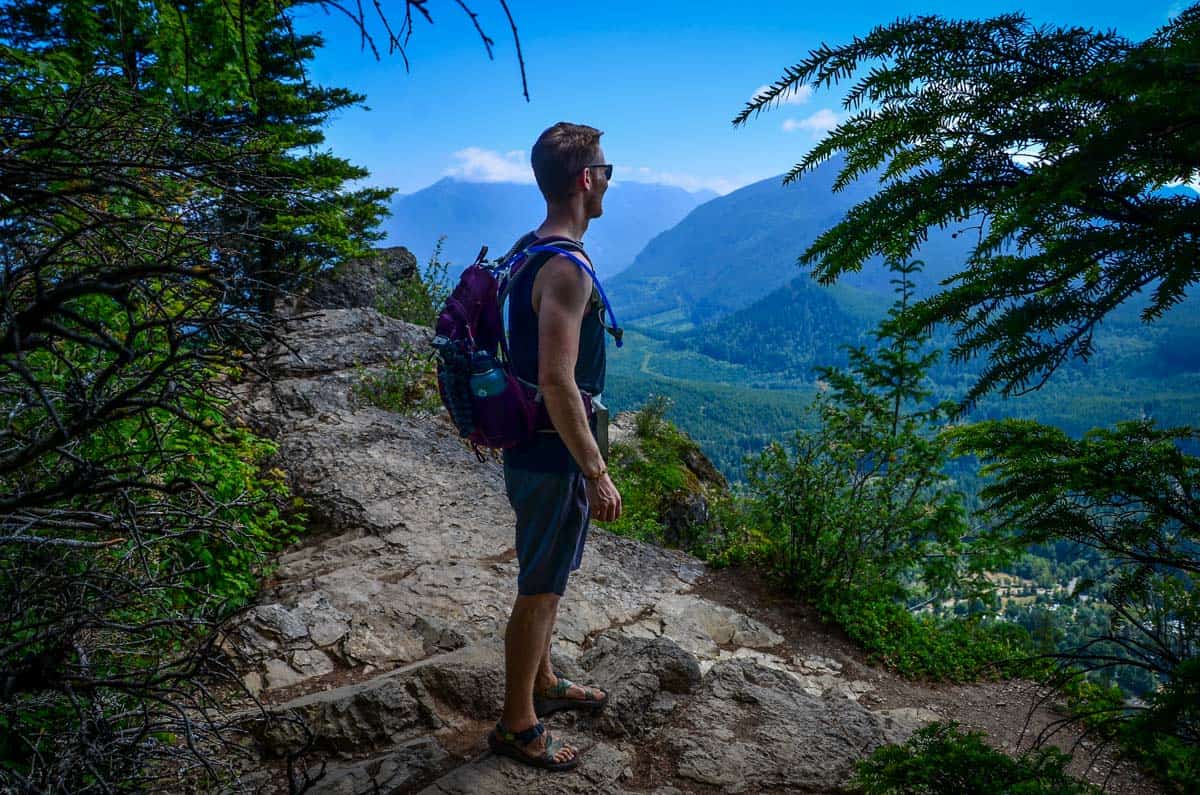
Starting at the banks of Rattlesnake Lake, hike through old-growth forest to panoramic views over Snoqualmie Pass and the Southern Cascade Mountains. Once you peel away from the lakeside, the trail takes you up 1,000 feet via a series of switchbacks.
There are three different viewpoints along the trail that you can take a spur trail to get better views of the surrounding areas. The first viewpoint is around 1.3 miles in and features an up-close view of Rattlesnake Lake and the mountains to the Southeast. Just past this you’ll cross a short wooden foot bridge over a ravine to the second viewpoint.
Right at 2.1 miles, there is a marker for the Overlook Trail. Follow the trail to the right and you’ll end up at the second viewpoint overlooking Mount Si, Little Si, and Mount Washington. Head back to the main trail and go right towards the final viewpoint, Rattlesnake Ledge.
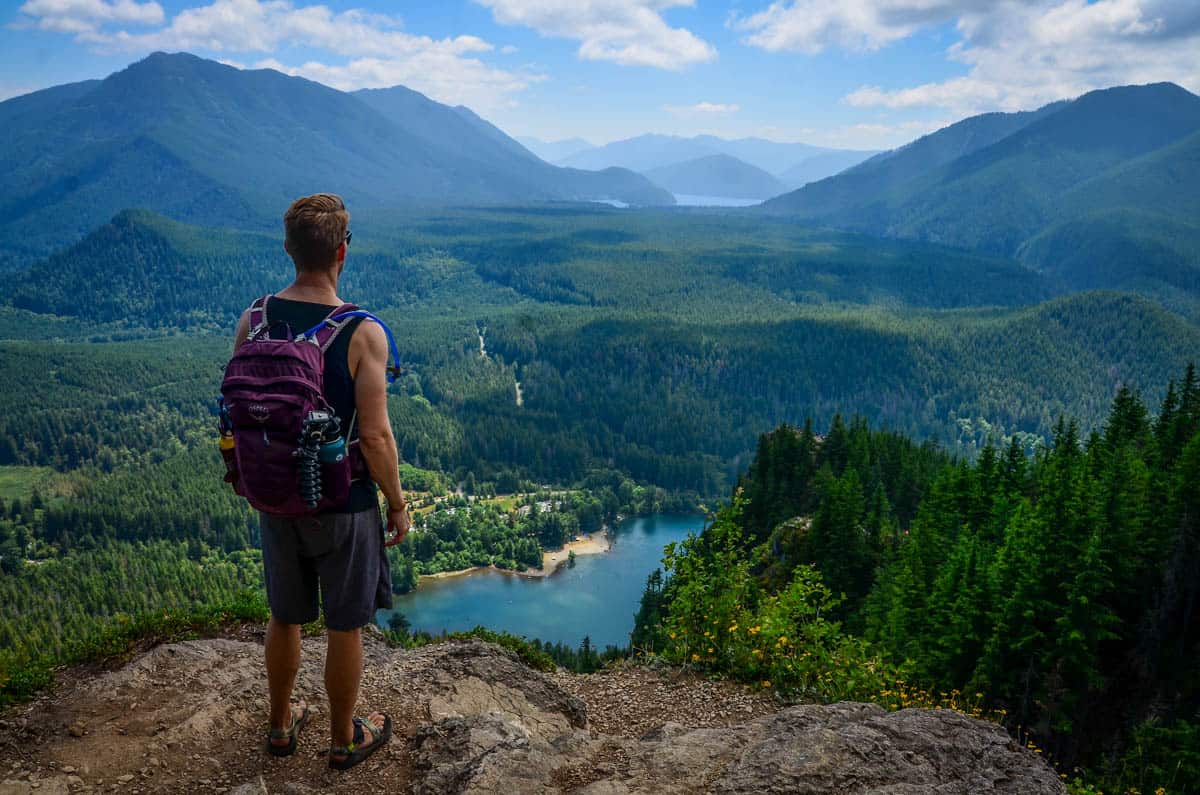
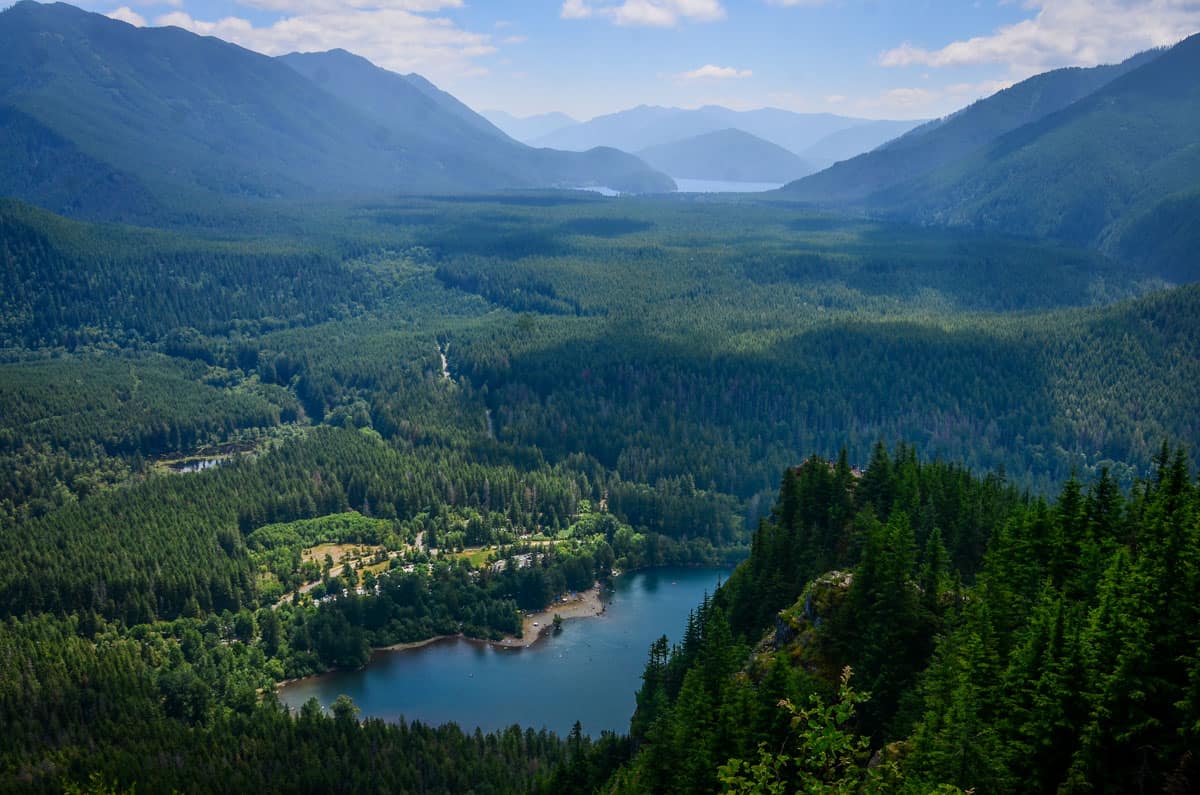
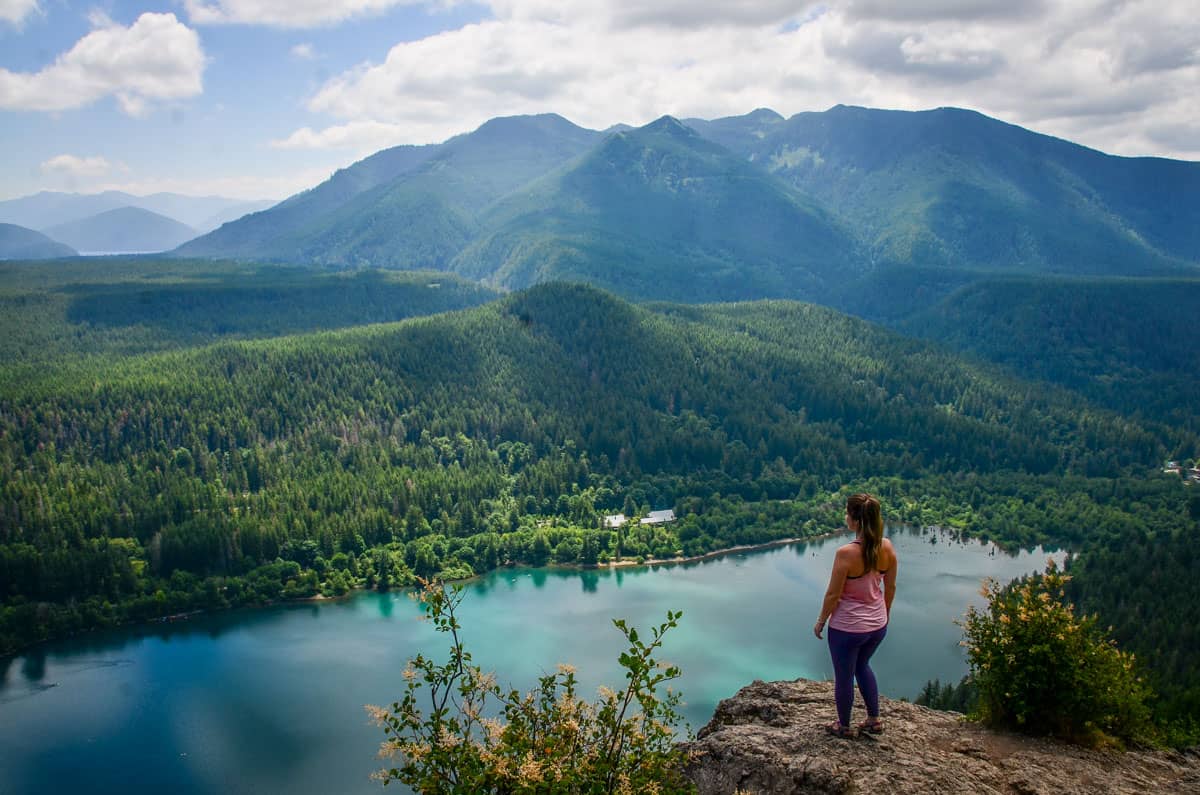
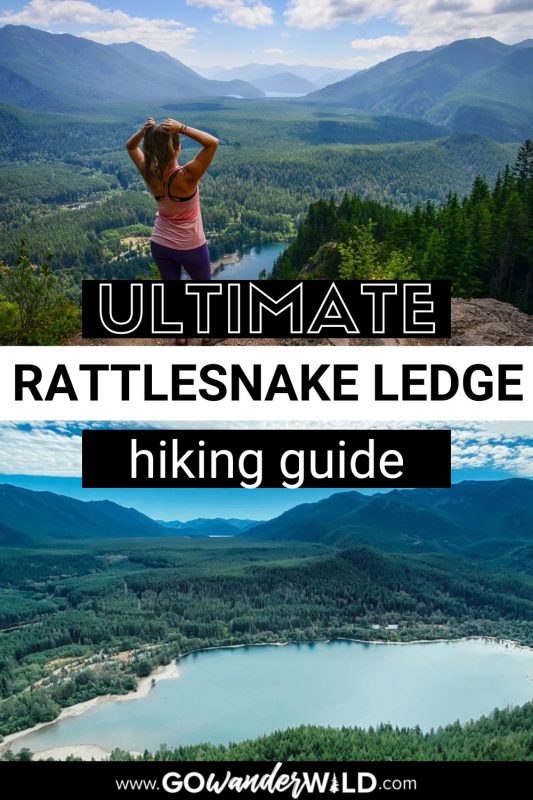
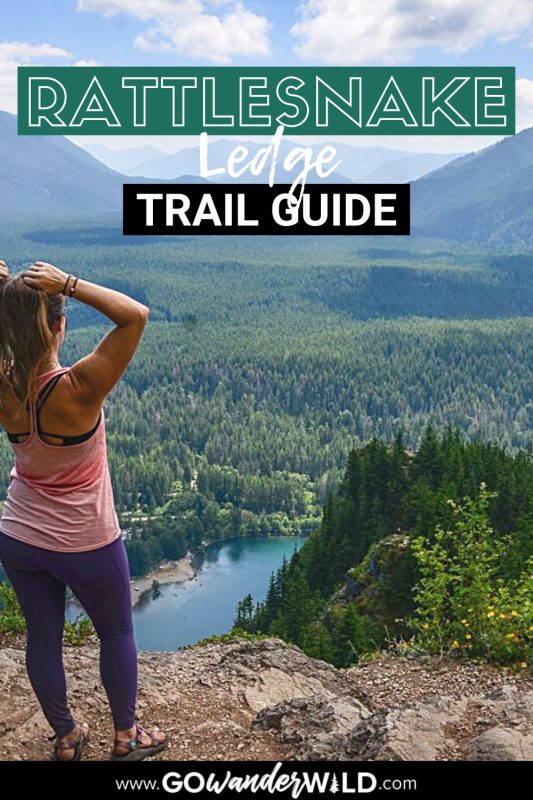
One more small push up the rest of the switchbacks and you’ll have made it to the Rattlesnake Upper Ledge, the last viewpoint on the trail. Look out at at the turquoise blue tones of Rattlesnake Lake against the dense pine forests of the valley. Once you’ve taken it all in, head back down the way you came.
Tips for hiking Rattlesnake Ledge
- Start your hike early in the morning. This trail is a favorite among locals, so aim to get to the trailhead early for a bit more solitude and to secure a parking spot. Keep in mind the parking lot is generally full by 10 am.
- Download an offline map. AllTrails is one of our favorite offline maps when we go hiking. This will help you stay on the trail and navigate to the different viewpoints.
- ALWAYS practice the Leave No Trace Principles. Keep the trails in Washington beautiful by packing out all your trash, staying on the trail, and leaving the area better than how you found it.
- Bring plenty of water. Although this trail is great for beginner and novice hikers, the switchbacks on this trail are not to be underestimated. Plus, there is no water access along the trail.
Where to camp near Rattlesnake Ledge
There is no camping available on the Rattlesnake Ledge Trail or in the Rattlesnake Ledge Recreation Area, but there are camping options closeby.
Heading east on I90 towards Snoqualmie Pass, there are a handful of campsites within a 20-minute drive of the Rattlesnake Ledge Trailhead.
There are two other campsites along the South Fork Snoqualmie River, Alice and Carter Creek, however they both require a short hike in to access.
Since Rattlesnake Ledge is only a 30-minute drive to Seattle, many people opt to explore this as a day hike and then return to the city.
What to pack for hiking Rattlesnake Ledge
- Navigation: we recommend using Alltrails+ to download the offline trail map
- Get your first week of using Alltrails+ for FREE when you sign up using our link!
- Hiking backpack
- Hydration pack and/or water bottles
- Sun protection: sunscreen, sunglasses, hat
- Bug spray (we prefer the natural stuff)
- Camera and tripod (this is our favorite for hiking)
- Hiking shoes or Chacos if you prefer
- Comfortable hiking clothes (lots of layers!)
- Plenty of hiking snacks
Be sure to grab our ultimate hiking packing list includes our must-have gear for any hiking trail!

You may also like…
- Exciting Day Hikes Near Seattle
- Beautiful Waterfalls Near Seattle
- Incredible Washington Hot Springs & Where to Find Them
- Washington National Parks Guide + Map
Save this article on Pinterest for later!
We want to hear from you!
Have you ever hiked the Rattlesnake Ledge trail near Seattle? What was your experience like? Do you have more questions about doing the hike? Comment below and let us know!

