Just because you’re sleeping outdoors doesn’t mean you should skimp on caffeine. This guide breaks down all the best methods for brewing camping coffee, so you can be prepared for your next outdoor adventure.
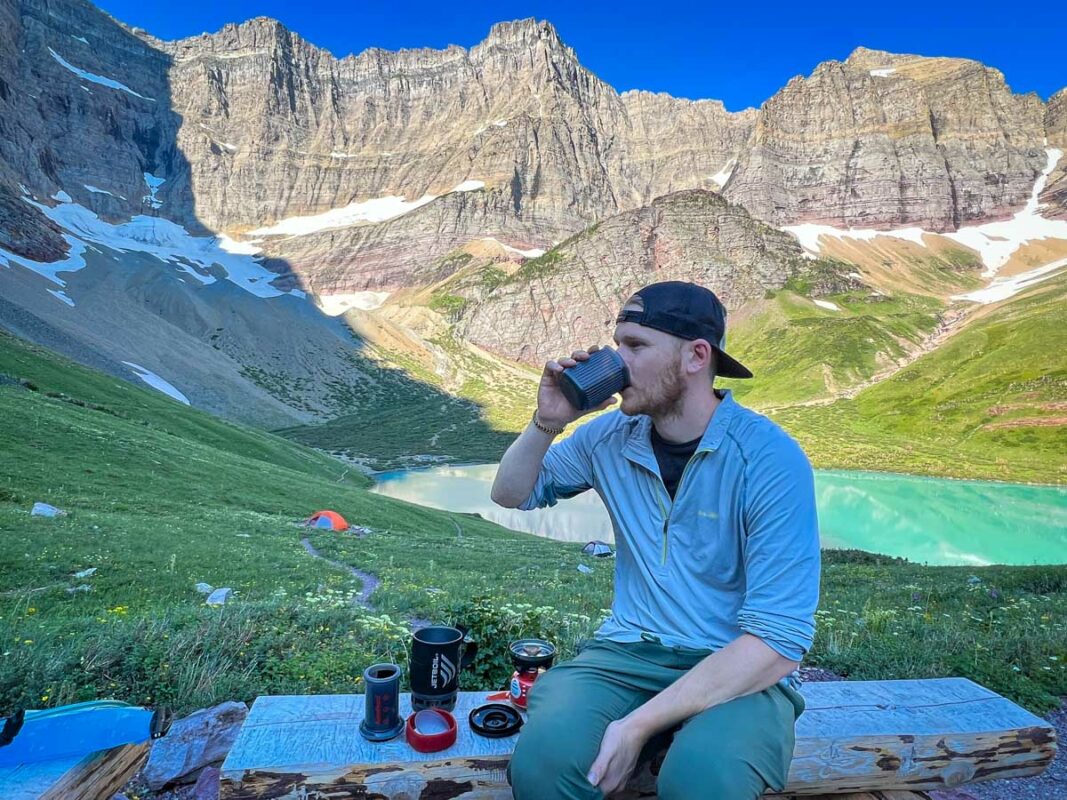
Written by Guest Author: Mathew Woodburn-Simmonds
Is there anything better than a crisp morning out in the woods, a steaming cup of joe in hand, pretending civilization doesn’t exist? If you’re a coffee lover like me, you’ll probably agree.
Your camp coffee can be savored with that kind of inner peace that comes from being away from the madness of modern life. But the coffee has to be good too, right?
Nowadays, you have more options than ever when it comes to camping coffee. Whether you prefer specialty coffee or don’t mind switching over to instant coffee for the convenience.
The good news is, we’ve tried them all! This article presents a definitive breakdown of all the camping coffee options, so you can decide which one is best for your next outdoor adventure.
Let’s get into it!
Camping Coffee Guide
In this article we’ll cover:
- Things to consider when camping with coffee
- Top methods for brewing camping coffee
- Manual grinders that work best for camping
- Tips for brewing the best camping coffee
Best camping coffee for…
If you’re looking for quick answers, here’s what we’ve come up with.
- Best combo of ease and quality: French press coffee bags
- Best espresso for camping: Wacaco Nanopresso
- Best espresso for groups: Moka Pot
- Our go-to camping coffee set up: Aeropress coffee (Katie & Ben’s favorite!)
- Easiest camping coffee option: Instant coffee

Be sure to download our FREE camping packing list before your next trip and never leave another essential behind again!

Things to consider when camping with coffee
Just as not all coffee is the same, not all camping trips require the same coffee fix. Here are a few things to consider…
Size and weight
There’s no point in nailing an incredible camping coffee setup if it takes up your entire backpack and weighs so much you can’t even carry it.
Your limits will depend on whether you’re camping in a campervan or RV, driving your vehicle right up to the campsite, or hiking in with a backpack and all your gear on your back.
No matter your mode of transportation, smaller and lighter is always better when it comes to camping coffee.
How much coffee do you need?
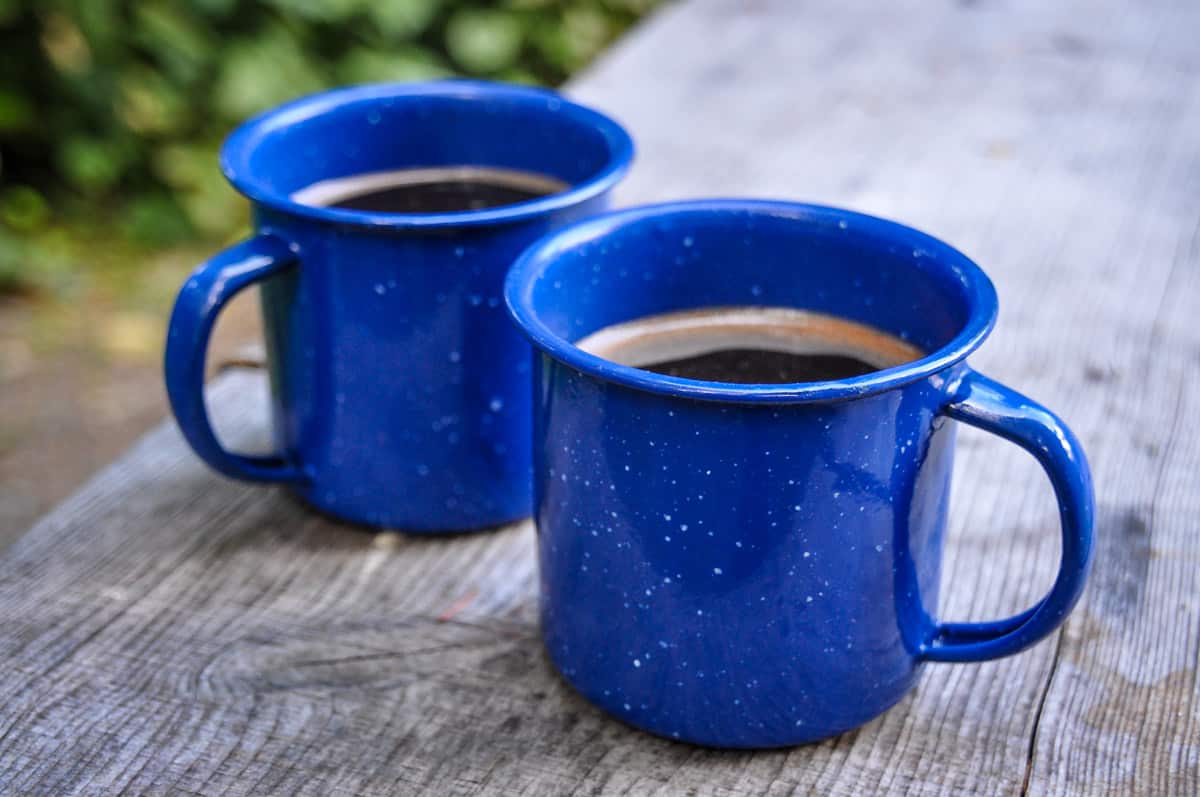
Are you looking to make a single cup of coffee just for you? Or are you trying to caffeinate the whole crew each morning?
Being able to brew the perfect amount makes everything quicker and easier in the morning when camping. Plus, you won’t keep caffeine addicts nervously twitching while they wait for their fix.
Psst! Are you planning a camping trip with your crew? Check out these fun and easy camping games for adults to keep you entertained around the campfire!
How long does it take to brew?
I’ll happily spend 10 minutes making my morning coffee, I find it relaxing and enjoyable. But not everyone has this luxury of time or is this patient. If you like to get up and go, a quick brew is essential.
How easy is it to clean your equipment?
Dismantling a complex coffee maker and cleaning it in a stream or with bottled water isn’t high on anyone’s list of “a good time”. If you’ve got a campervan or RV, then clean up may be simpler but space is still an issue.
Easy cleaning is a big plus for any method of brewing your camping coffee.
Quality of the product
This is probably the most important – how much do you care about extracting all the delicate flavors from your coffee beans? Do you just need a way to get caffeine into your body first thing? Or are you looking for barista-quality specialty coffee on the trail?
I’m here to tell you that all options are possible. But let’s not make things more complicated than they need to be.
Psst! You’ll want to save this list of camping breakfast ideas to go with your coffee on your next camping trip!
How will you boil water?
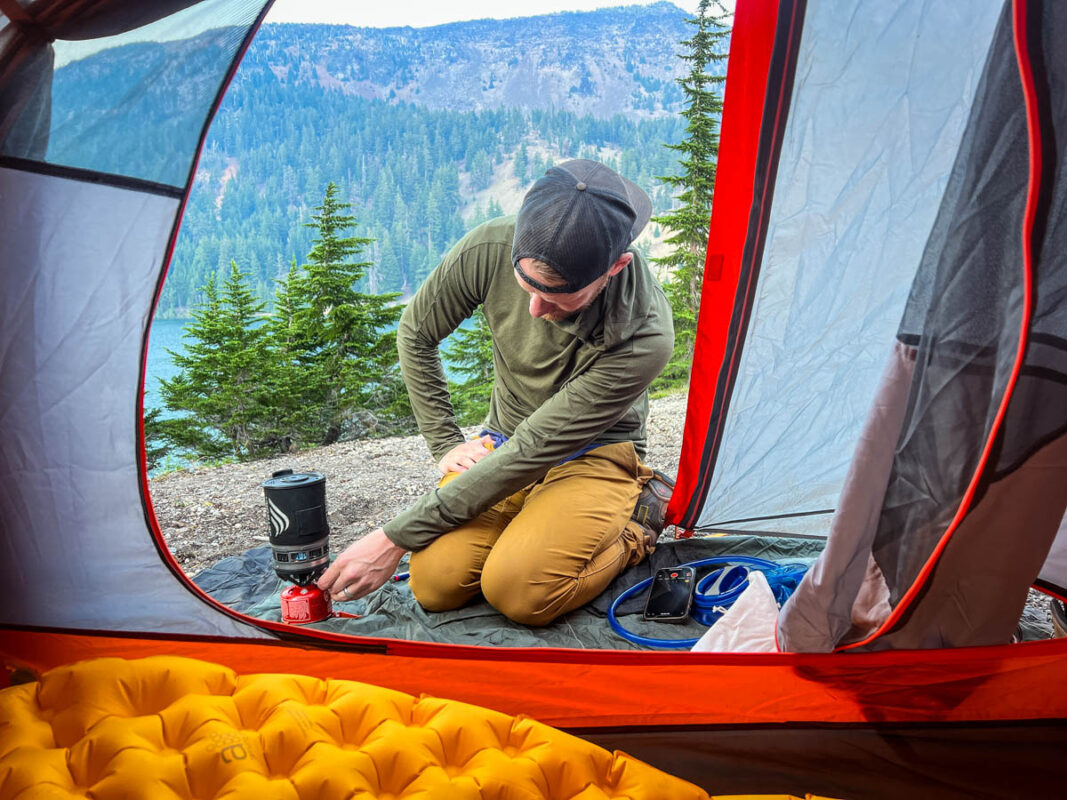
Don’t forget that you’ll need a method of boiling water in order to make your coffee. There are different options depending on what type of camping you’re doing (campervan vs. car camping vs. backpacking).
Our personal favorite method when we are backcountry camping or car camping is to use our Jetboil.

Top methods for brewing camping coffee
Camping coffee can be as easy or complex as you want it to be. There are so many amazing options that no matter your coffee preference, you can have it on the go with minimal fuss. The only issue is choosing which method to go for.
Once you’ve worked out your top priorities for making coffee whilst camping, it’s time to work out which method will suit you best.
French press coffee bags
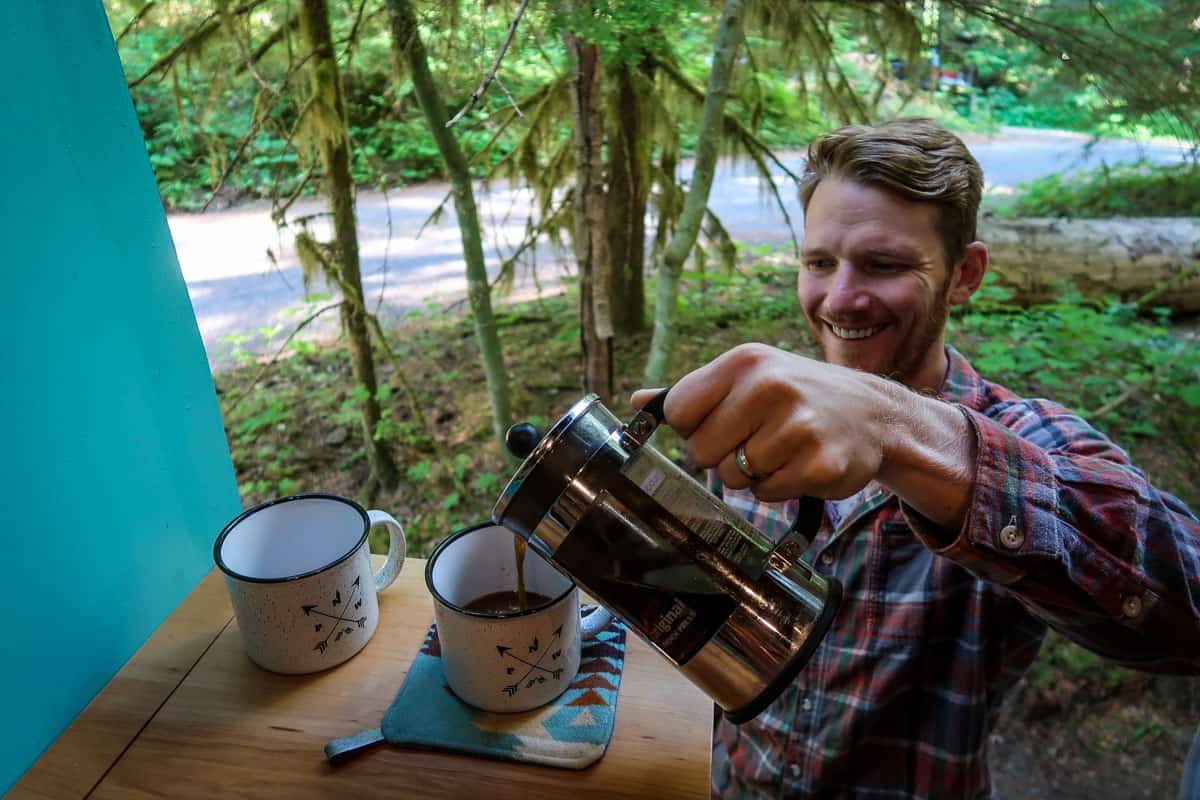
If you want quality coffee without carrying lots of extra equipment, this is the solution. The French Press coffee bag was designed to go in your French press to make clean up easier by keeping the coffee ground inside a disposable bag.
It works exactly like a teabag, except with your own freshly ground beans. This is a great way to get wonderfully full flavored camping coffee.
To get the best from these bags you need to be grinding your beans fresh before each use. This means you’ll need to carry a manual grinder.
Other than that, no brewing equipment is needed. If you want to use your favorite coarse ground coffee for these, that works too. They’ll still be better than instant coffee or buying pre-filled coffee bags.
The bags are designed for a 32 oz coffee press but you can just use fewer coffee grounds if you don’t have a big enough pot for heating water.
If cold brew coffee is more your thing, you can also put these disposable coffee bags in a mason jar to start brewing your coffee before you even head off on your trip.
Note: These bags are disposable but not compostable, so you’ll need to carry them with your trash after use.
Pros
- Very easy to use
- Make excellent freshly brewed coffee
- Cheap
- Small and light
- Easy clean-up
Cons
- Need a grinder
- Getting the ratio right can be tricky
- Have to carry used bags
Equipment needed
- Heat Source
- Camping stove (we love our Jetboil) or pot to boil water (MRS titanium kettle for 1 to 2 people)
- Manual coffee grinder
- Coffee bag
- Spoon
- Mug
How to make camping coffee with French press coffee bags
- Heat 32 oz water to boiling
- Take off the heat and wait 5 minutes
- While the water is cooling, grind coffee beans and put them in the bag
- Put the bag in water and steep for 4 mins
- Remove the coffee bag and press with a spoon to extract all the flavor
Psst! Looking for other ways to make your camping easier? Check out these easy camping meals that’ll keep your belly full, without sacrificing flavor!
Wacaco Nanopresso
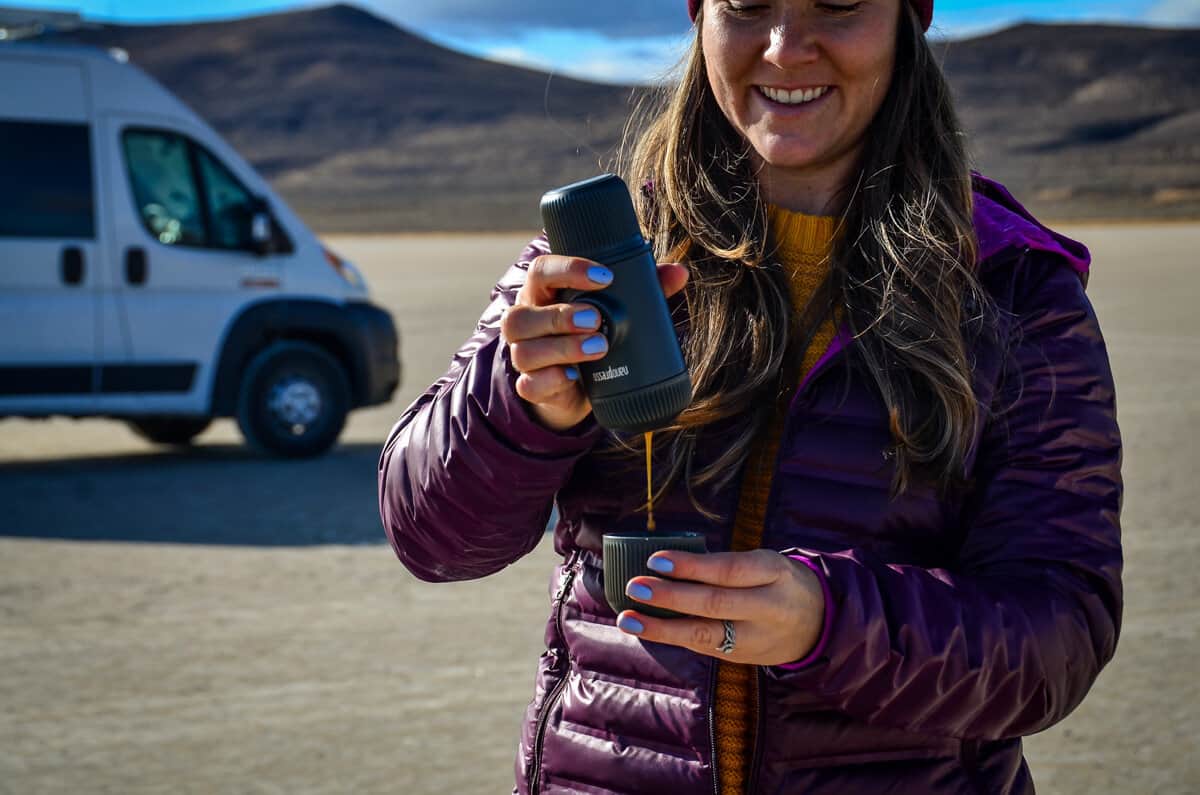
If you’re an espresso junkie and you’re worried about having to cope for a few days without your hit of rich, syrupy goodness then fear not. The Wacaco Nanopresso is a fantastic portable espresso maker that produces an astonishing 18 BARs of pressure to pull genuine espresso shots anywhere you have hot water (and coffee grounds).
Obviously to get the best results you also need a manual grinder. However, with the addition of the NS attachment, you can also use Nespresso pods in your Nanopresso. This means no grinding, no measuring, and almost no cleaning. A truly exceptional piece of kit.
Be aware that the Nanopresso makes one, maximum of two, espressos at a time—and you’ll need an extra attachment to make two. So if you’re looking to espresso up the whole crew, it’s going to take a while.
This option is best for couples, solo campers, or people who want to sit in front of their friends and hoard their precious coffee like Gollum.
Psst! Check out our reviews of the best 2 person tents on the market today!
Pros
- Easy to use
- Works with pods (NS attachment) or ground coffee
- Exceptional coffee quality
- Small and light
- Easy clean-up
- Comes with a cup attached
Cons
- Only makes single or double espresso (attachment required)
- For best results, you need fresh ground coffee
- Expensive compared to other methods
- Good hand strength needed
Equipment needed
- Heat source
- Camping stove (we love our Jetboil) or pot to boil water (MRS titanium kettle for 1 to 2 people)
- Wacaco Nanopresso
- Pre-ground espresso coffee/ Manual grinder and coffee beans/ Nespresso pod
- Optional: NS attachment
How to make camping coffee with Wacaco Nanopresso
- Unscrew the portafilter and put 8g (1.5 tbsp) of coffee in the basket
- Tamp coffee grounds and screw the portafilter back on
- Heat water to just below boiling
- Add hot water to the line on the water tank
- Screw water tank onto the bottom of Nanopresso
- Turn upside down and pump the piston
- After 5-10 pumps espresso will start being extracted
- Espresso is pulled when you no longer feel pressure on the pump (20-30 pumps)
Moka Pot
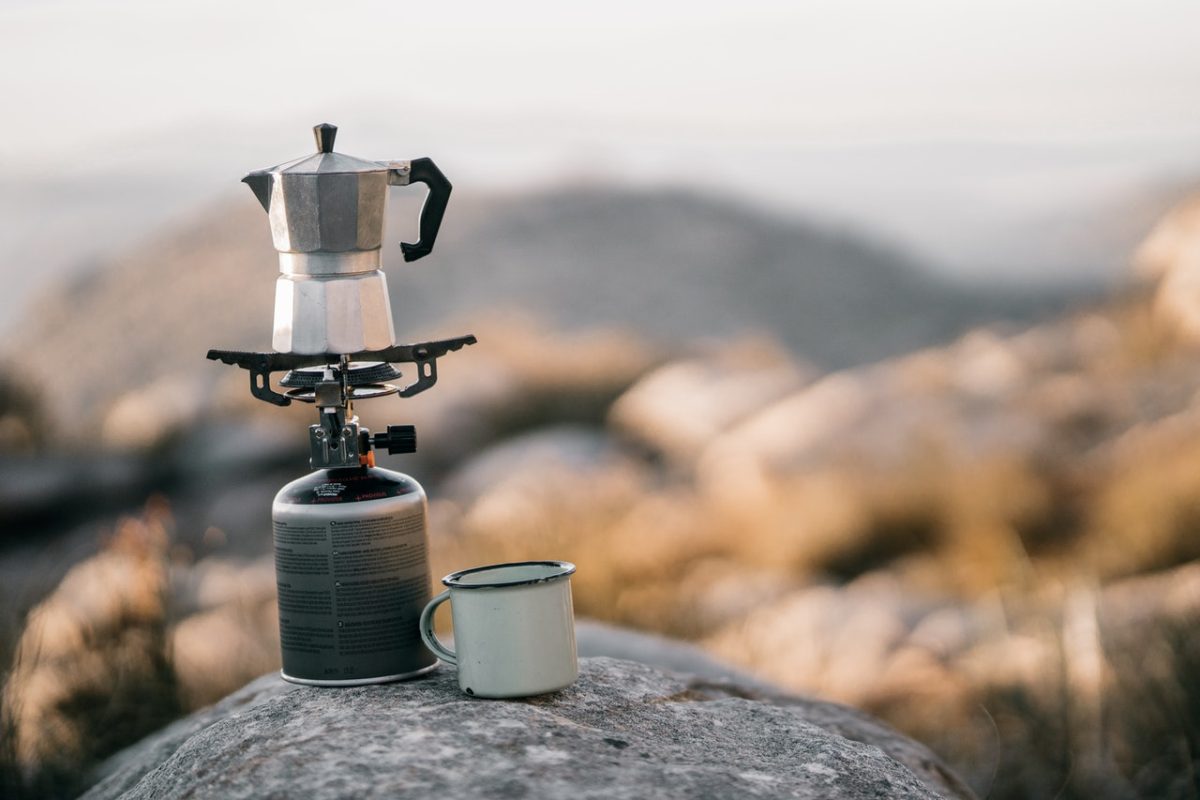
If you’re a fan of espresso but you need to make coffee for 4+ people each morning then the Wacaco Nanopresso isn’t the most practical solution. Instead, I suggest trying the Moka Pot.
Technically a style of highly-pressurized percolator coffee, this pot has stood the test of time and is still much loved the world over.
Whilst the Moka espresso pot doesn’t make “true espresso” (it doesn’t produce the 8 BARs of pressure needed), it does make rich, full-bodied strong coffee. Plus, it’s very simple to use.
You can choose from lots of different sizes, measured by 5oz “cups”, so you can get one that is the perfect size for you.
For me, there’s nothing better than the sound a Moka pot makes as it brews: that hypnotic gurgling alongside the incredible rich smell.
It is a bit annoying to clean but it works perfectly with pre-ground coffee. You don’t gain much by using freshly ground coffee because this method brews too hot. So just embrace the pre-ground easy life.
As an added bonus, it’s faster than many other camping coffee methods as you heat the water and brew at the same time.
There’s a good reason this is still a classic method after 80 years or so.
Pros
- Easy to use
- Can make coffee for large groups
- No extra pot is needed to heat the water
- Cheap
- Basically indestructible
- No waste to carry around
Cons
- Fiddly to clean
- Coffee isn’t to everyone’s taste
Equipment needed
- Heat source
- Moka pot
- Finely ground coffee
How to make camping coffee with a Moka pot
- Add finely ground coffee to the basket above the water reservoir
- Add cold water to the line
- Put on stove/fire
- Once you hear the gurgling/sputtering pour the coffee out
French Press Camping Coffee
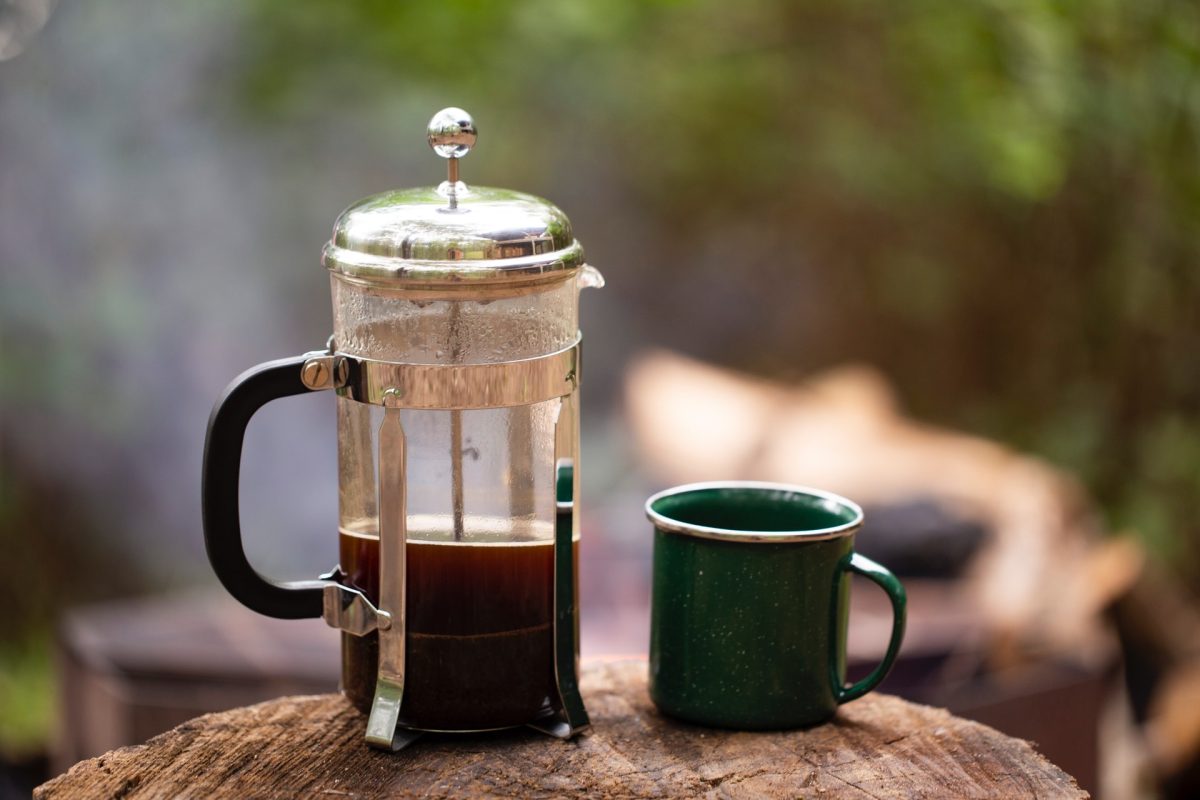
I have to admit that I love French press coffee. It has been my go-to brewing method for many years both at home and on the trails.
Other than my adoration of the brewing method, it’s also cheap and easy to do, making it a great choice for camping. Plus, there are many excellent travel French presses available, lots of which double as a coffee mug, saving precious space. My top choice is the BruTrek Ovrlndr.
The downside is that clean-up can be messy. To get the best out of your French press, freshly ground coffee is preferable. Or, you can easily pick up bags of pre-ground coffee designed for a French press (it needs to be coarsely ground).If you use an integrated cook system like the Jetboil, there is a French press attachment available meaning very little extra equipment is needed.
Pros
- Easy to use
- A combined French press and mug saves space
- Excellent coffee quality
- The only waste is used coffee grounds
Cons
- Messy to clean
- Fresh ground coffee is preferable
Equipment needed
- Heat source
- French press travel mug
- Camping stove (we love our Jetboil) or pot to boil water (MRS titanium kettle for 1 to 2 people)
- Optional: French press Jetboil attachment
- Coarse ground coffee
- Manual coffee grinder (optional)
How to make camping coffee with French Press
- Heat water to just below boiling (200-205°F)
- Add coarse ground coffee to your travel French press (1 tbsp per 3 oz water)
- Add water and steep for 4 mins
- Plunge and enjoy
Psst! You know what goes great with camping coffee? Try these delicious and easy campfire desserts!
Pour-Over Camping Coffee
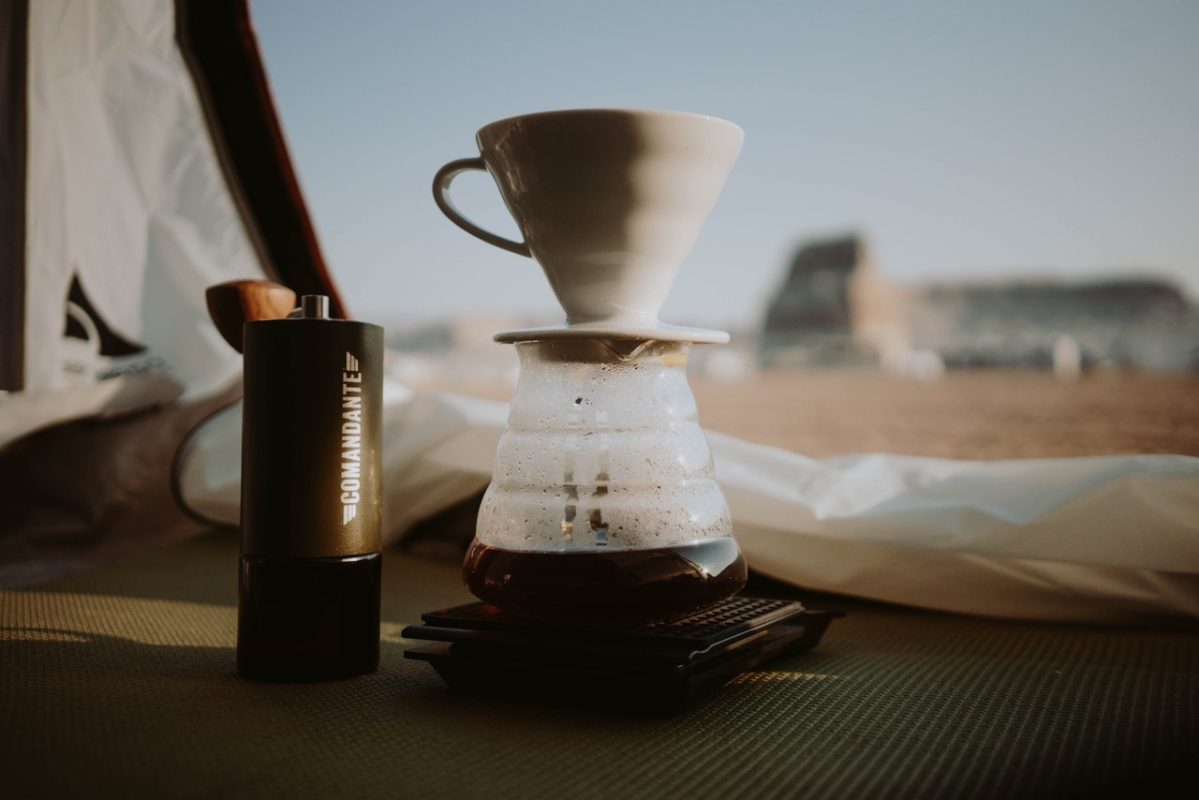
There’s something about pour-over coffee that just can’t be beaten: the lighter body bursting with fruity and nutty aromas, the vibrant flavors unique to a region and roast. It truly is a joy.
So why shouldn’t you get to recreate the experience of your favorite drip coffee whilst camping too?
The good news is: you can! The bad news is that it requires equipment and expertise to get the best results, so, unfortunately, it’s not a method for everyone.
The pour-over method is a cheap coffee setup. You just need a funnel and some coffee filters. You can get large carafes that allow you to brew several cups at a time too.
Whilst the method is slightly more involved than others, it is just pouring water on the coffee grounds in a swirly pattern and letting it drip through. So it’s not rocket science.
The best 2 options for campers are the GSI Ultra Light Java drip, which has a nylon mesh that just needs to be rinsed after each use. Or the GSI Collapsible Java Drip which takes filters that can be found almost anywhere that sells coffee filters.
The bad news is you HAVE to use fresh ground beans. Otherwise, there’s no point in putting in the time—all those fruity aromas and delicate flavors evaporate from your grounds within 30 minutes of grinding. So, a manual grinder is a must for this method.
Pros
- Fantastic coffee
- Small and light equipment
- Can brew for multiple people
- Easy cleanup
- Paper filters can be compostable
Cons
- Have to use a coffee grinder
- Takes practice and concentration
Equipment needed
- Heat source
- Coffee filter
- Pour over cone
- Manual coffee grinder
- Measuring jug
- Pot with a spout to heat water in (MRS titanium kettle for 1 to 2 people)
How to brew pour over camping coffee
- Grind your coffee beans medium-fine
- Use a small amount of water to wet your filter and place it inside the funnel
- Place the funnel over your cup
- Spoon coffee grounds into the filter and tap to spread evenly
- Heat the appropriate amount of water for your grounds (16ml for every 1g coffee/8oz water to 0.5oz coffee)
- Pour just enough water to cover the grounds and leave for 30 seconds (bloom)
- Pour ⅓ of the remaining water slowly over the grounds in a spiral moving inwards
- Wait for the water to filter through
- Repeat twice more until all the water has been poured
Camping coffee with an AeroPress coffee maker
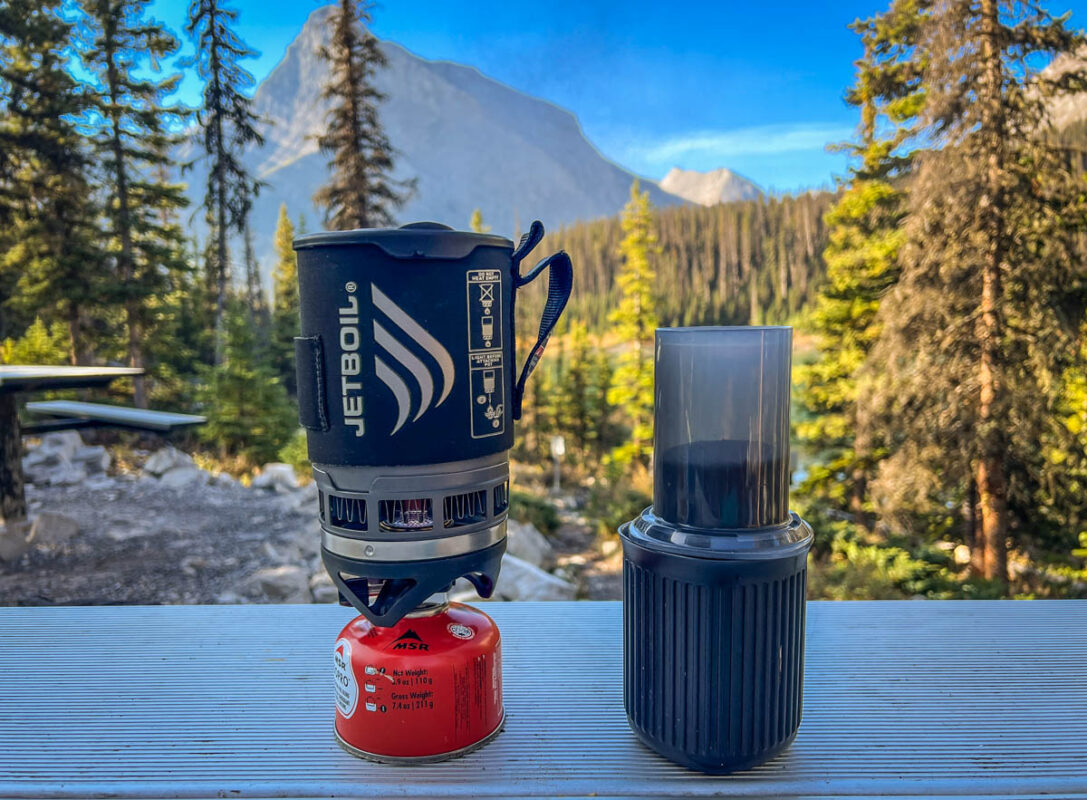
Ah, the AeroPress. Such simplicity and yet it has spawned a truly insane amount of diversity in coffee making. From the yearly Aeropress championships and endless YouTube videos on the best brewing methods.
The positives of this brewing method are obvious: it’s cheap, it’s durable, it’s light, it’s easy to use, and it makes amazing coffee. You can also make a few different styles with the same kit from lighter to fuller-bodied coffees.
The downside is that, like the pour-over method, you really should be grinding your coffee fresh to get the most from your AeroPress. The good news is that the inexpensive Porlex mini manual grinder fits neatly inside your AeroPress, making a lightweight and easy-to-pack coffee setup on the go.
Don’t get me wrong, you can absolutely use pre-ground beans to make your Aeropress coffee. But you may as well just use a French press or coffee bag at that point in my opinion. After all, they’re easier to use and clean.
However, if you’re looking for all those delicate flavors from pour-over, but it seems like a bit too much of a faff whilst camping, then AeroPress is the best camping coffee maker for you.
Pros
- Cheap
- Small and light
- Durable
- Endless brewing tutorials
- Can make a few styles of coffee
- Makes truly excellent coffee
Cons
- Needs fresh ground coffee
- Can only make 1 or 2 servings at a time
Equipment needed
- Heat source
- Aeropress (we recommend the Aeropress Go for camping coffee)
- Porlex mini manual grinder
- Coffee beans
- Pot to heat water in (MRS titanium kettle for 1 to 2 people)
How to make camping coffee with AeroPress (Regular Method)
- Heat water
- Finely grind coffee
- Insert filter and place on the brewing chamber, and place on top of your mug
- Add ground coffee (1g coffee to 16g water/0.5oz to 8oz)
- Add water, just before boiling
- Stir for 10-15 seconds
- Place plunger on top and slowly press down until you hear a “hiss” (should take around 30 seconds)
How to make camping coffee with AeroPress (Inverted Method)
- Heat water
- Grind coffee fine-medium
- Place the plunger into a brewing chamber and balance with the open end up (AeroPress should be upside down)
- Add ground coffee (1g coffee to 16ml water/0.5oz to 8oz)
- Add 2 oz of water, stir and wait 30 seconds
- Add the rest of the water, stir and wait 2 minutes
- Place filter on top of AeroPress, turn over and place over a mug
- Press the plunger until you hear the “hiss” (should take around 30 seconds)
7. Cowboy Coffee
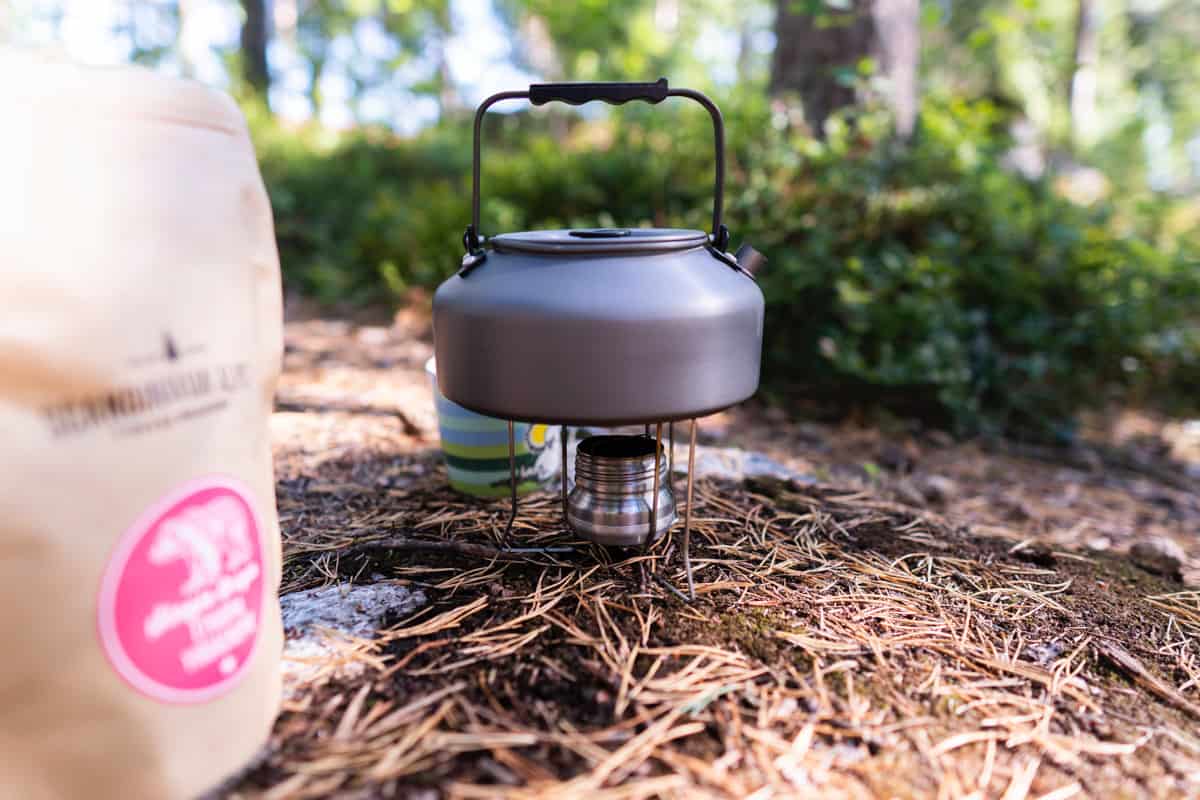
Next up is a classic—the OG, if you will—of camping coffee. For me, this method brings up romantic images of the untamed landscape, horses, and people around a fire with a big pot of coffee bubbling away.
While this is a rather romantic notion, cowboy coffee is at the bottom of this list for a reason: this is not a great way to make your camping coffee.
If you’re careful and make sure the water never quite reaches boiling then you can make a decent pot. But it does need your full attention or you’ll spoil the pot.
The good news is you just need a coffee pot and a heat source. Your coarse ground coffee from the store will do just fine too.
A note about adding egg shells to your Cowboy Coffee:
Many people swear by adding eggshells to their coffee, claiming this “increases the body”. Now that isn’t exactly true, but adding eggshells to coffee can be a really good idea, especially in ‘cowboy coffee’.
The eggshells are alkaline and cowboy coffee tends to be quite acidic and bitter, due to high heat extraction. So chucking an eggshell or two in with your grounds can balance this out a bit, giving a more mellow and enjoyable coffee. Plus it saves on the waste from breakfast.
Pros
- Cheap
- Easy
- Very little equipment required
- Can make a large amount easily
Cons
- Not the best coffee quality
- Clean up can be a pain
- Grounds can get into the cups
Equipment needed
- Heat source
- Camping coffee pot (MRS titanium kettle for 1 to 2 people)
- Coarse ground coffee
- Eggshells (optional)
- Tea strainer (optional)
How to make Cowboy Camping Coffee
- Add cold water to the coffee pot
- Heat water until just off the boil then remove from heat
- Add coffee and stir (0.5oz coffee to 8oz water/1g coffee to 16ml water)
- Add 1 roughly crushed eggshell per 4 cups of coffee (optional)
- Steep for 5 minutes
- Add 1 oz cold water to settle the grounds (takes around 5 minutes to settle)
- Pour (carefully) and enjoy (use a tea strainer if you have one)
Instant coffee and/or coffee bags
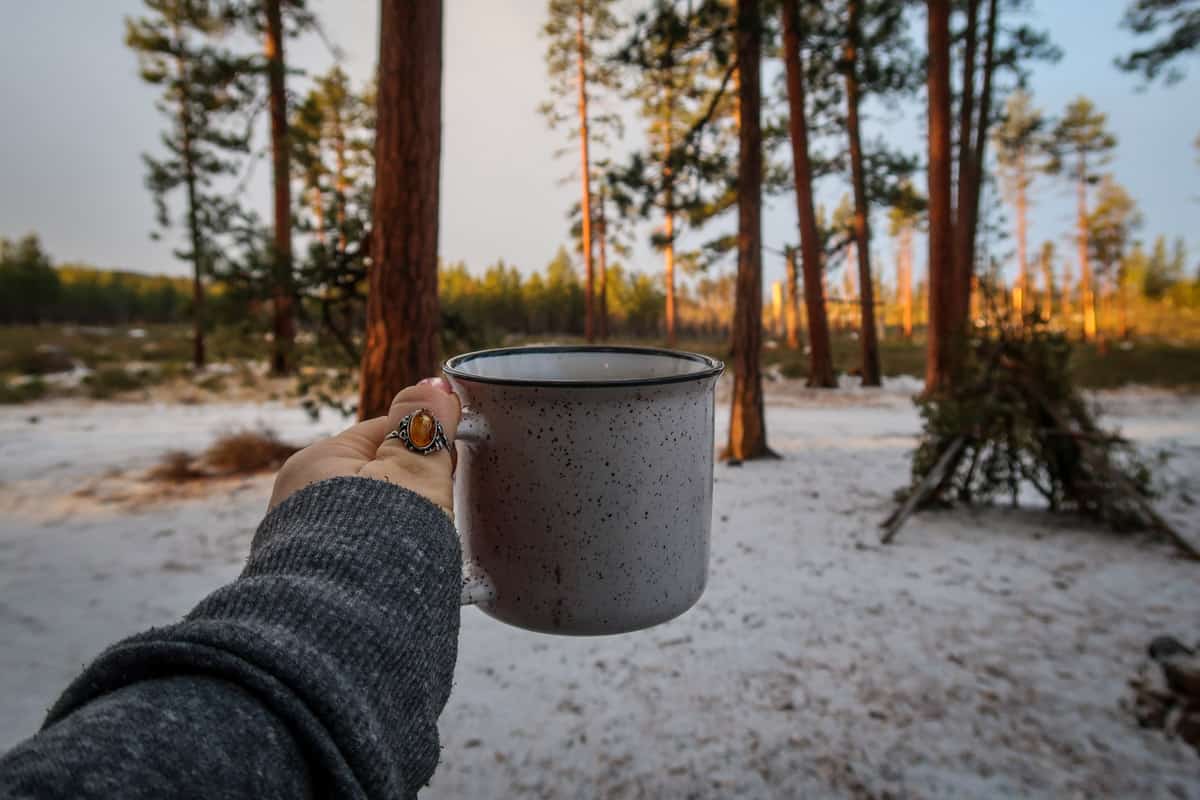
If you’re just after a quick cup of coffee and not that bothered about the quality, this is the best method for you.
Instant coffee is a ground mix that you can typically buy in single serving pouches. Just add hot water and voila! You have a coffee(-like) drink.
Coffee bags are exactly what they sound like: a bag of coffee grounds that you throw into hot water and steep to brew coffee – just like a teabag.
If you buy a box of coffee bags you’ll get some fairly stale, uninteresting coffee. But it will have caffeine and it will kick start your day. So if that’s all you’re after then great. Folgers make a decent coffee bag.
Pros
- Easy to use
- No equipment required
- Cheap
- Small and light
Cons
- Not very good coffee
- Need to carry around the used ones
Equipment needed
- Heat source (campfire or stove)
- Pot to boil water (MRS Titanium kettle for 1 to 2 people)
- Coffee bag
- Mug
How to make camping coffee with a coffee bag
- Heat water over a campfire or stove until boiling
- Add coffee bag for 1-4 minutes
- Remove the bag and enjoy

Manual coffee grinders for camping coffee
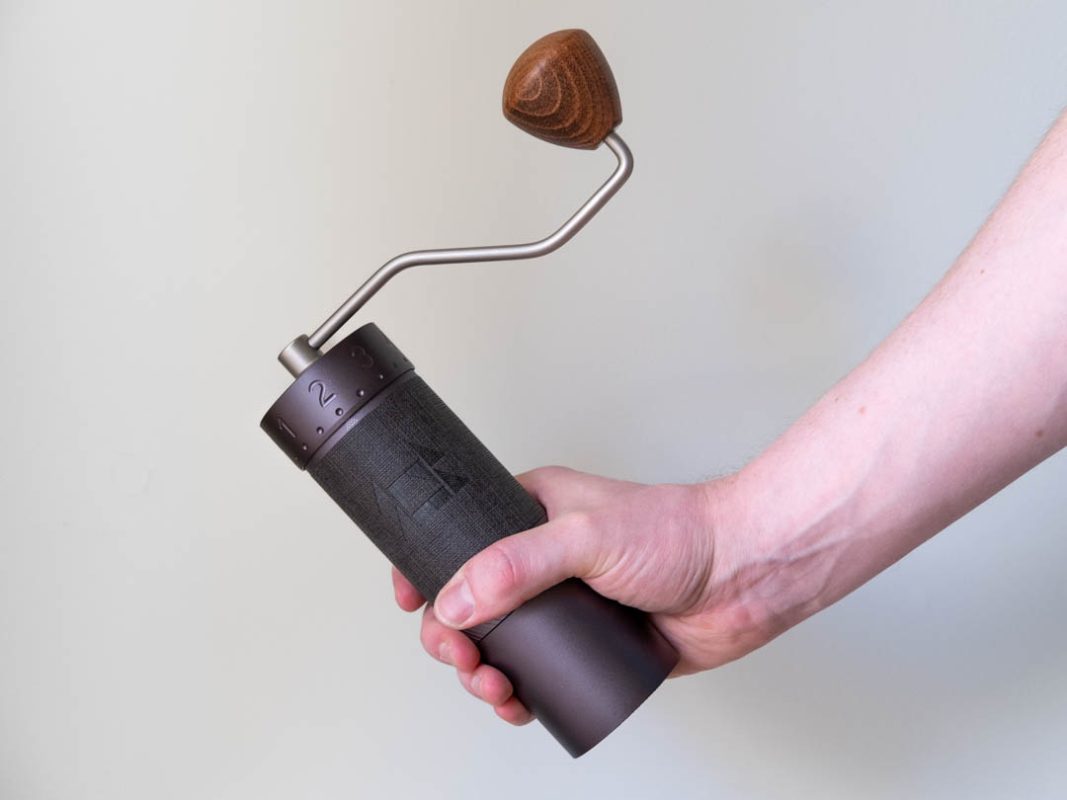
A few of the methods we’ve mentioned really need fresh ground coffee to be worth the effort. And, let’s be honest, all coffee brewing methods are better with freshly ground beans in general.
So here are some of our favorite manual coffee grinders to add to your camping coffee setup so you can get the best results on your next trip.
1Zpresso J Max
We wouldn’t be without our J Max. It is the best manual coffee grinder on the market; one of the best coffee grinders on the market period.
1Zpresso is a Taiwanese company that makes manual coffee grinders with this being their most recent offering. It has a staggering grind range that can do everything from Turkish (very fine) to French press (very coarse) with an incredible 8.8-micron difference between each step.
The drawback? It isn’t cheap and it isn’t exactly compact although it does come with a very nice carry case. It is the only coffee grinder you’ll ever need though so you can justify the expense by claiming it’s cheaper than having one at home and one for camping.
Porlex Mini
The Porlex Mini is a quality manual grinder that is specifically designed to fit inside your AeroPress. This makes packing your coffee set up easier and more compact.
The grinder performs admirably well but is still above what we’d call “budget” for a grinder. However, if you plan to take your AeroPress on the road/ trails then this is definitely worth the investment.
JavaPresse Manual
This is the best grinding option for those on a budget. The JavaPresse Manual is lightweight and slim, though quite tall. It will do a standup job of grinding your beans on the go, all for under $40.
You compromise on precision and consistency but for the casual coffee drinker who just wants to up their camping coffee game, this is the tool for the job.
Psst! Looking for discounted camping gear? We put together an entire article describing how we find cheap camping gear!
How to achieve the best results when brewing your camping coffee
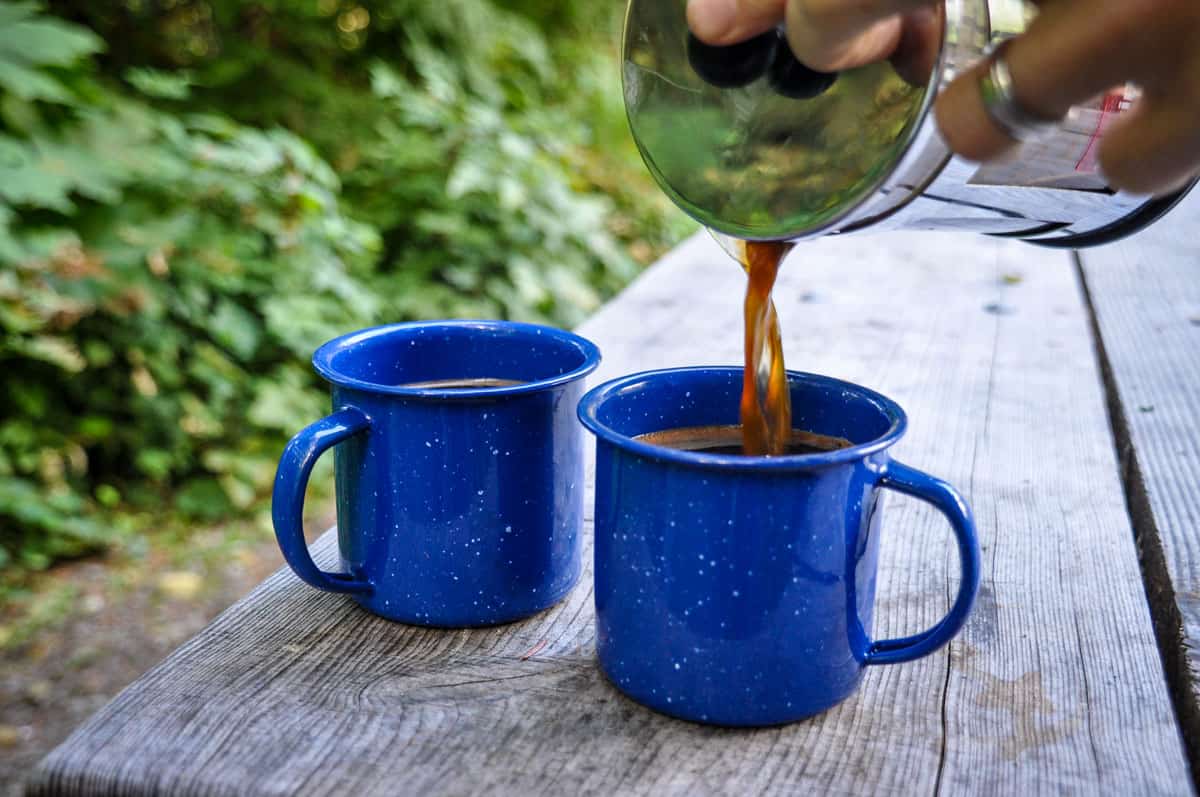
Follow these general best practices to ensure the best results when brewing coffee on your next camping trip.
1. Use good quality coffee
There’s no point in going to all the effort of a relatively complex brewing process if you’re using low-grade coffee or old, stale pre-ground stuff. Rubbish in, rubbish out as they say. No matter what method you’re using, getting your hands on the best quality coffee available to you will make a big difference to the quality of your brew.
2. Fresh ground is always better
Coffee grounds go stale really fast, like within 30 minutes of grinding. All the oils that carry the flavor compounds in the beans evaporate very easily and leave you with uninteresting grounds to use. Even a cheap and not great grinder will be an improvement over pre-ground coffee.
3. Don’t boil your coffee
Boiling water and coffee is a big no-no. The extra heat will burn the coffee grounds giving a bitter and unpleasant flavor.
Just off the boil (about 200°F) is generally the best temperature regardless of your brewing method.
But you don’t need to pack a thermometer in your rucksack. Instead, you can judge by eye and remove it from the heat just before it boils. Or you can let it boil, take it off the heat, and wait 2-3 mins.


About the Author
Mathew spent 15 years working in the service industry including 7 years as a dedicated Barista. Now, he’s turned his passion for coffee into a website, Home Coffee Expert, which he runs alongside his wife, Katie.

You may also like…
- Tasty Camping Breakfast Ideas
- Essential Camping Food List + Meal Ideas
- Best 2-Person Tents for Camping & Backpacking
- The Best Outdoor Apps for Camping, Hiking & Road Trips
Save this article on Pinterest for later!
We want to hear from you!
What is your favorite method for brewing a steaming cup of camping coffee? Leave your comments below to let us know!

