The Highline Trail in Glacier National Park is one of the best hikes in Montana. In this article, we’re going to go over everything you need to plan your hike, from when go, to how to prepare and what to expect on the trail.
By Guest Authors: Sarah Vaughan and Matthew Cafarella
Tucked away in northern Montana, Glacier National Park is often considered the crown of the continent and for good reason! Covering over a million acres of undisturbed wilderness, Glacier is home to two mountain ranges, hundreds of pristine lakes, thousands of species of plants and animals, and over 700 miles of hiking trails. It’s truly a hiker’s paradise!
Across the entire park, one hike stands out above the rest. The Highline Trail is not only one of the best things to do in Glacier National Park, and may actually be one of the best hikes anywhere in the US! In this article, we will provide all the information you need to hike the Highline Trail in Glacier National Park. Trust us, this is not an adventure you will want to miss!
Highline Trail at a Glance
- Location: Glacier National Park
- Distance: 15 miles
- Elevation gain: 2,580 feet
- Type of hike: Out-and-back
- Difficulty: Moderate-Difficult (though the hike is long, it’s never too steep and several miles are nearly flat)
- Timing: Full day hike; or broken into 2 days
- View the trail notes
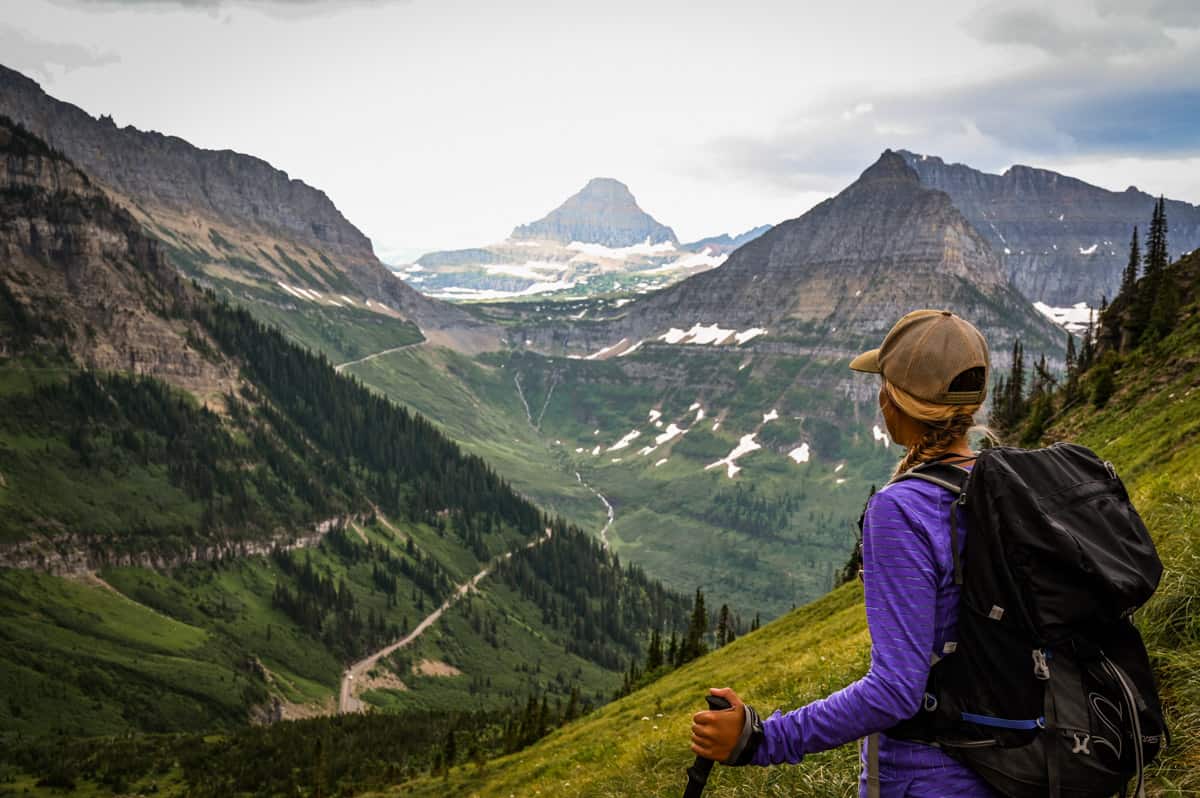
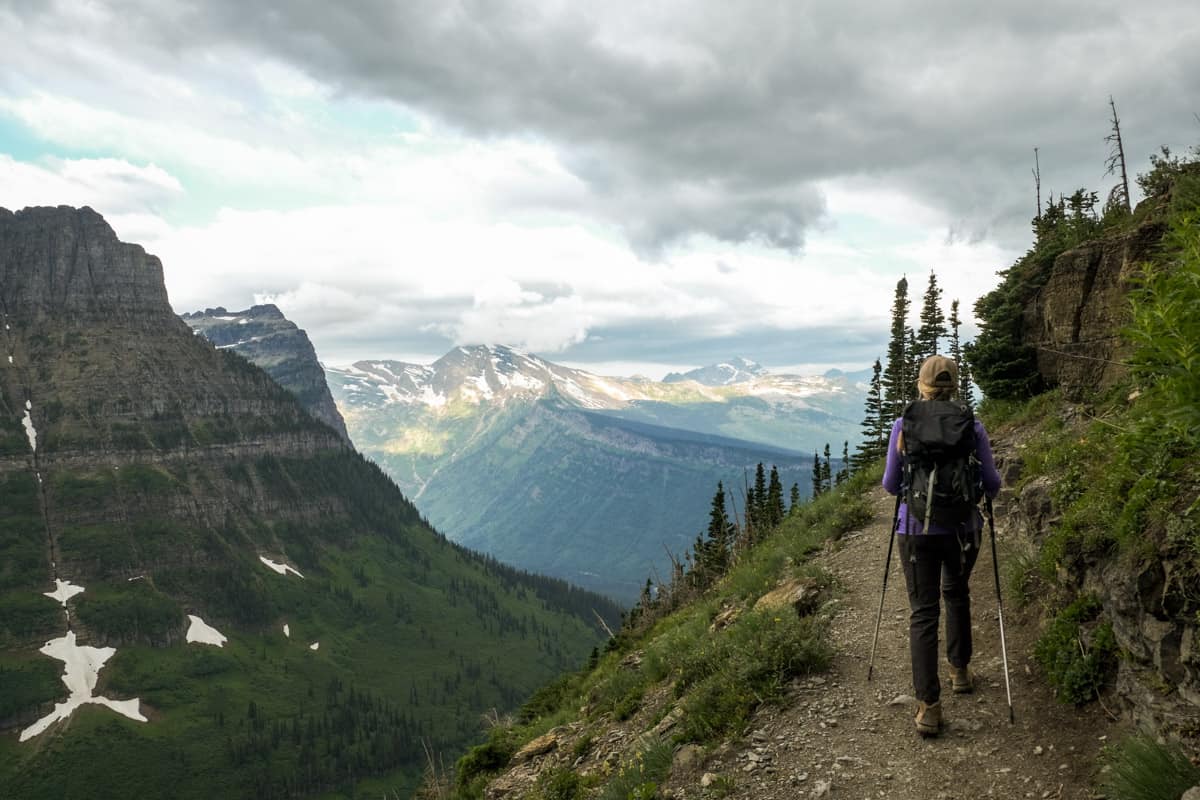
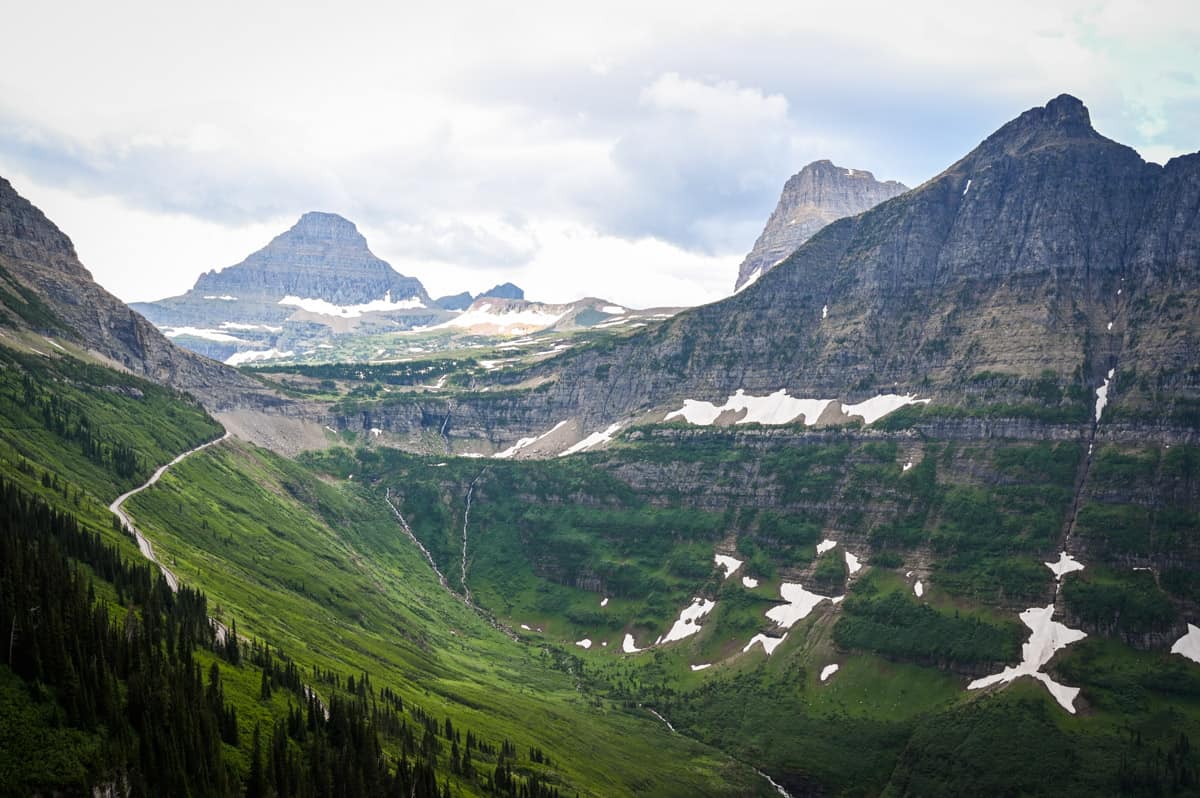
We admit, claiming the Highline Trail as the best hike in Glacier National Park is high praise, but it’s totally justified. The trail follows along the western side of the Continental Divide, or the Garden Wall, and is well-known for its brief exposed section that overlooks the Going-to-the-Sun Road.
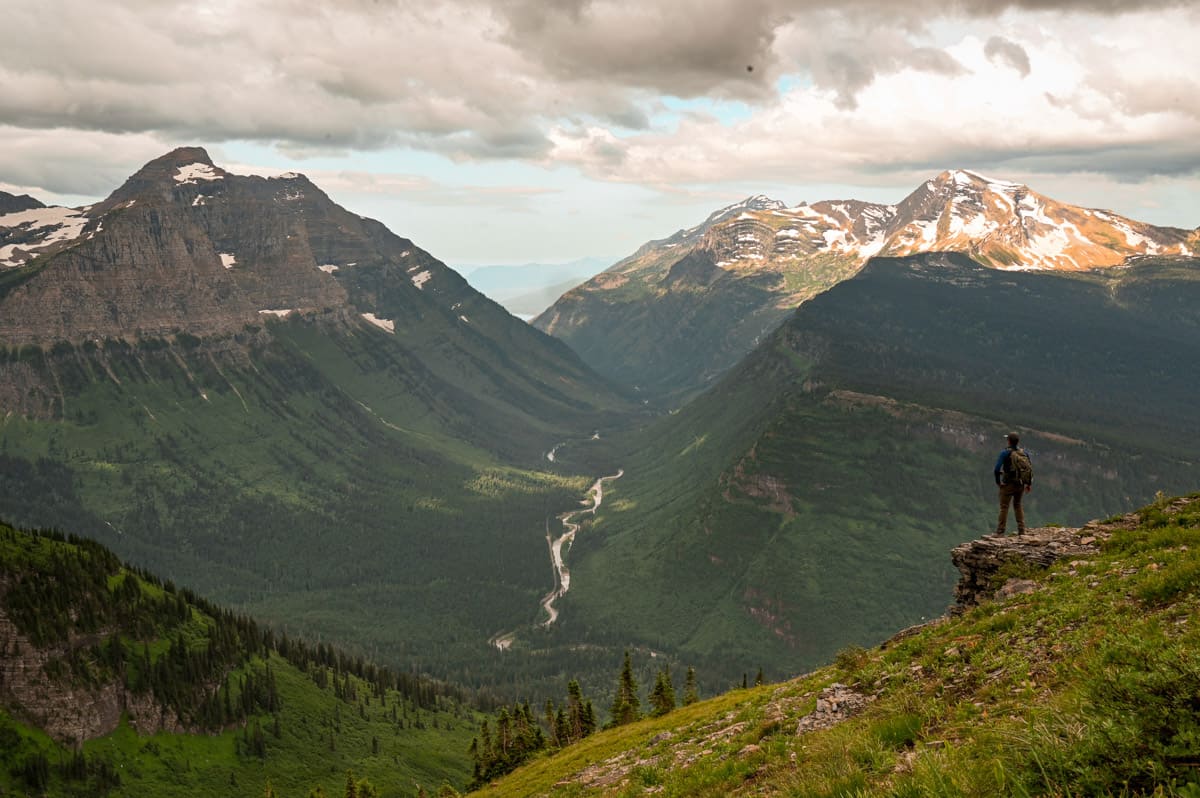
For the entire 15-mile hike, you will be treated to unimpeded views of Glacier’s majestic mountain peaks and lush green valleys.
There are a few different ways to complete the hike, and many people choose to only hike the first few miles. However, in this article, we will cover the full out-and-back hike from Logan Pass to Granite Park Chalet and back to Logan Pass. We will also explain how to add on a detour to the Grinnell Glacier Overlook, which adds 2 miles and about 1,000 feet of elevation gain (yes, it’s very steep but worth it!).
The Highline Trail is one of the most popular hikes in the national park, so don’t expect much solitude. However, it remains one of our favorite hikes due to its spectacular views and the high chance of seeing wildlife.
Things to know before you go
Best Time to Hike the Highline Trail in Glacier National Park
Unfortunately, peak season in Glacier is relatively short, lasting from mid-July through early September. Because the park is located so far north and at high elevation, many of the roads and trails will be snow-covered well into the summer.
To ensure you will be able to enjoy the trail, we would recommend planning your Highline Trail hike for late July, August, or early September.
How long does it take to hike the Highline Trail?
The amount of time it will take to complete this hike varies depending on your fitness level and whether or not you complete the detour to the Grinnell Glacier Overlook.
We are both fairly fit but not speed demons and it took us about 9.5 hours, including the spur trail to Grinnell Overlook. As a general rule of thumb, I’d say that you should start your morning early and plan on the hike taking the full day.
There is also an option to stay overnight on the trail and break your hike down into two separate days. More information on that below!
Cell service on the trail
As you can imagine, the cell service in Glacier National Park is spotty at best. You can find some reception in West Glacier up to Apgar Village and you might be able to get a few bars in St. Mary.
Somehow, Sarah was able to take a phone call along the Highline Trail but I would not bank on getting service once you are inside the park. Even in the areas right outside the park, there is no reception. Plan to download any trail maps before you head into the park!
Tip: There is public WiFi available at the Apgar Visitor Center and St. Mary Visitor Center.
Wildlife on the Highline Trail
Glacier National Park is one of the largest intact ecosystems in the lower 48 and is renowned for the pervasive wildlife that can be found in the area. A variety of large and small mammals including moose, bighorn sheep, mountain goats, black bears, grizzly bears, mountain lions, wolves, deer, and elk can be found within the park.
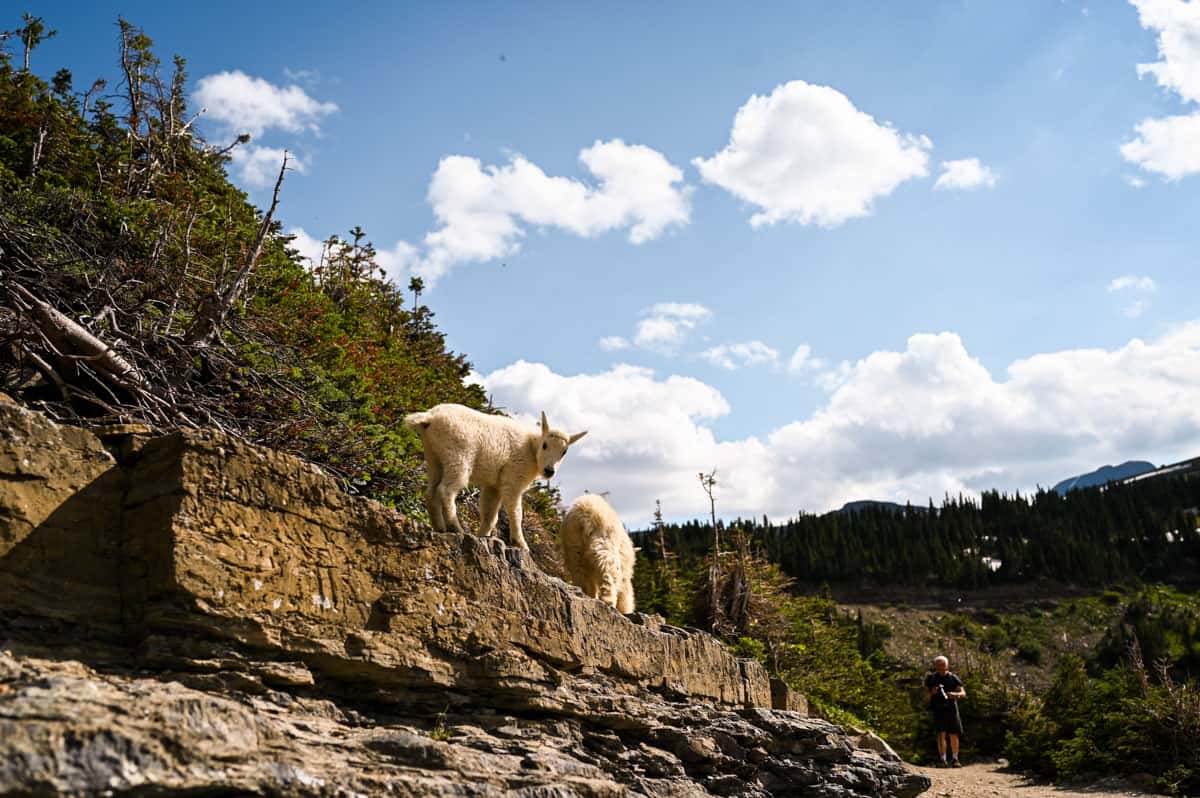
When we hiked the Highline Trail, we ran into a handful of mountain goats including the cutest little baby we have ever seen!
Glacier National Park is also home to a sizable black and grizzly bear population. Be sure to carry bear spray in an easily accessible pocket and brush up on your bear safety before you hit the trail.
As always, be sure to maintain a safe and respectful distance from all animals you encounter in the wild. Even the cute critters are faster, stronger, and, quite honestly, can be more aggressive than they appear.
A good rule of thumb is that you are too close if the animal notices you or changes their behavior because of you.
Cost to visit Glacier National Park
It costs $35 per vehicle to enter Glacier National Park. Your entrance ticket is good for 7 days.
However, if you plan to visit a few more national parks in the calendar year, it probably makes sense to purchase an America the Beautiful Pass for $80, which gives you access to all U.S. National Parks for an entire year.

How to get to the Highline Trail
The trailhead for the Highline Trail is located at the Logan Pass Visitor Center on the Going-to-the-Sun Road. Logan Pass Visitor Center is the highest elevation you can reach by car in the park and a very popular stopping point for folks driving along Going-to-the-Sun Road.
The parking lot will be crowded. Even with the ticketed reservation system, you are not guaranteed a crowd-free experience. Try to arrive at Logan Pass as early as possible to avoid circling the parking lot looking for a spot.
The good news is that spots tend to turn over fairly quickly. Of course, people hiking the full Highline Trail won’t be back at their cars for a while, but most people stop at Logan Pass while driving the Going-to-the-Sun Road to use the restroom and take some pictures.
We arrived at Logan Pass around 7:30 a.m. and the parking lot was full. We circled the lot for a bit and were able to snag a spot after about 20 minutes.
Going-to-the-Sun Road Permits
The Park Service has implemented a ticketed entry system for Going-to-the-Sun Road to help manage the ever-increasing crowds. We have provided a few important details on the reservations system below, but you can read more on the NPS website:
- A reservation is required for all vehicles accessing Going-to-the-Sun Road from late May through early September from 6:00 a.m. to 4:00 p.m. each day
- Reservations are valid for three days and have a $2 processing fee
- There is a limited number of reservations available each day and the demand will exceed the supply
- A portion of the reservations for each day will be released on a rolling basis beginning on March 2 at 8:00 a.m. MST. These reservations will be available 120 days prior to the entry date, meaning that reservations for July 1 will be available on March 3. We strongly recommend being logged in and ready to book your reservation as soon as the clock strikes 8:00 a.m. MST.
- There will also be reservations released at 8:00 a.m. MST the day before the entry date, if you are unable to secure a reservation in advance
- Reservations are not available in the park. You can purchase your reservation here.
- You will still need to purchase a park pass in addition to your reservation

What to Expect Hiking the Highline Trail in Glacier National Park
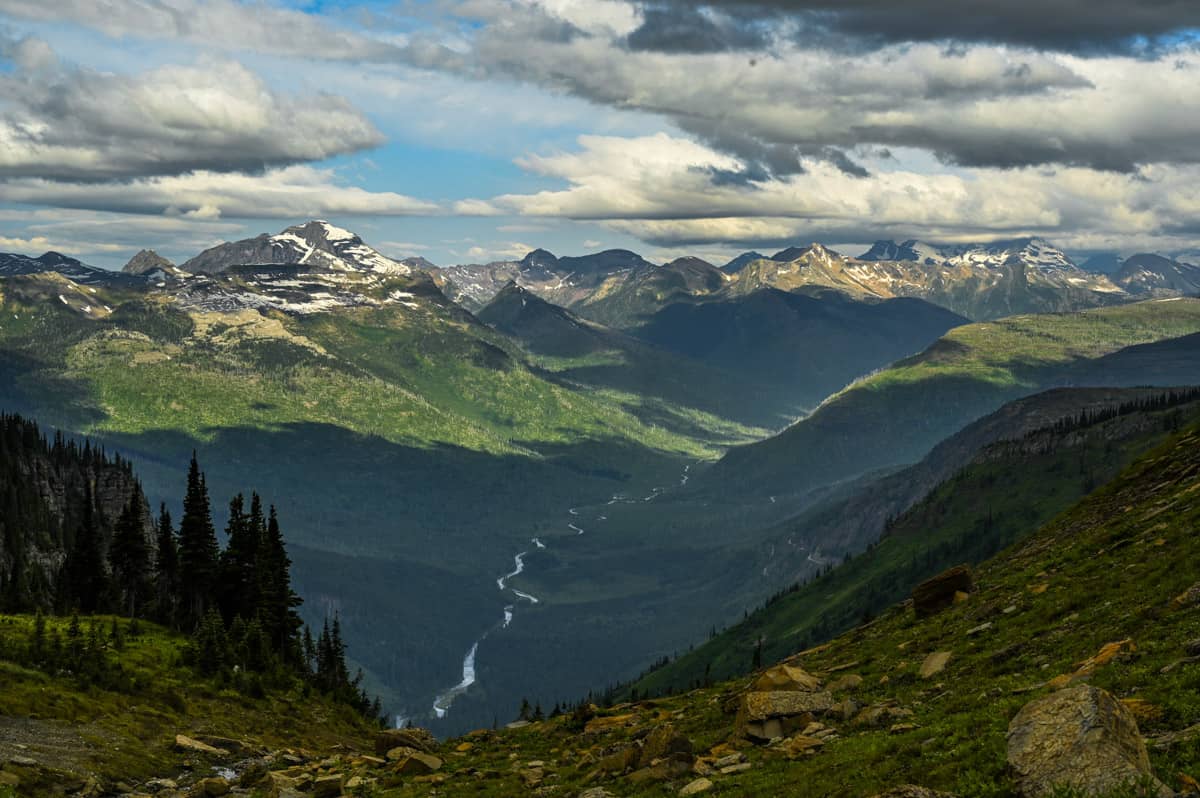
We hiked the Highline Trail in early July. It took us 9.5 hours to complete the hike, including the additional climb to the Grinnell Glacier Overlook, which we will explain in more detail below. Our AllTrails recording clocked us at just over 17 miles, which makes sense given the Grinnell Glacier Overlook adds about 2 miles round trip.
We hiked the Highline Trail in the early part of the busy season in Glacier National Park and the trail was fairly crowded. Not to the extent that we had to wait for anyone to pass or felt overly crowded, but we were never really alone. Nonetheless, we were so distracted with the endless views that the crowds didn’t bother us!
Getting started with the Ledge
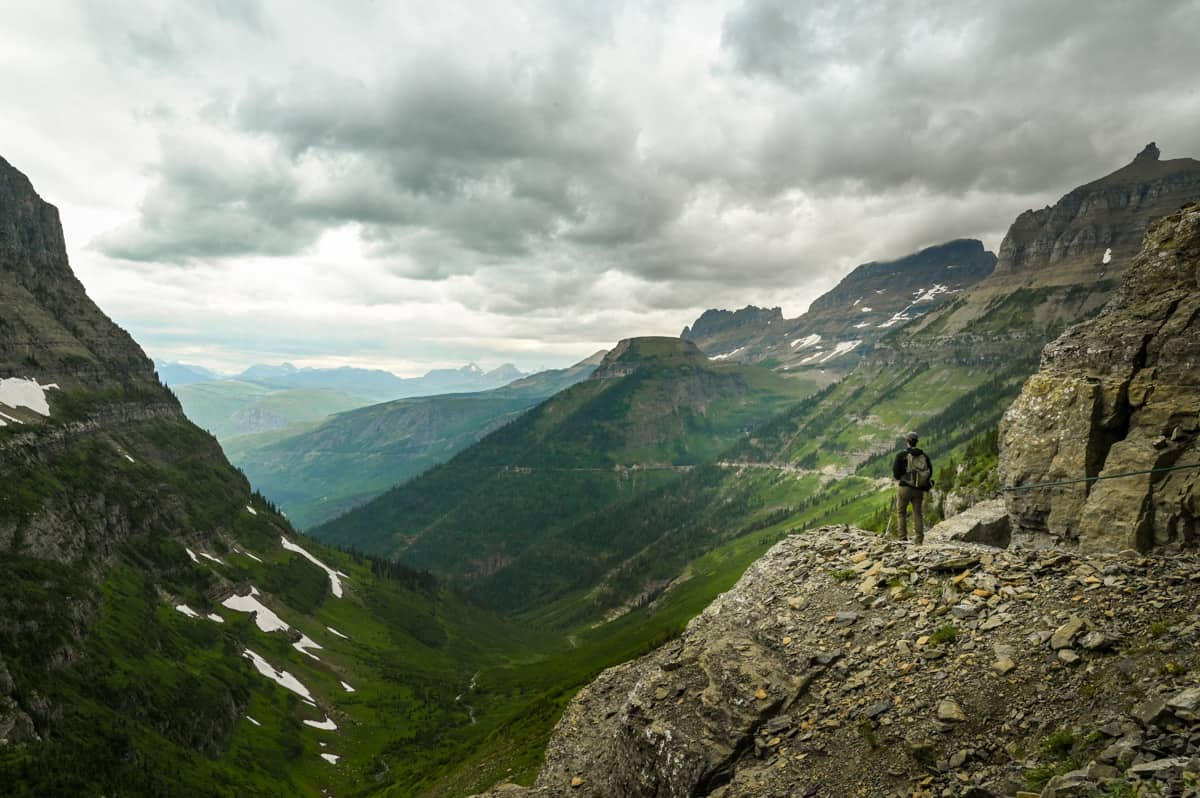
Shortly after starting the hike, you will arrive at the infamous ‘Ledge Section’ of the hike. For the next half mile or so, the trail follows along a ledge carved from the Garden Wall a few hundred feet above the Going-to-the-Sun Road.
The Ledge is maybe 6-8 feet wide, with a steep and direct drop off to the left. There is a handrail installed along the wall for those with a fear of heights.
Some people are understandably deterred by the ledge, but this section of the hike featured some of our favorite views of Going-to-the-Sun Road twisting through the mountains below. If you can get past this section, the rest of the hike is far less scary!
Haystack Pass
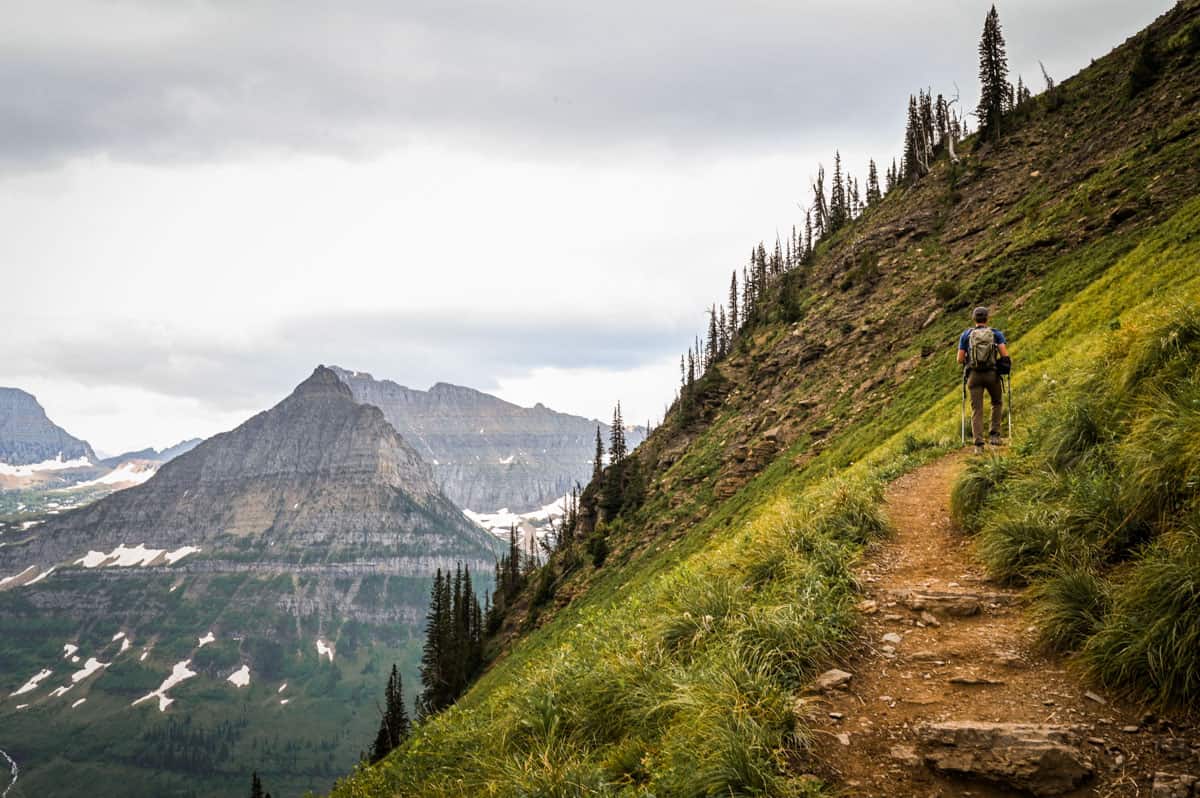
After about 3 miles, the trail starts to climb more steeply up a long switchback until you reach Haystack Pass, which sits at 7,024 feet. This is the steepest section of the hike (if you don’t do the Grinnell Glacier overlook) and will definitely get your heart and legs pumping!
Haystack Pass is a great place to take a well-earned break, grab a snack, and enjoy the surrounding views.
After Haystack Pass, the trail continues to climb for another half a mile or so, until you reach the highest point on the trail (again, aside from the optional detour to Grinnell Glacier Overlook) at 7,289 feet.
Grinnell Glacier Overlook Spur Trail
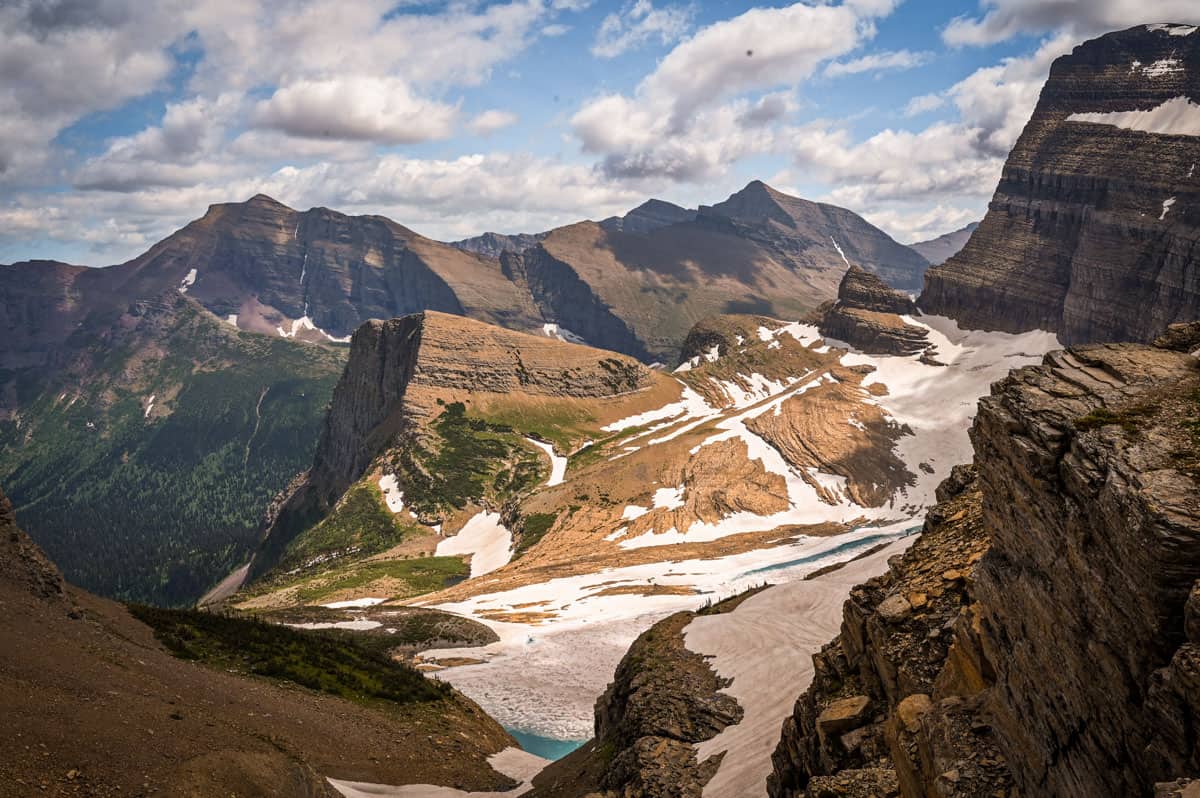
For the next 2.5 miles the trail descends as you pass through fields of wildflowers and small forests. You will then reach an intersection with the Garden Wall Trail, which climbs to the top of, you guessed it, the Garden Wall, and brings you to a spectacular overlook of Grinnell Glacier.
This out-and-back detour will add about 2 miles and 1,000 feet of elevation gain to your hike.
It’s very steep and the spur trail traverses loose scree for most of the climb so it is both difficult and a little nerve-wracking. Regardless, the view looking down on Grinnell Glacier and across the park was absolutely amazing and we strongly recommend adding on the detour if you have the time and energy!
You can also tackle the Grinnell Glacier Overlook on your way back to Logan Pass, if you’d prefer to save your energy and see how you feel later in the hike.
Granite Park Chalet
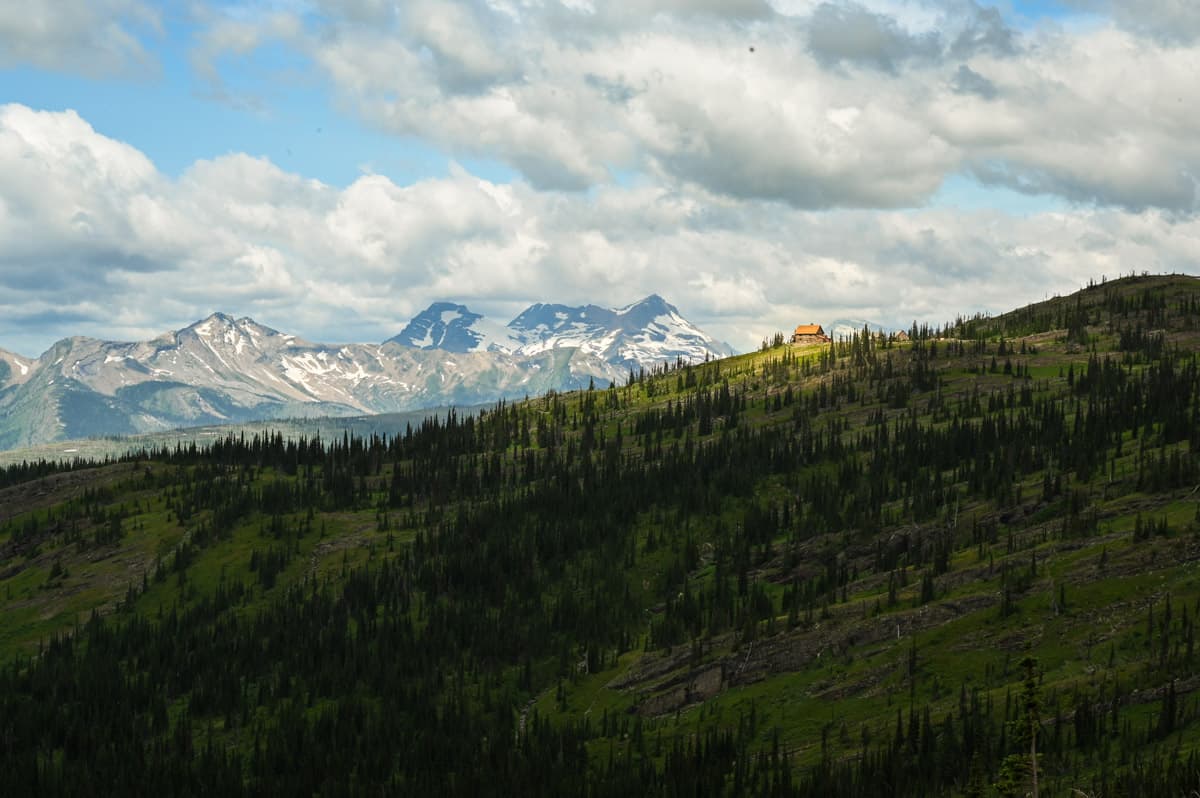
After you reach the intersection with the Garden Wall Trail and finish the Grinnell Glacier Overlook (or not), you will continue towards Granite Park Chalet, which is a little less than a mile beyond the intersection. You can see the Chalet far in the distance, like a beacon of hope for your weary legs and sore back.
Granite Park Chalet was built from 1914 to 1915 by the Great Northern Railway, as a shelter for folks to have a comfortable place to stay in the backcountry. Today, the chalet is listed as a National Historic Landmark and you can still spend the night (more info below)!
If you are not spending the night at Granite Park Chalet or at the neighboring backcountry campsite, find a place to take a quick rest.
You can enjoy lunch at one of the picnic tables, or buy some packaged goods from the Chalet kitchen. After you have soaked up every view, you can start making your way back towards Logan Pass the same way you came in.
Remember, if you didn’t hike up to Grinnell Glacier Overlook, this is your last chance! We opted to hike up to the overlook on the way back and it worked out perfectly.
After a long day, you will finally make it back to the trailhead at Logan Pass before departing on the scenic Going-to-the-Sun Road.
Backpacking to Granite Park
As mentioned above, you can stay the night at the Granite Park Chalet or the neighboring backcountry campground, turning the Highline Trail into a multi-day trek.
Granite Park Chalet
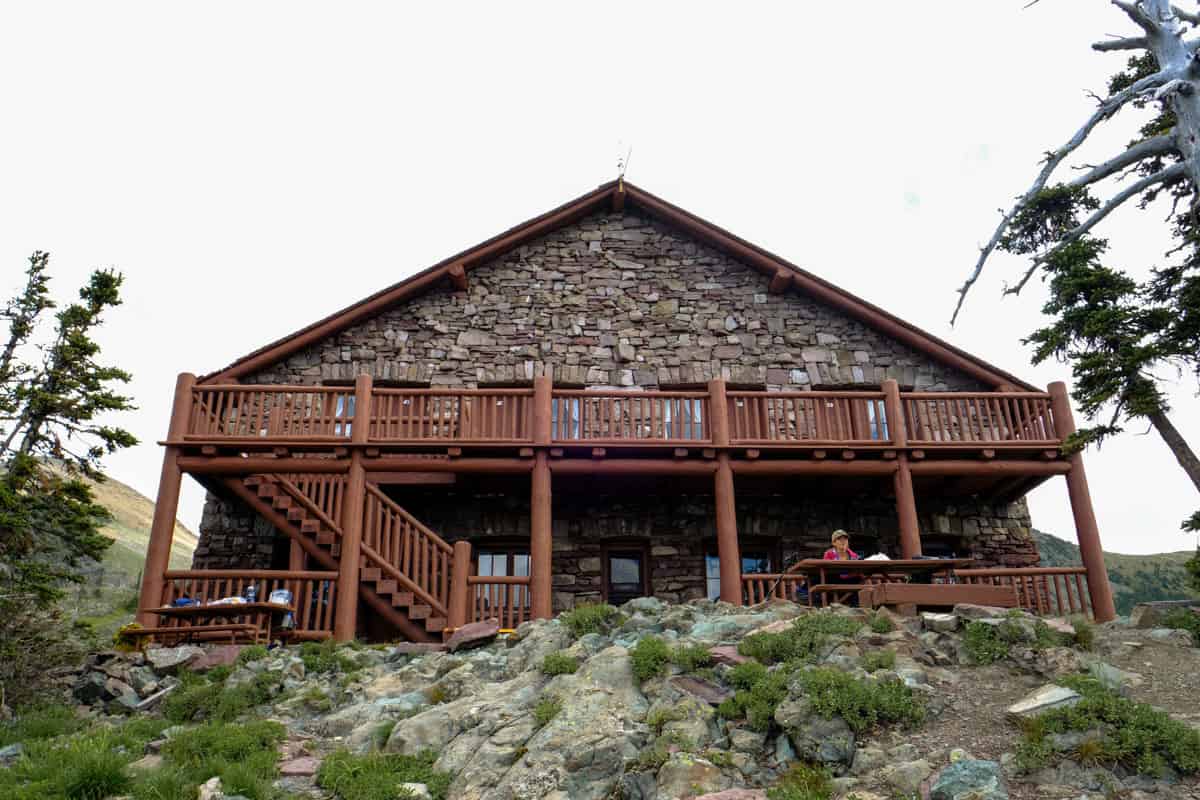
The Chalet maintains much of its original rustic charm so don’t expect many amenities. There are 12 rooms, ranging from 2-person to 6-person occupancy.
There is no electricity or running water and guests must cook all of their own meals. Nonetheless, the views are absolutely amazing and we are super jealous of anyone that gets to see the sunrise and sunset from this incredible spot!
Rooms at the Chalet are in extremely high demand and are fairly pricey ($124 for the first person and $85 for each additional person) for backcountry lodging.
If you want to spend the night at Granite Park Chalet, make sure you plan well in advance. You can make reservations and read more about Granite Park Chalet here.
Granite Park Backcountry Campground
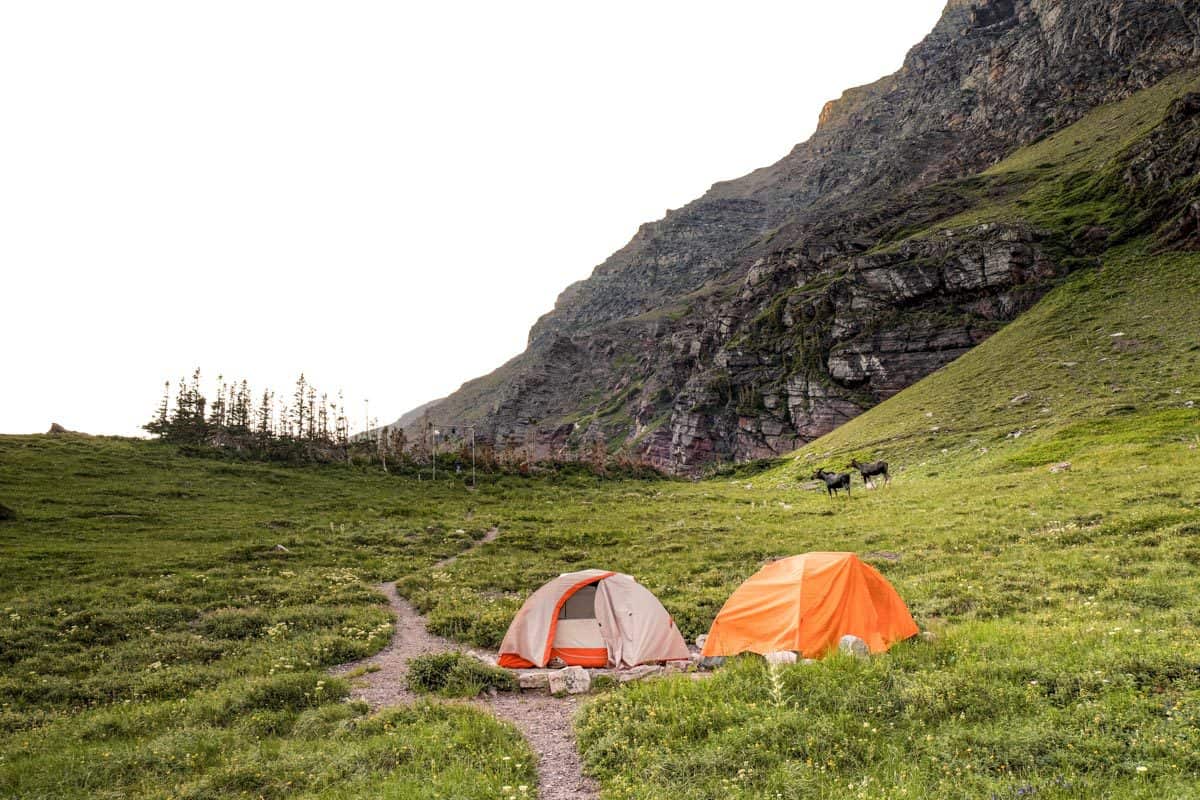
Alternatively, you can spend the night at the Granite Park backcountry campsite, which has four separate tent sites, three of which can be reserved in advance.
If you want to spend the night at the Granite Park backcountry campsite, your reservation must be part of an extended itinerary of two or more nights in July, August, and September, excluding Many Glacier or Two Medicine.
You can read more about backcountry camping in Glacier here.
What to Pack for the Highline Trail Hike
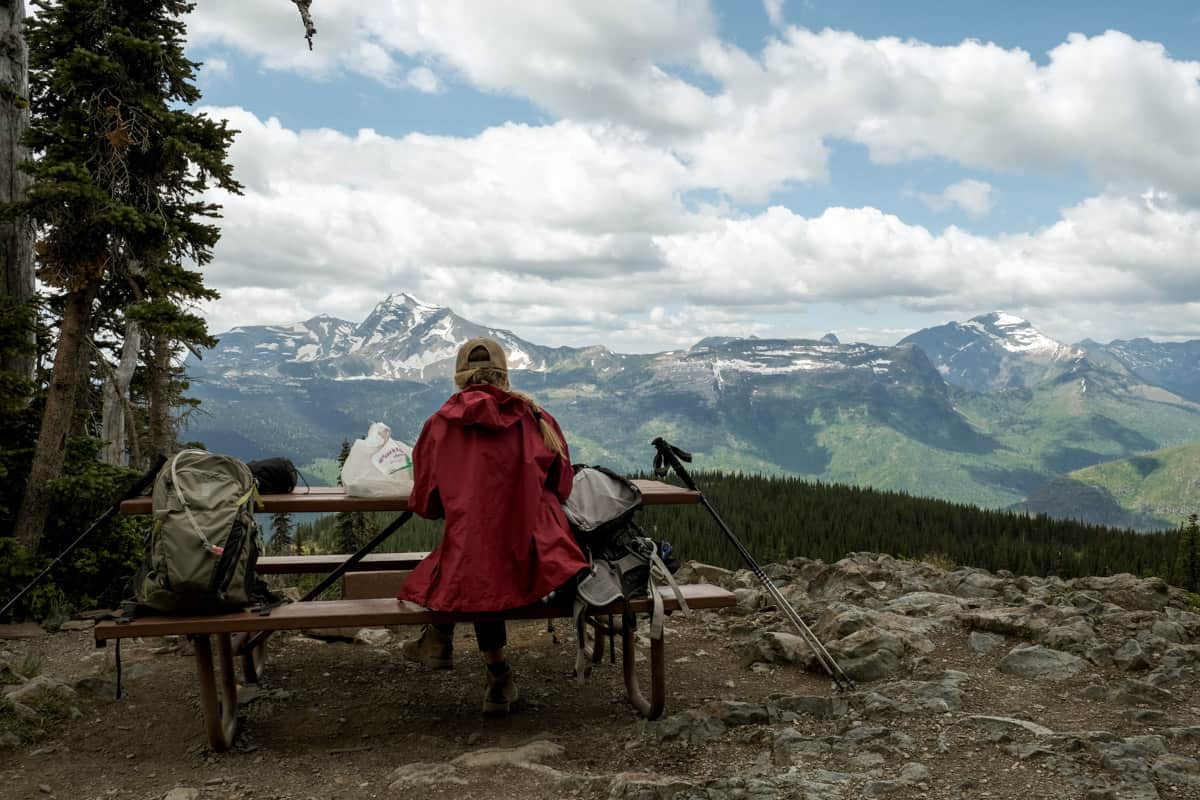
- Hiking Backpack
- Bear Spray: Glacier is home to both grizzly and black bears and you do not want to run into one of them without bear spray. Make sure you know how to use it and keep it stored in a quickly-accessible pocket.
- Hiking boots or shoes: This is a long hike and hiking boots/shoes will provide very helpful traction and support.
- Hiking Poles: Fortunately, most of the hike is not very steep, but the climb up to Haystack Pass is a leg-burner and the trail to the Grinnell Glacier Overlook is a real haul. Hiking poles will help take some of the pressure of your tired knees.
- Layers: Weather can change quickly and drastically throughout Glacier. Be sure to pack layers in case of sudden changes in weather. Read more about what to wear hiking in every season.
- Plenty of water, lunch and snacks: The most essential items for a long hike! Check out our favorite healthy hiking snacks, for some delicious ideas.
- Sun protection: It might not be super hot but the sun is still strong!
Be sure to grab our ultimate hiking packing list includes our must-have gear for any hiking trail!

About the authors
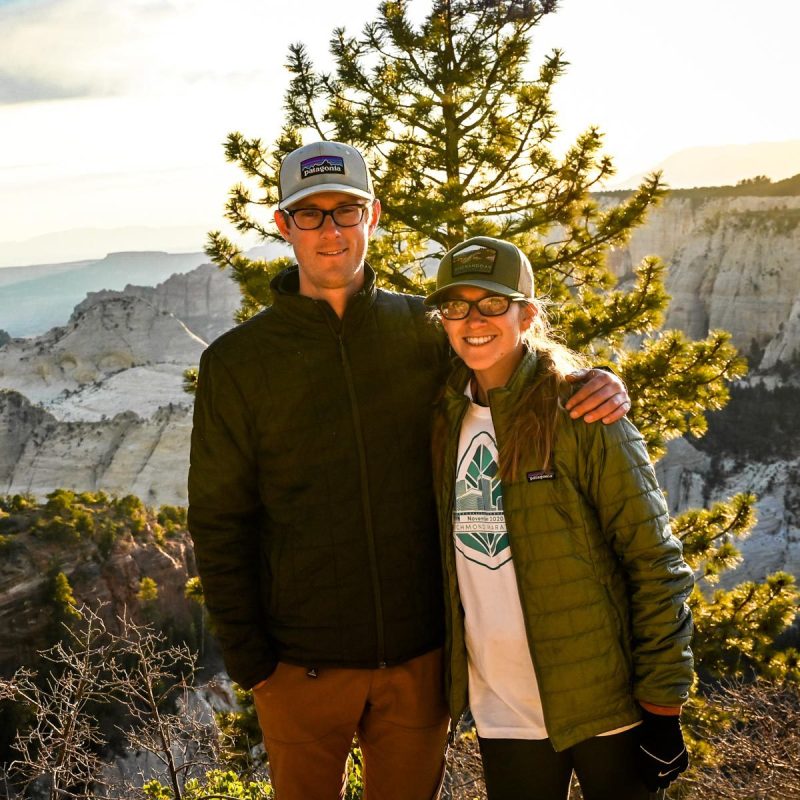
Sarah and Matt are two digital nomads, outdoor enthusiasts, and the creators of Two Outliers, an adventure travel and photography blog dedicated to helping you plan your next adventure! They road trip full-time across the United States along with their cat, Fitzgerald, while working full time and spending all their free time hiking, camping, backpacking, and exploring new places. They hope their experiences will inspire others to be outliers too!

You may also like…
- Cracker Lake Trail Guide for Glacier National Park
- Best Hiking Snacks: Healthy & Delicious Trekking Food
- USA National Park Checklist & Guide
- Amazing Things to Do in Glacier National Park
Save this article on Pinterest for later!
We want to hear from you!
Have you hiked the Highline Trail in Glacier National Park? Got more questions about planning your hike? Let us know in the comments below!


I had the opportunity to visit Glacier National Park last July. Such a beautiful beautiful place! Unfortunately, with only three days there, I did not get to Highline Trail! Next time we visit, this will be the first trail we hit! Thanks for the useful info!!