Just outside Aspen, Colorado, the easy, family-friendly Maroon Bells hike leads to some of the most photographed mountain peaks in North America. This guide covers everything you should know about the Maroon Bells Scenic Loop Trail, including how to get coveted permits.
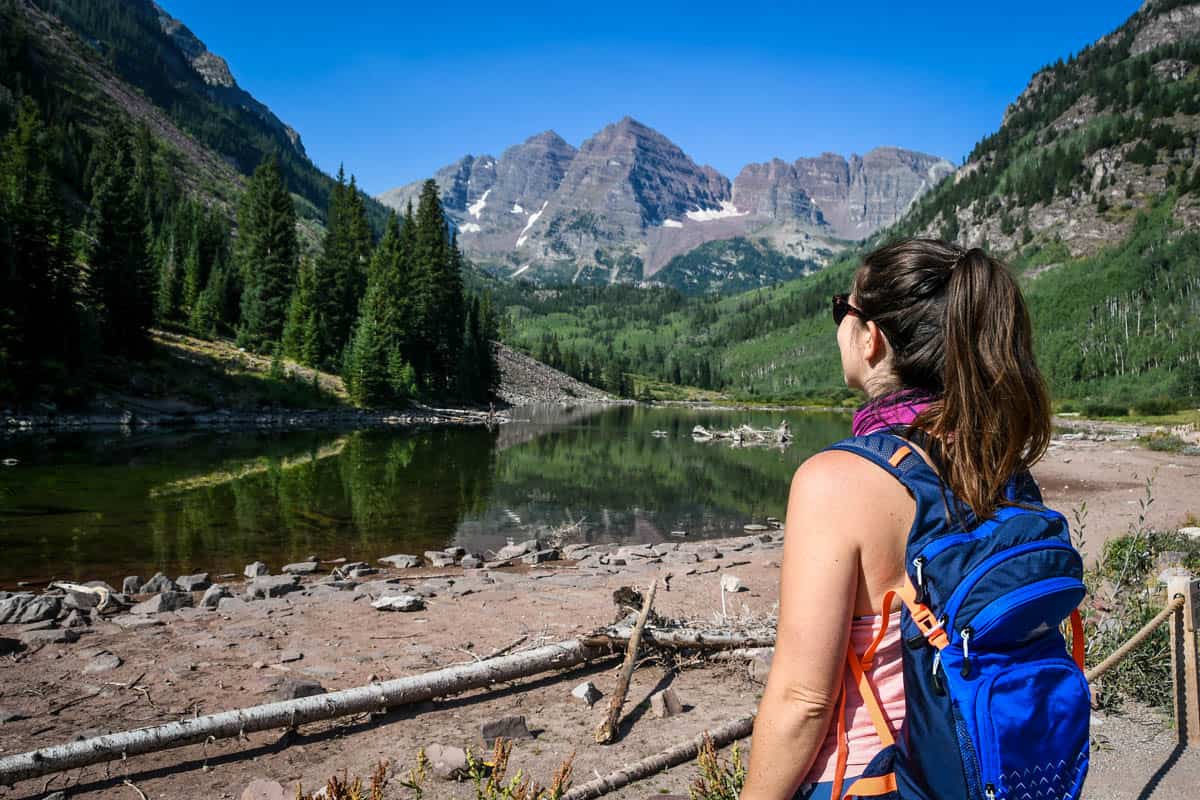
The iconic viewpoint from the shores of Maroon Lake is truly one of the most beautiful scenes in Colorful Colorado, and that’s really saying something!
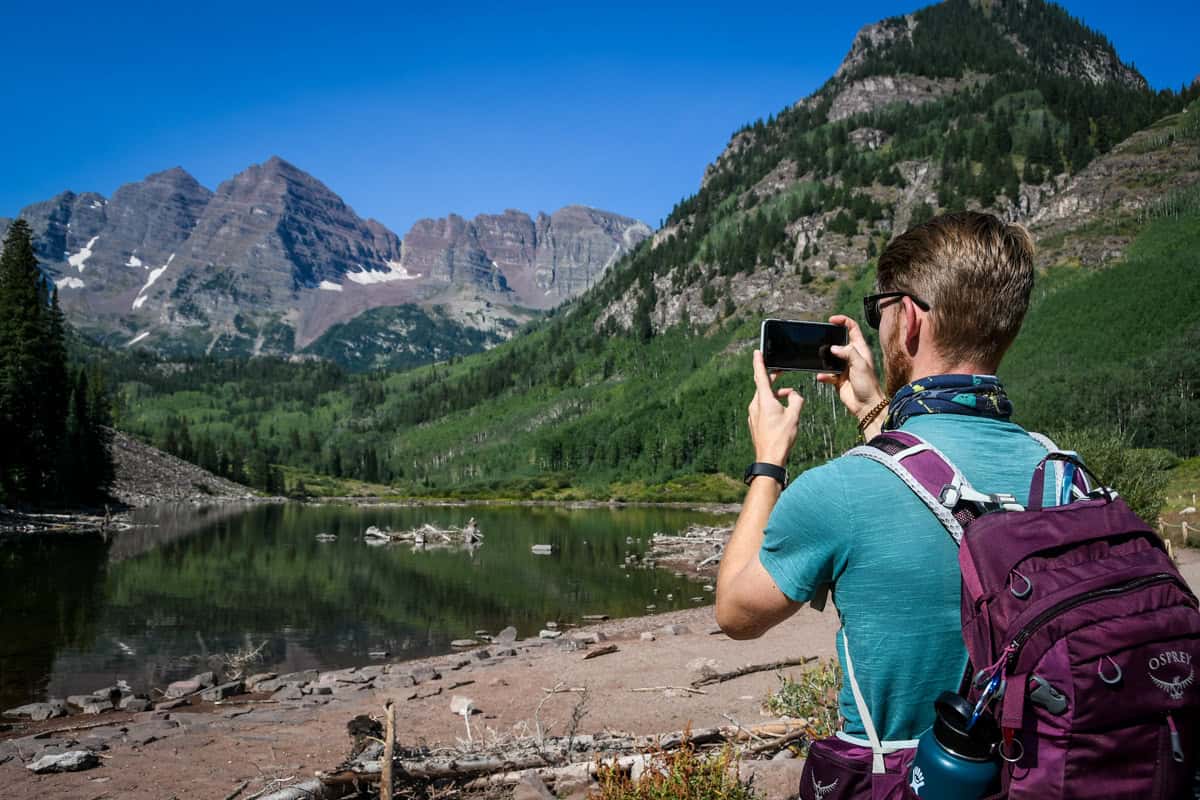
Two distinctive dark red-tinted, bell-shaped 14,000-foot peaks tower over a glacially-carved lake surrounded by meadows of wildflowers…it’s no wonder the Maroon Bells top so many bucket lists.
What does come as a surprise is how accessible this incredible view of the Bells is. This scenic Maroon Bells hike is just over one mile round-trip, following alongside Maroon Creek for most of the route and suitable for first-timer hikers and children.
Maroon Bells Hike Guide
- Maroon Bells hike stats
- Hike overview
- Maroon Bells hike map
- Know before you go
- Permits
- The route
- Tips for hiking Maroon Bells
- Where to camp
- What to pack

Maroon Bells trail stats
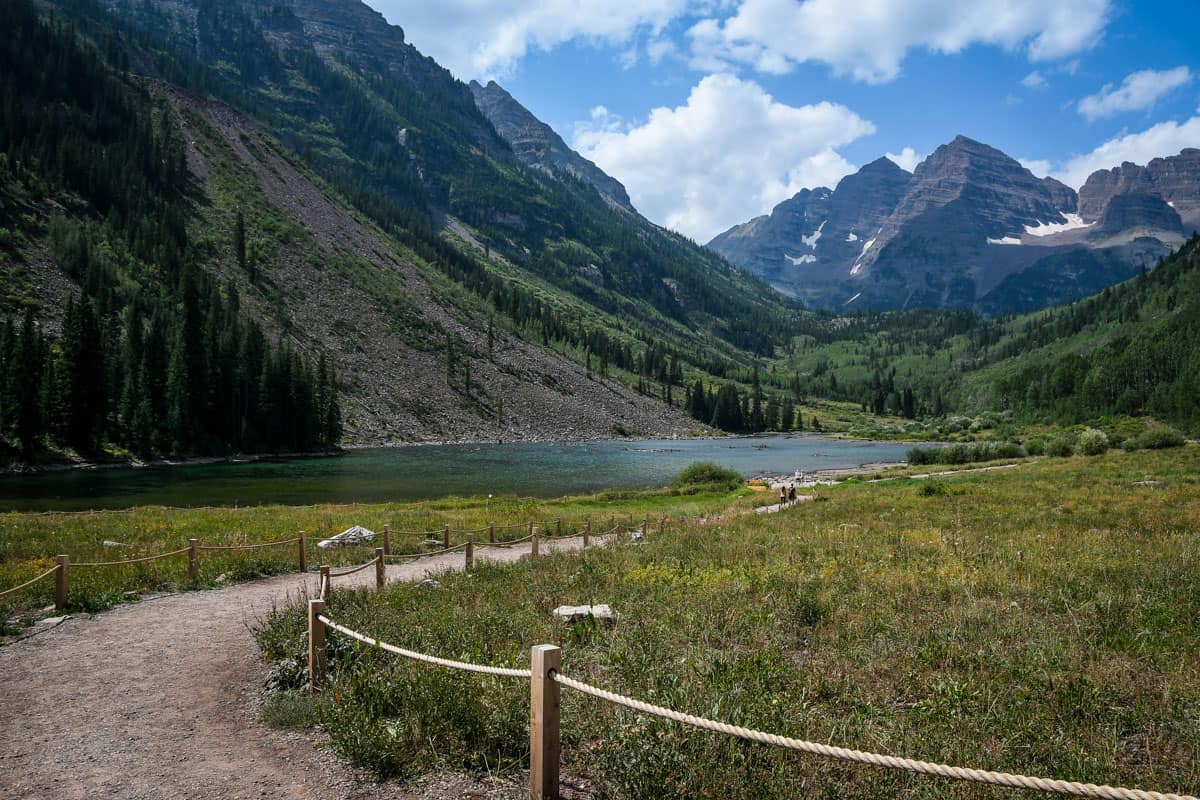
- Location: Maroon Bells-Snowmass Wilderness in the White River National Forest, 12 miles southwest of Aspen
- Distance: 1.5-mile lollipop loop
- Elevation gain: 130 feet
- Difficulty rating: Easy
- Timing: 45 minutes to one hour
- Pets: not allowed
- Permits: Advance reservations required; choose between private vehicle parking at the trailhead or taking a shuttle
- View the trail notes
Maroon Bells hike overview
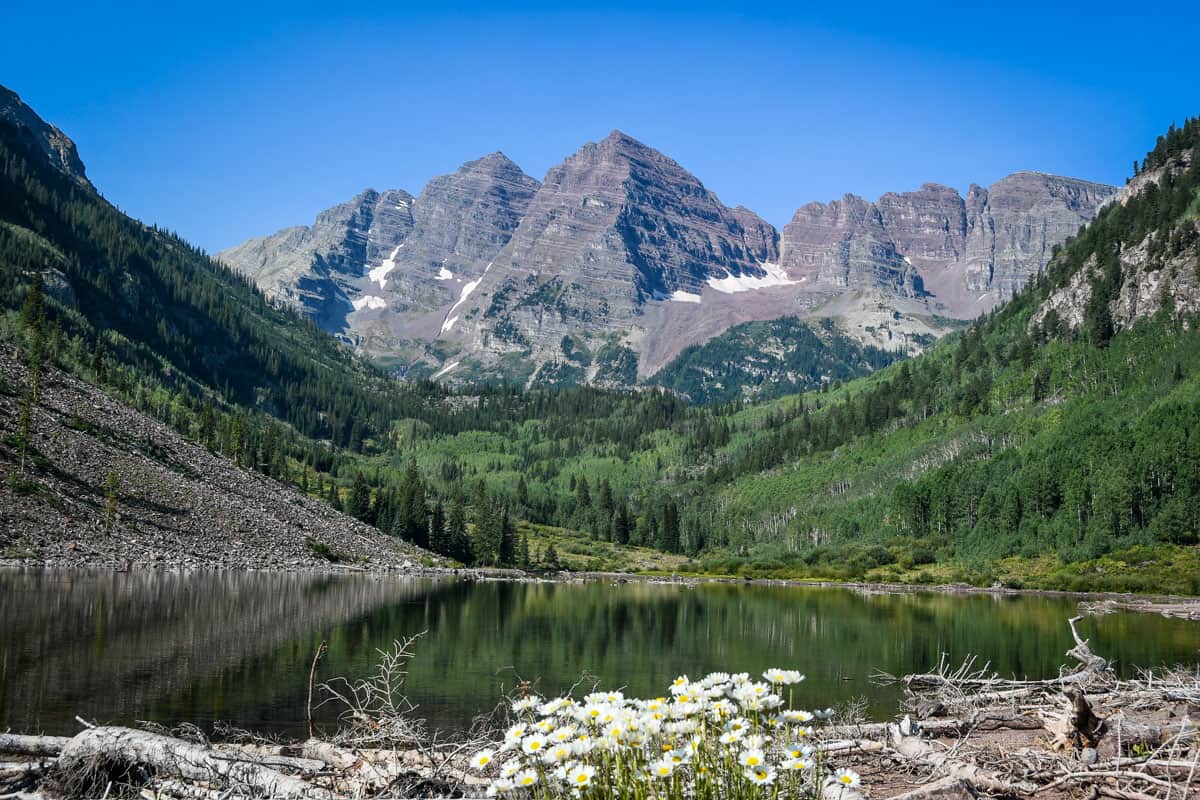
Several hikes start in this part of the Maroon Bells Scenic Area, but the Scenic Loop Trail (#2197, also referred to as the Maroon Lake Scenic Trail) is arguably the most popular.
It’s easy to see why: this Maroon Bells hike offers the shortest, easiest path to that sought-after view of wine-red Maroon Peak and North Maroon Peak reflecting perfectly in the mirror-like lake below.
Fun fact: the Bells get their red hue (and name!) from oxidized iron sediment found in the rock. Oxidized iron = rust!
This easy hike meanders parallel to Maroon Creek and Maroon Lake, offering abundant wildflowers, head-on views of the Bells, and ample opportunities to spot wildlife such as moose and deer.
With all those ‘pros,’ don’t expect to have this trail to yourself, even in the off-season. The Maroon Bells hike is so popular that there’s a shuttle and parking permits are required.
Although it’s extremely efficient at managing the crowds, the reservation system is complex. In fact, it’s probably the most challenging part of this hike!
Maroon Bells hike map
Things to know before you go
Although the actual Maroon Bells hike is pretty easy, there are several other logistics to be aware of as you plan your trip—including the somewhat confusing permit reservation system.
Best time of year for the Maroon Bells hike
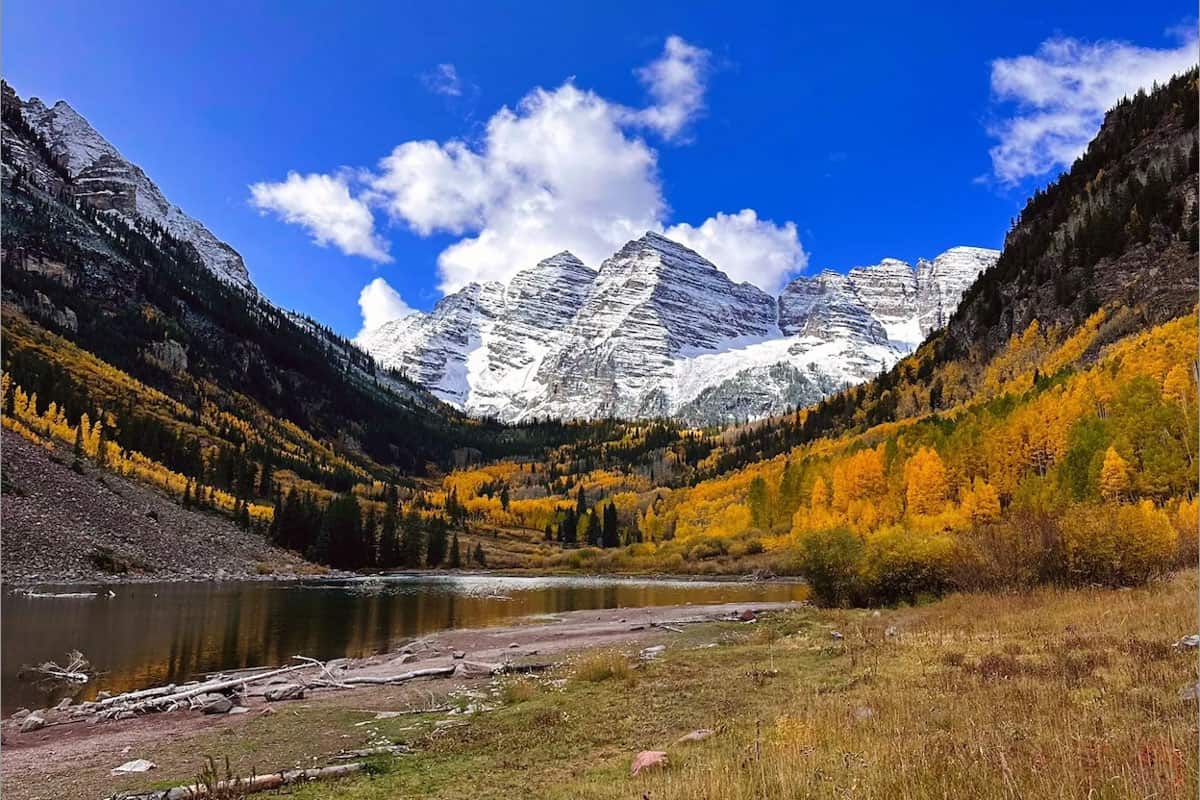
Summer and fall (more specifically, leaf-peeping season) are hands-down the most popular times to hike the Maroon Bells. The best time between them, though, is totally subjective—wildflowers or fall foliage?
Peak wildflower season in most years is late June into mid-July, although snow pack and weather have a significant impact and can shift the season a few weeks later.
If you’re hoping to catch fall colors in all their golden glory, plan your Maroon Bells hike for the third or fourth week of September.
The Maroon Bells are accessible in the winter and spring, but visiting then requires quite a bit more effort. Maroon Creek Road closes for the season in November, typically reopening in late May. Again, snowfall and even avalanche debris on the road impact the exact dates.
You can actually hike to the Maroon Bells even in the dead of winter when the road closes.
It’s not exactly the easiest task, but it is a magical winter adventure! Park at T Lazy 7 Ranch, then walk, bike, snowshoe, cross-country ski, or take a snowmobile about seven miles to the Maroon Bells. The ranch even offers guided 2-hour snowmobile tours.
If you venture out alone in winter or spring, it’s crucial that you be familiar with avalanche safety. Call the Maroon Bells Hotline at 970-945-3319 for up-to-date conditions in the area before setting out.
How long does it take to hike Maroon Bells?
Even hiking at a relaxed pace, the Maroon Bells Scenic Loop likely won’t take any longer than one hour. The 1.5-mile loop trail gains very little elevation and has no technical obstacles to navigate, so it’s a short adventure even with several photo or snack stops.
How difficult is the Maroon Bells hike?
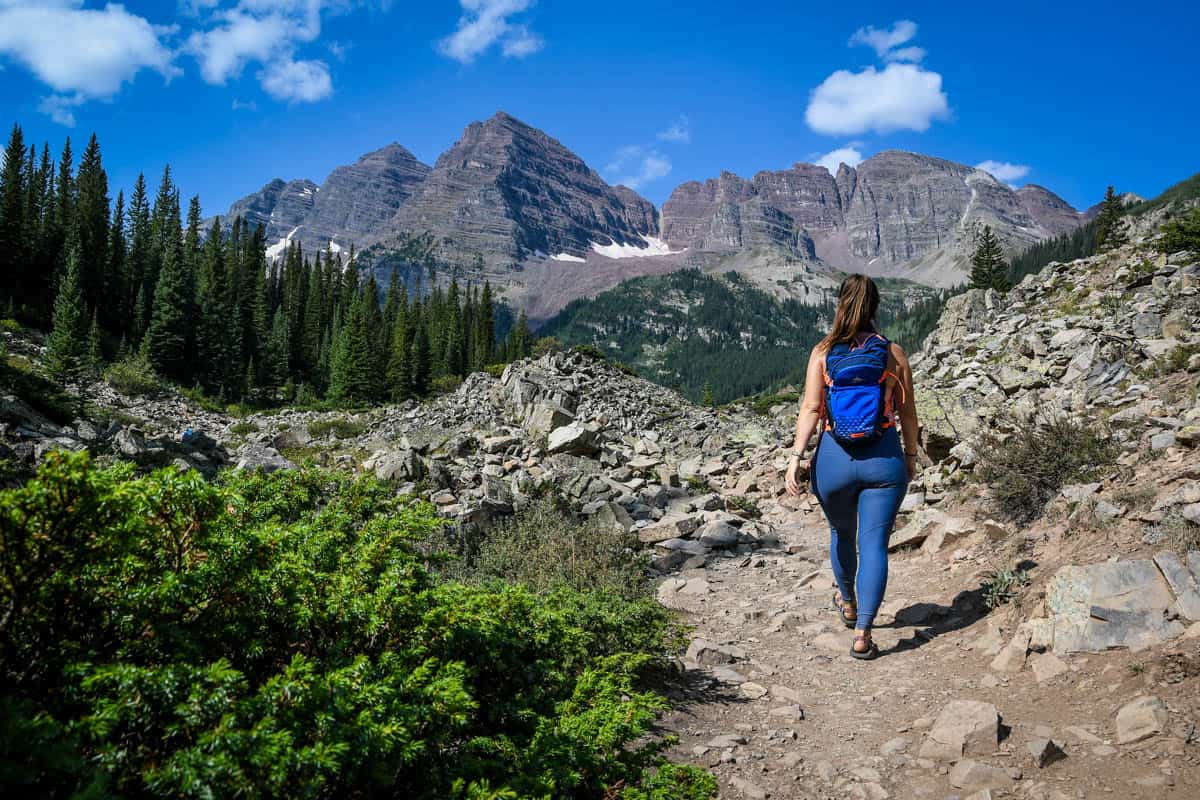
This Maroon Bells hike is truly easy and very straightforward. It’s suitable for novice hikers, young children, and even people with somewhat limited mobility, since the trail is flat and wide.
The only potential concern is the high altitude. Although there’s no climbing involved, the trail sits between 9,500-9,700 feet—quite challenging if you’re accustomed to lower elevations. Still, if you take your time and stay well-hydrated, this hike is totally doable for nearly anyone.
Wildlife on the trail
Moose are frequently spotted on this Maroon Bells hike. In fact, partial trail closures due to aggressive moose are fairly common! Typically, it’s males during the fall rut (mating season) or a mama with babies. This is also the reason dogs are not permitted on the scenic loop.
In addition to moose, you may see deer, elk, coyotes, mountain goats, or marmots. Black bears, foxes, and mountain lions also live in this area, but are seen far less frequently.
Stay on the marked trail, obey any closure signs, and if you do encounter wildlife, give them plenty of space. A general rule of thumb is to hold your hand out in front of you with your thumb sticking up. Your thumb should completely cover the animal. If it doesn’t, back up until it does.
Obtaining a permit for your Maroon Bells hike
All visitors to the Maroon Bells Scenic Area are required to have a vehicle permit or shuttle reservation between May and October.
Bicyclists are the single exception; you do NOT need a reservation if you bike up Maroon Bells Road. You can rent bicycles from Aspen Highlands Plaza (aka Maroon Bells Basecamp), if you don’t have your own.
Private vehicle permits
Vehicle permits to park at the Maroon Bells trailhead are required from May 15 through October 31. Permits are released on a rolling basis as follows:
- March 5: Permits for May 15-June 30
- April 2: Permits for July and August
- May 1: Permits for September and October
Not only do you need to apply for a permit for a certain date, but you also need to pick a specific time frame on that date. Take special note of the time restrictions during the shuttle season, from May 24 through October 20.
- Day Visit Parking: 12:00 am – 4:30 pm (arrive before 8:00 am during shuttle season)
- Evening Parking: 5:00 pm – 12:00 am (arrive after 5:00 pm during shuttle season)
- 24-hour Parking: midnight-midnight (arrive before 8:00 am during shuttle season)
- Overnight Parking: specifically for backpackers, these permits include two nights/up to 60 hours, from 6:00 am on day one to 6:00 pm on day three (hikers must arrive before 8:00 am or after 5:00 during shuttle season)
In addition, similar to many national park reservation requirements, 10 parking permits each for Day Visit, Evening, and 24-hour become available three days beforehand.
Shuttle reservations
Anyone wishing to take the RFTA shuttle to do the Maroon Bells hike must have advance reservations between May 24 and October 20. Reservations are released for the entire season on March 5.
The shuttle runs every 15 minutes from 8:00 am to 5:00 pm every day of the season, and picks up and drops off at Aspen Highlands Plaza.
Note that you will not be permitted to board the shuttle without a Maroon Bells reservation. Download it to your phone or print it out ahead of time.
With that said, there is ONE possible way to catch the Maroon Bells shuttle without a prior reservation: no-show, day-of tickets. There is obviously no way to predict whether or not you’ll get one, so we highly recommend booking your shuttle seat in advance.
There’s one last option for Maroon Bell shuttle reservations (we told you it was a complicated system!).
Hikers can get dropped off at the trailhead between 6-8:00 am and then ride the one-way downhill shuttle…but only by a friend or family member. ‘Commercial drop-offs,’ including taxis or rideshare, are strictly prohibited.
One-way downhill shuttle tickets require the same advance reservation process as round trips.
No permits or reservations are required starting November 1 until the road closes for the season. That’s usually around November 15, but early season snowfall could close it earlier. During this timeframe, the shuttle does not run and trailhead parking is first-come, first-served.
Finally, while we’re focusing on the easier scenic Maroon Bells hike here, it’s worth noting that overnight backpackers need overnight parking reservations AND a completely separate Wilderness Permit. Obtain these permits on Recreation.gov starting in February. 542
Maroon Bells hike route
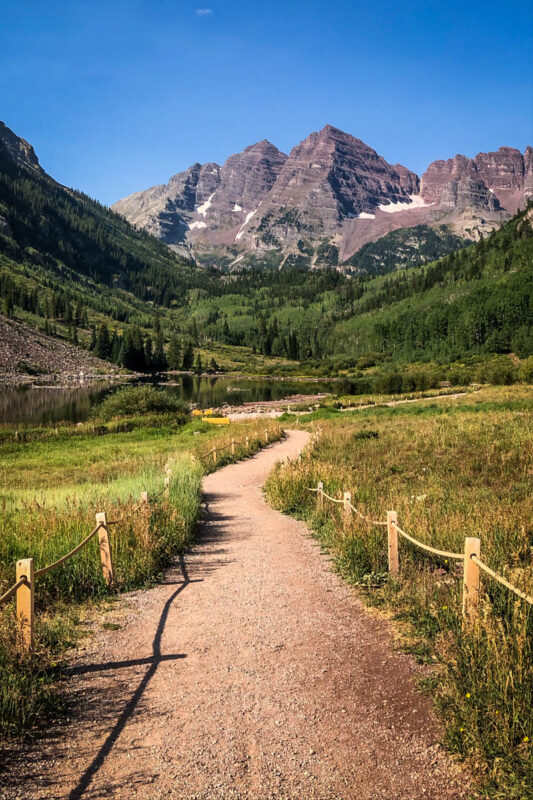
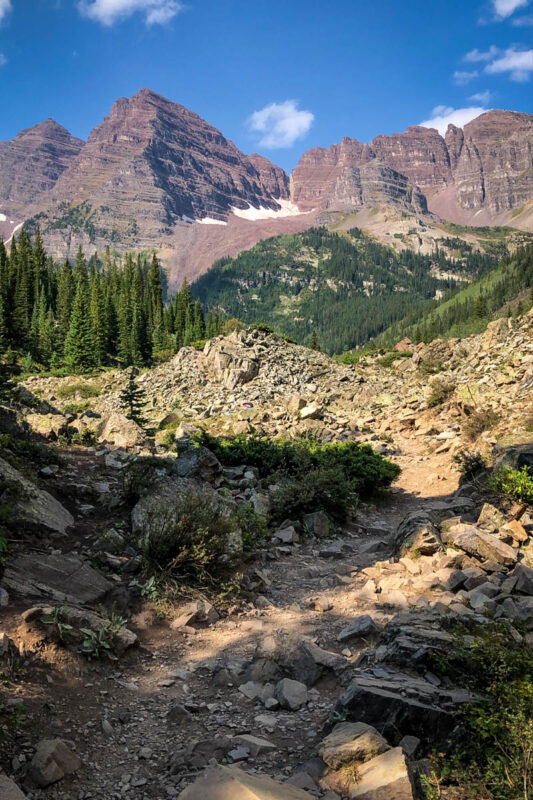
We broke down the route for the Maroon Bells hike to give you an idea of what to expect on the trail…
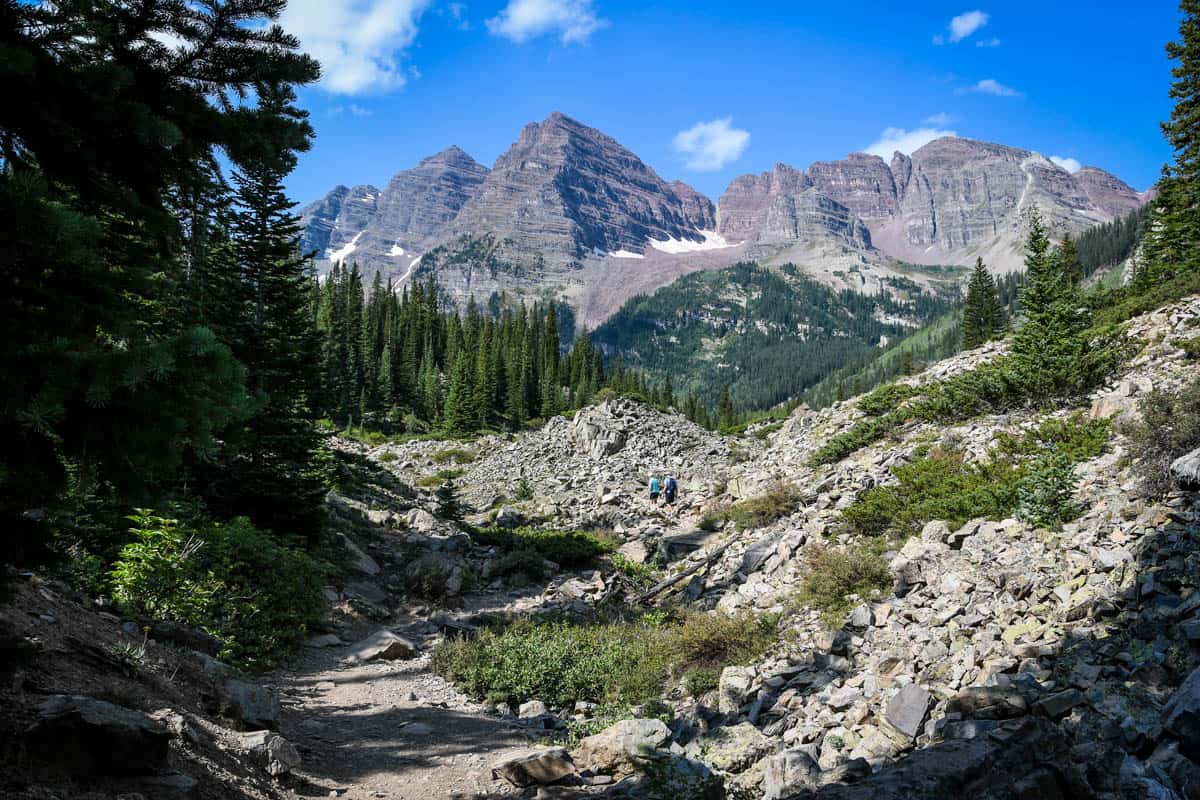
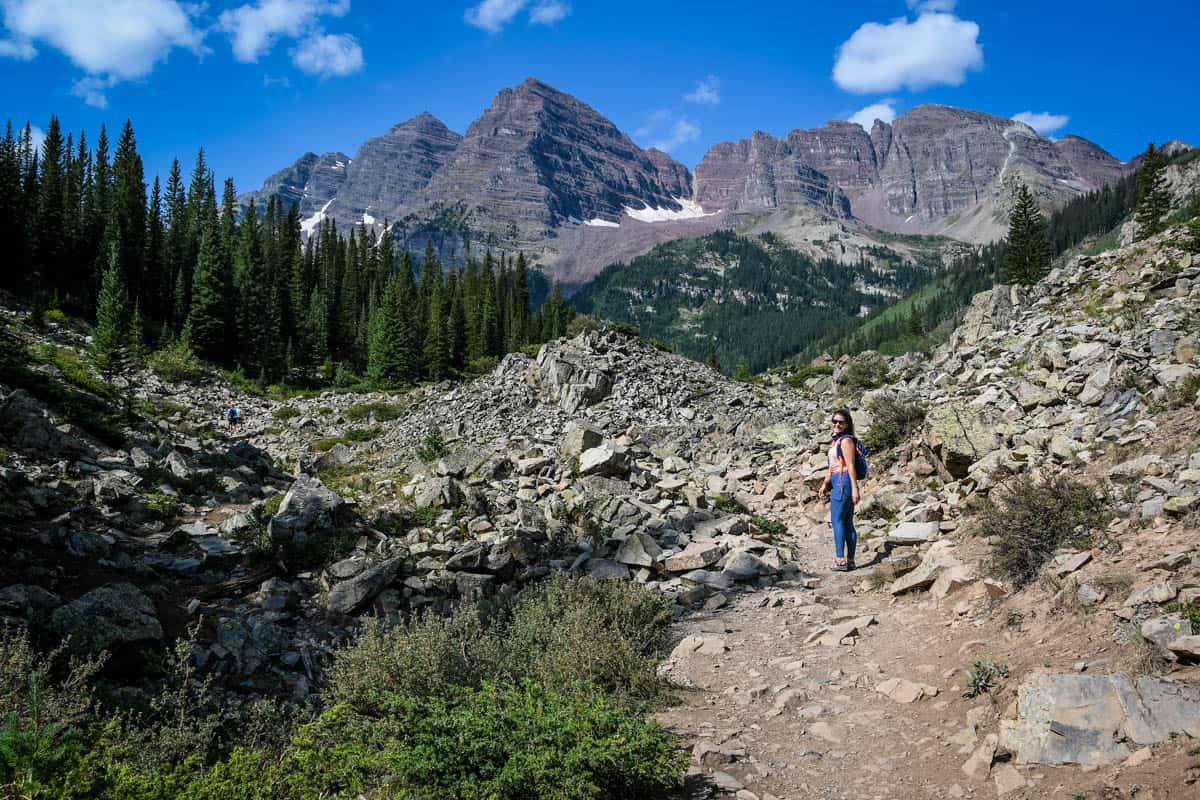
Once you arrive at the Maroon Bells Scenic Area, look for signs in the parking lot marking the way to the Scenic Loop Trail. Your hike starts at the far west end of Maroon Lake, on a wide dirt trail carving a path through a meadow.
The route is very straightforward, following the lake’s western shore and crossing a few wooden bridges over Maroon Creek along the way.
At the Forest Service bulletin board, follow the trail leading left. You’ll pass a large, quite impressive beaver dam toward the other end of Maroon Lake, then loop around a small beaver pond and make your way back.
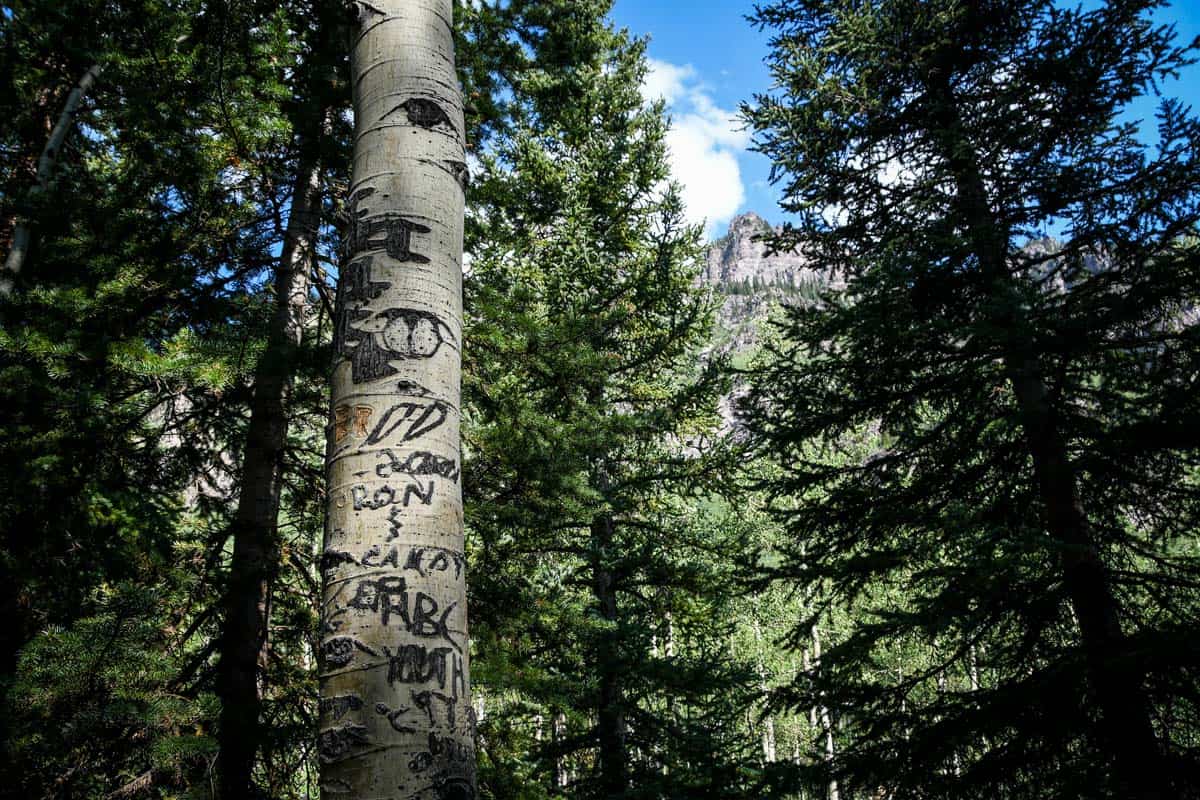
Despite its name, this Maroon Bells hike isn’t a true loop. It’s a misnomer and instead, it actually forms a lollipop loop. Rather than circle the other side of the lake, you’ll retrace your steps after the beaver pond.
Note that although Maroon Lake is pristine and incredibly inviting, swimming and wading are strictly prohibited. You can fish from the bank, however, as long as you have a valid Colorado fishing license.
If you’re up for a longer Maroon Bells hike but don’t necessarily want to backpack in, continue on to Crater Lake. The round-trip is easy to moderate and clocks in at 3.5 miles total.
Tips for hiking Maroon Bells
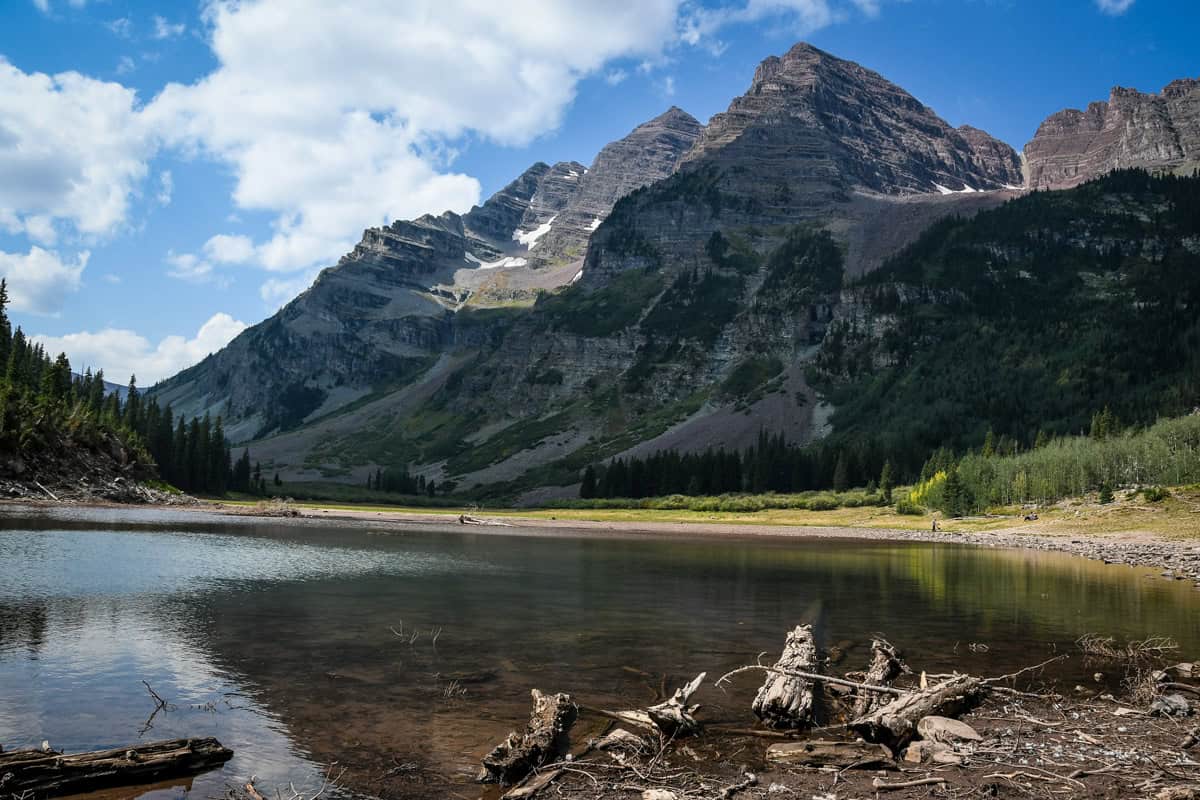
- Sunrise is the best for photography. Not only do you get that soft golden hour light, but this is also when the water tends to be the most still, giving you the best chance at getting a coveted reflection shot.
- Arrive earlier than you think. Maroon Bells is no secret, and everyone has the same idea about photographing at sunrise. Have the appropriate permits lined up and arrive earlier than you estimate in order to snag spots for parking and on the shoreline.
- Don’t miss your return shuttle. They depart every 15 minutes until 1:00 pm, then every 20 minutes until 5:00 pm, but will not wait or make after-hours return trips.
- Do not bring your dog on the scenic loop. They’re welcome on most other Maroon Bells trails (and even the shuttle!), but strictly prohibited on the scenic loop because of the frequency of wildlife sightings.
- Plan on having NO cell service.
- Leave the big rig at home. Vehicles over 20 feet cannot park in the lot, so plan to take the shuttle.
Where to camp nearby
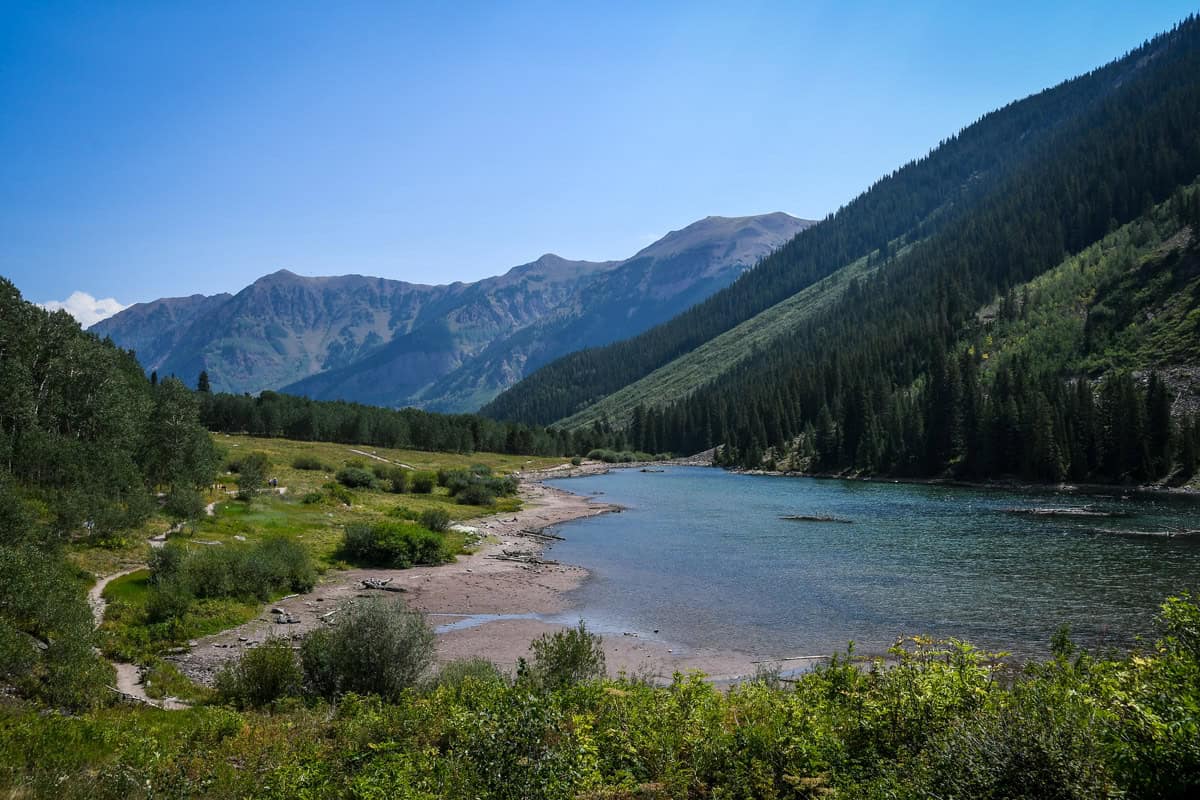
There are three small campgrounds very close to the Maroon Bells. Each of them is open from Memorial Day through the end of September, and sites are $15 per night. As you can imagine, these sites are incredibly hard to secure, so plan early and have a backup plan!
- Silver Bar Campground: Tiny 4-site, walk-in-only primitive campground adjacent to the Maroon Bells Welcome Station.
- Silver Bell Campground: 14-site campground with both tent-only walk-in sites and RV sites, although no hookups are available. Only four of the sites are reservable; the remainder are first-come, first-served.
- Silver Queen Campground: Five campsites, all reservable, accommodating tents and up to 30-foot RVs (no hookups), plus potable water.
About 35 minutes from the Maroon Bells Scenic Area, Difficult Campground is another popular option. It has 47 sites and a group site, plus a slightly longer season, opening in early May. Trailers up to 35-40 feet will fit, and the campground has potable water and vault toilets.
If you can’t find any availability in the established campsites, or boondocking is more your style, there are plenty of dispersed camping options near the Maroon Bells in the surrounding White River National Forest.
What to pack for the Maroon Bells hike

- Navigation: we recommend using Alltrails+ to download the offline trail map
- Get your first week of using Alltrails+ for FREE when you sign up using our link!
- Permit*
- Hiking daypack
- Water bottles and/or bladder for your Camelbak
- Bug repellant
- Sun protection: sunscreen, hat, sun glasses
- Headlamp
- Camera/tripod (this one’s our favorite for hiking)
- Lots of layers (here is a great resource if you’re wondering what to wear hiking)
- Comfortable hiking boots or shoes
- Hiking poles (optional)
- Bear spray (just in case)
- Plenty of snacks: check out our favorite hiking snacks here!
*Don’t forget to pack your permit!!
Be sure to download our FREE hiking packing list before your next trip and never leave another essential behind again!


You may also like…
- Best Colorado Hiking Trails
- Best Hikes in Rocky Mountain National Park
- National Parks in Colorado: Guide + Tips
- Best Hikes Near Denver
Save this article on Pinterest for later!
We want to hear from you!
Have you done the Maroon Bells hike in Colorado? What was your experience like? Are you planning to hike to Maroon Bells and have more questions? Comment below and let us know!

