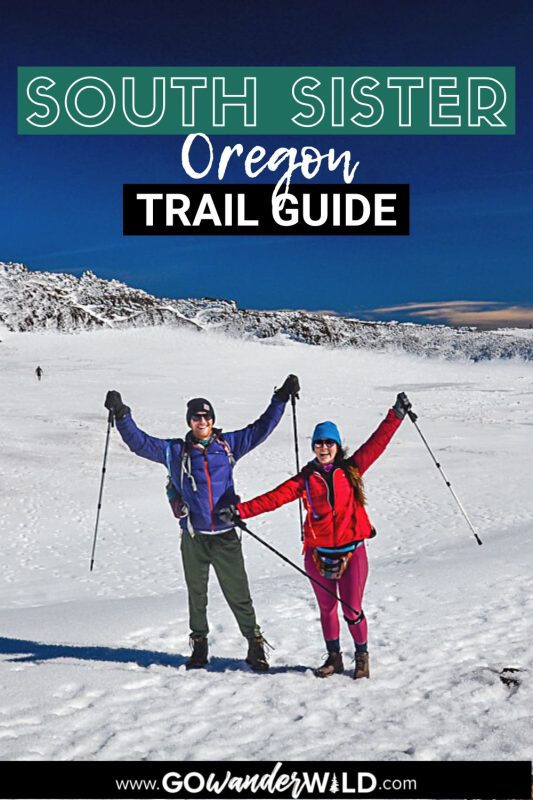
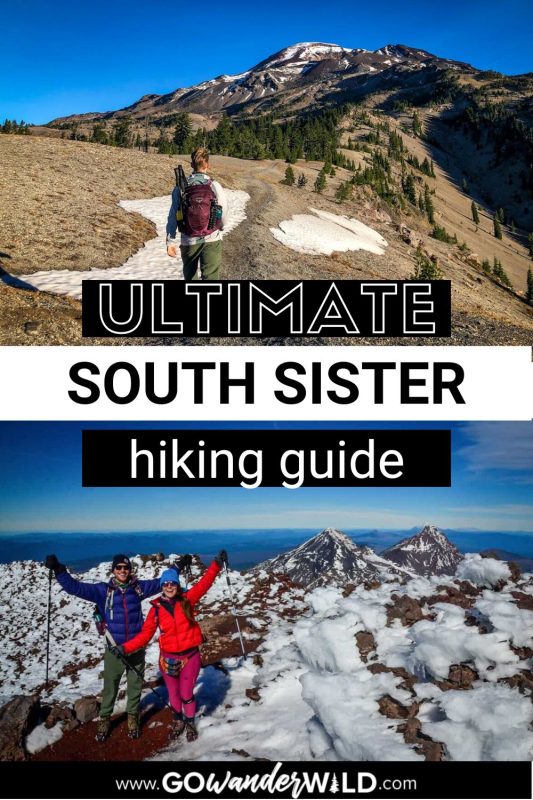
The tallest of the iconic Three Sisters peaks near Bend, South Sister is one of the most coveted outdoor pursuits in all of Oregon. It’s a challenging, unique trail that requires advanced planning. We put together this South Sister hike guide so you’ll know exactly what to expect.
Towering at 10,358 feet tall, South Sister is the third highest peak in the state of Oregon, behind Mount Hood and Mount Jefferson.
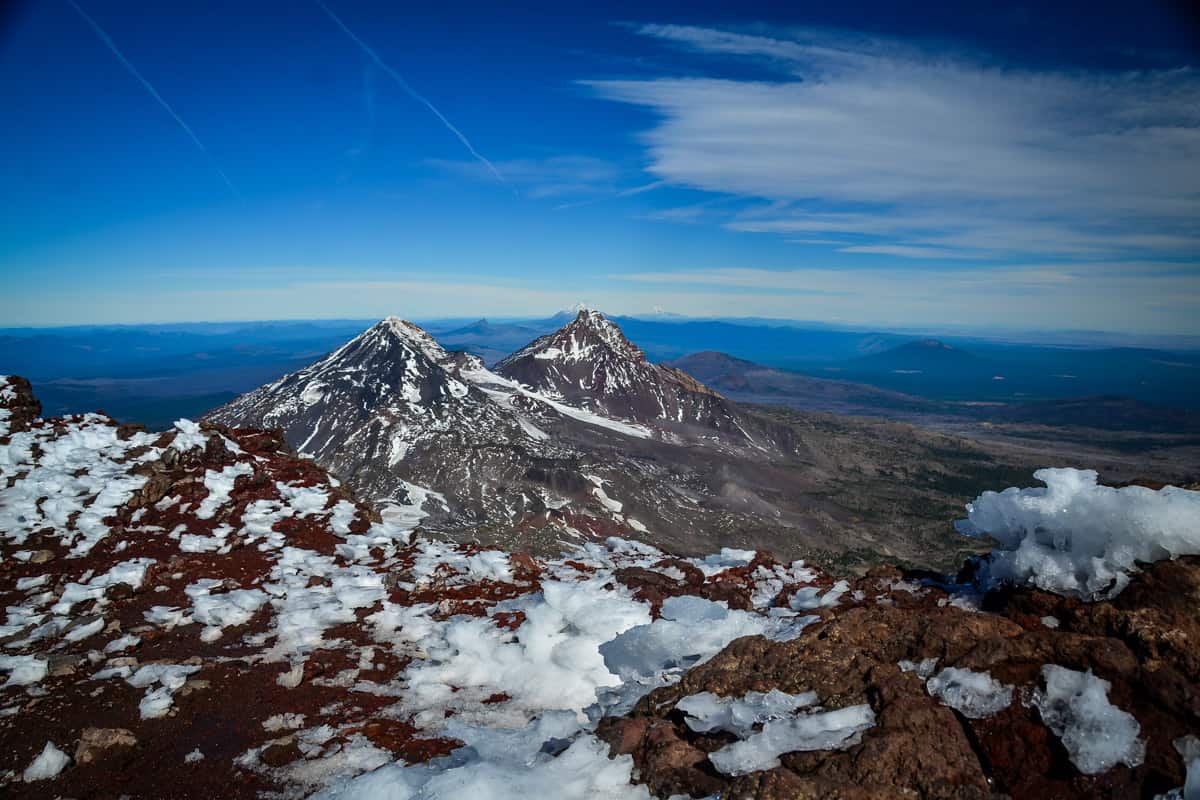
Beside her stand Middle Sister and North Sister. Together these snow-capped beauties make up the Three Sisters Mountain Range, which is a Central Oregon icon near Bend.
Fun Fact: These mountains got their name in the late 1880’s because they resembled three nuns wearing white veils (from the snow-capped peaks). Individually, they are also called Faith, Hope and Charity.
Summiting South Sister is a staple on many PNW hikers’ bucket lists, and for good reason.
And while it’s a long and grueling day of hiking, South Sister is not a very technical mountain summit, making it a good peak for relatively inexperienced* mountaineers. And the views from the top make the effort all worthwhile.
*I say “relatively inexperienced” because you most definitely should have hiking experience before attempting this summit. That said, you don’t necessarily need to have mountaineering experience or a guide, as you would on other summits.
Hiking South Sister was on our list of things to do in Bend ever since we moved to town. Since it is kind of a beast of a hike, we kept putting it off until one day we decided we had to just put it on our calendar and make it happen.
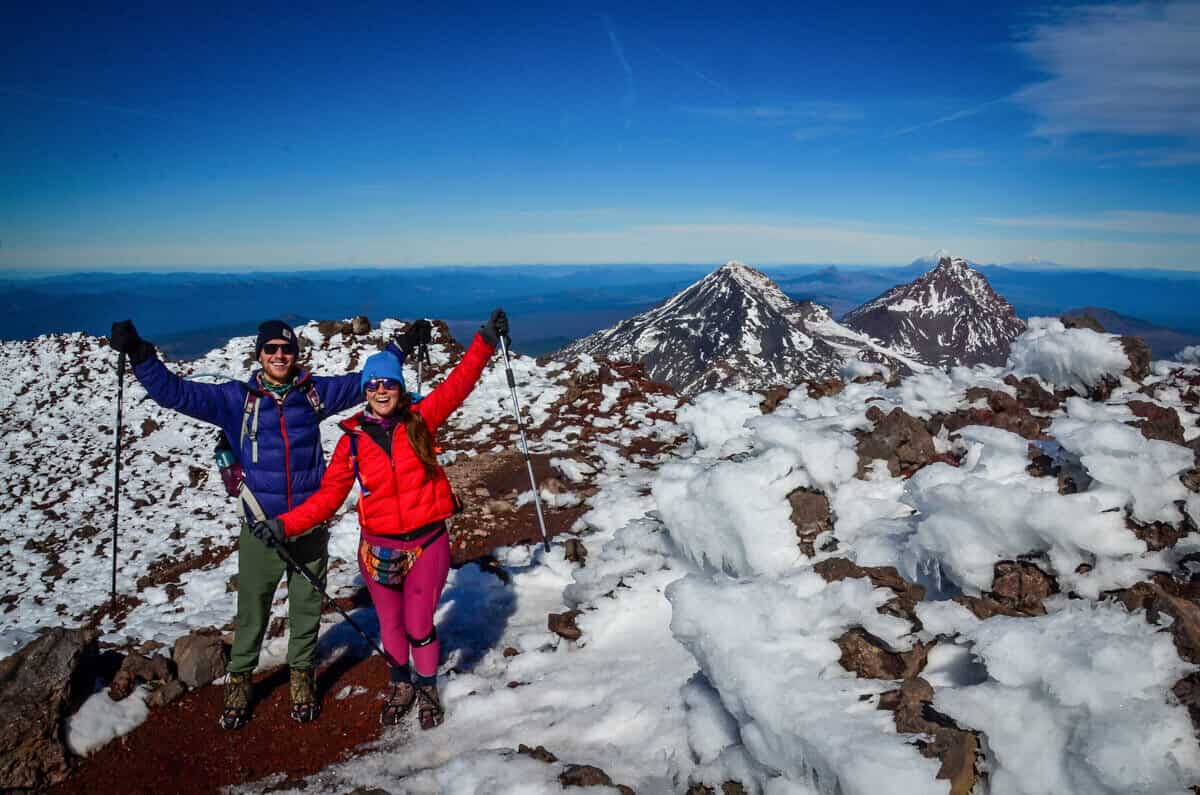
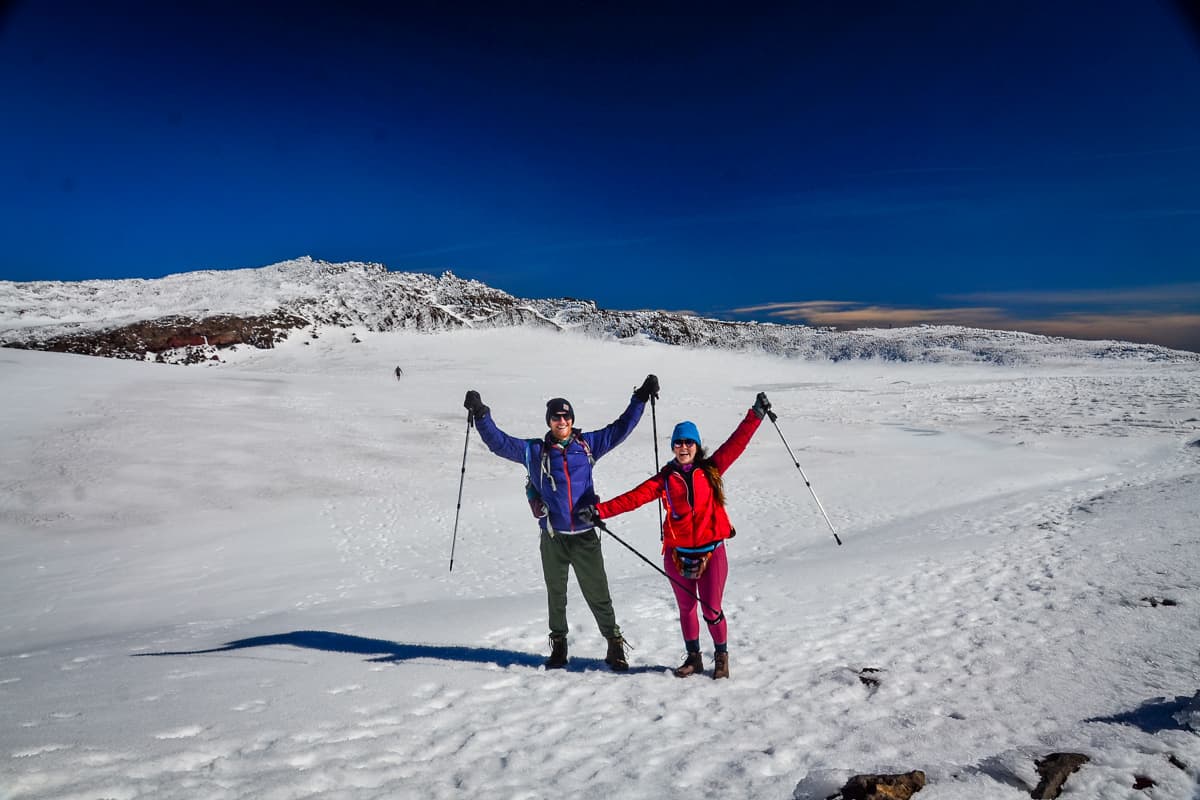
We did quite a bit of research and packed our bags very diligently. (Though I didn’t think much about my clothes and packed red leggings and a red puffy jacket, so I look like a red blob in all the photos!).
The day before our hike, we checked the weather, decided at the last minute to buy microspikes (great decision!), and set our alarm for an ungodly hour.
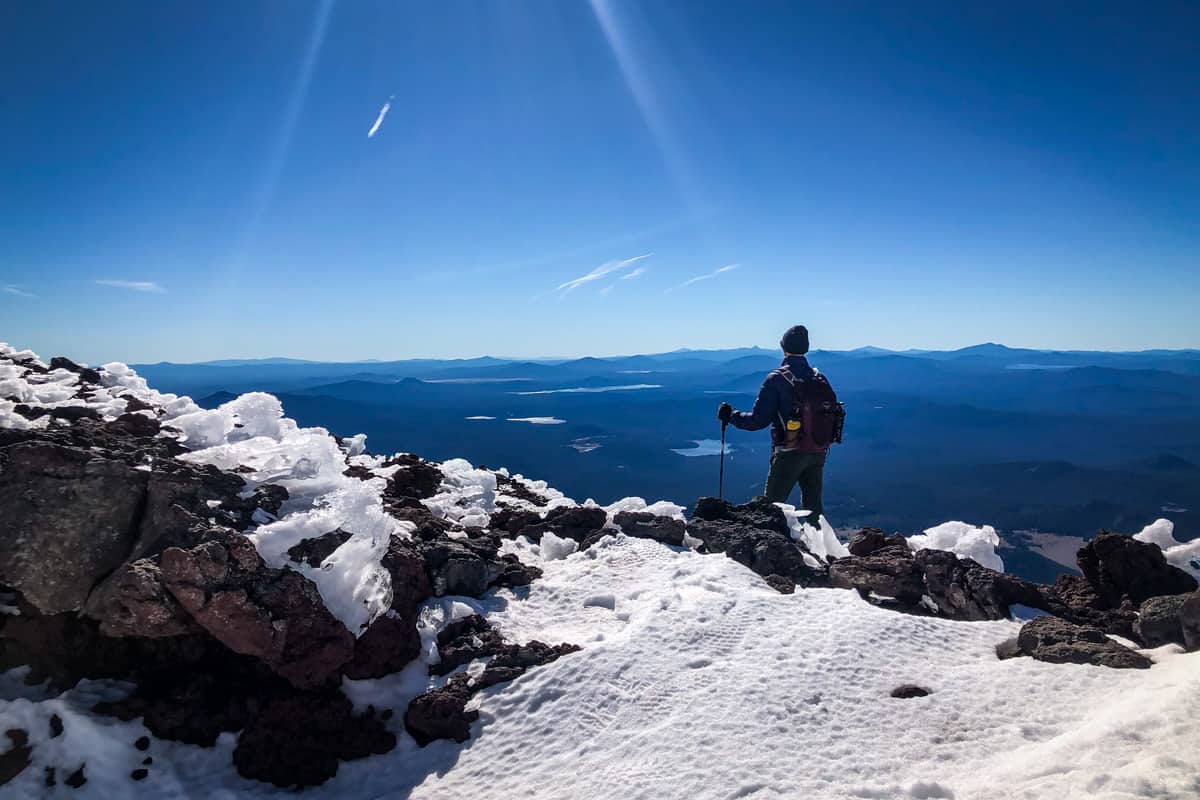
I can say that this is one of the more challenging hikes we’ve done, but the feeling of standing on the summit and seeing the Central Cascades sprawling in the distance is a pretty fantastic reward.
If the South Sister hike is on your PNW bucket list, this guide will fill you in on how to prepare. We’re going to go over all the things you need to know before summiting South Sister, including what to expect on the trail, essential items to pack, and insider tips for along the way.
South Sister Hike Guide
- South Sister trail stats
- South Sister hike overview
- South Sister trail map
- Know before you go
- Permits
- The route
- Tips for hiking South Sister
- Where to camp nearby
- What to pack

South Sister trail stats
- Location: Three Sisters Wilderness
- Distance: 11.6 miles, out-and-back
- Elevation: 4,986 feet
- Difficulty Rating: Challenging
- Timing: 10-12 hours, single day hike
- Pets: dogs allowed between July 15 and September 15, but must be on a leash
- Permits: Permits are required for both day use and overnight camping between June 15 and October 15
- Trail notes on Alltrails
South Sister hike overview
In researching the South Sister hike, you may come across comments saying that this is one of the “easiest” mountains to summit in the Cascades. While that may be true on a very technical level, don’t let it mislead you — this is a difficult, demanding hike by any metric.
What some refer to as being “easy” is the fact that South Sister isn’t at all technical. In other words, you don’t need climbing gear.
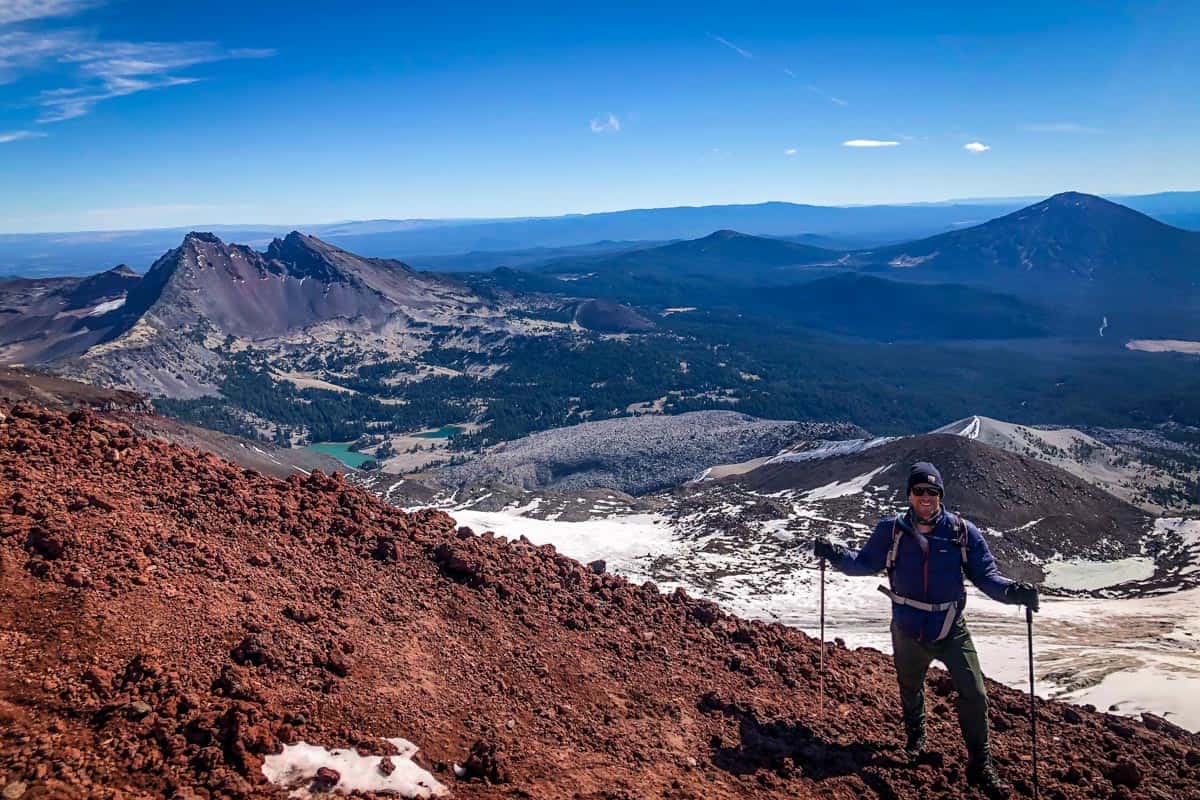
Still, you gain nearly 5,000 feet of elevation in not quite six miles (a substantial chunk of that elevation gain is during the final push) and the terrain is rough, traversing rugged volcanic rock and tons of loose scree.
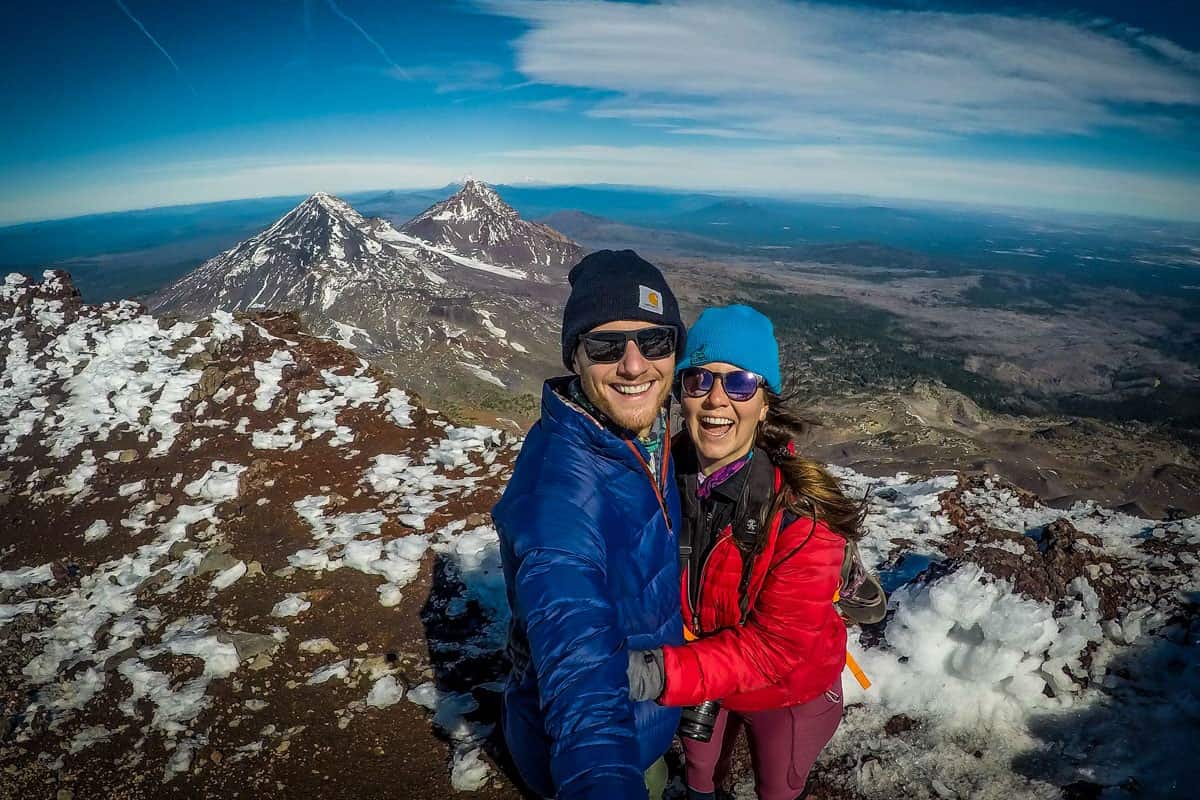
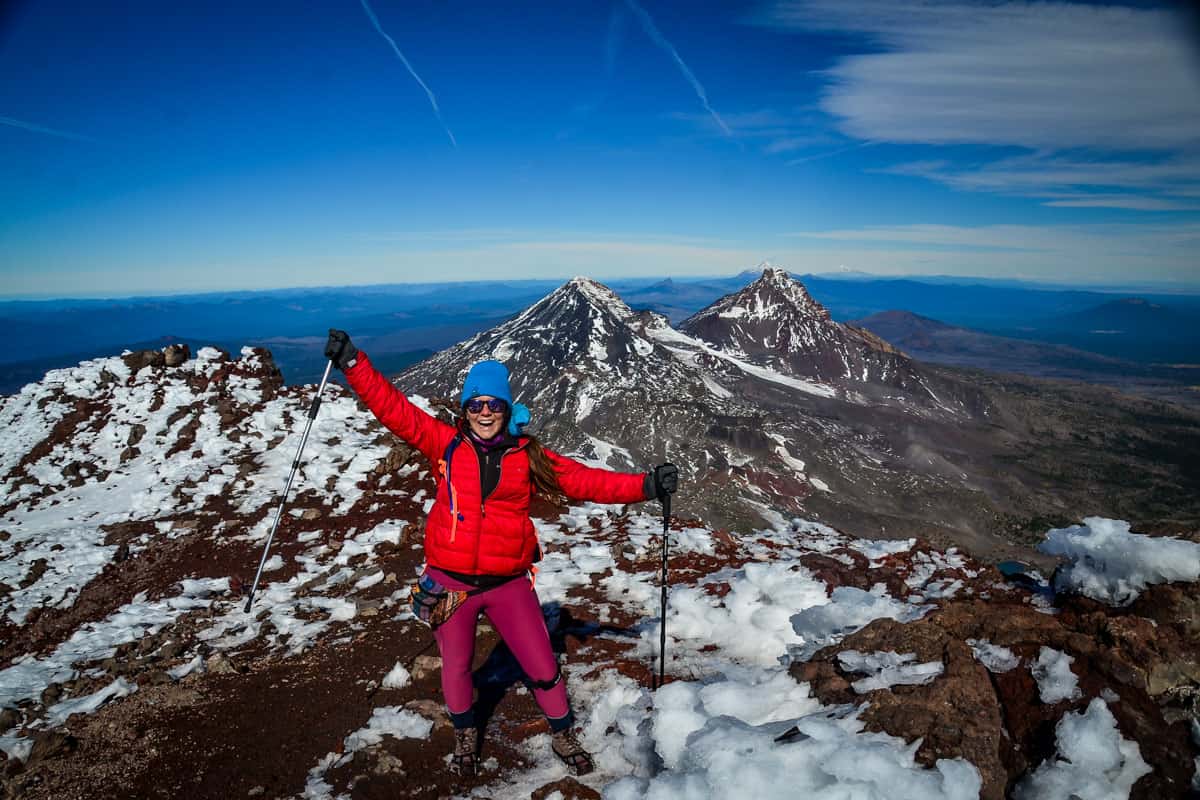
It’s all worth it, of course, for the personal reward and the jaw-dropping 360-degree views that few people ever see.
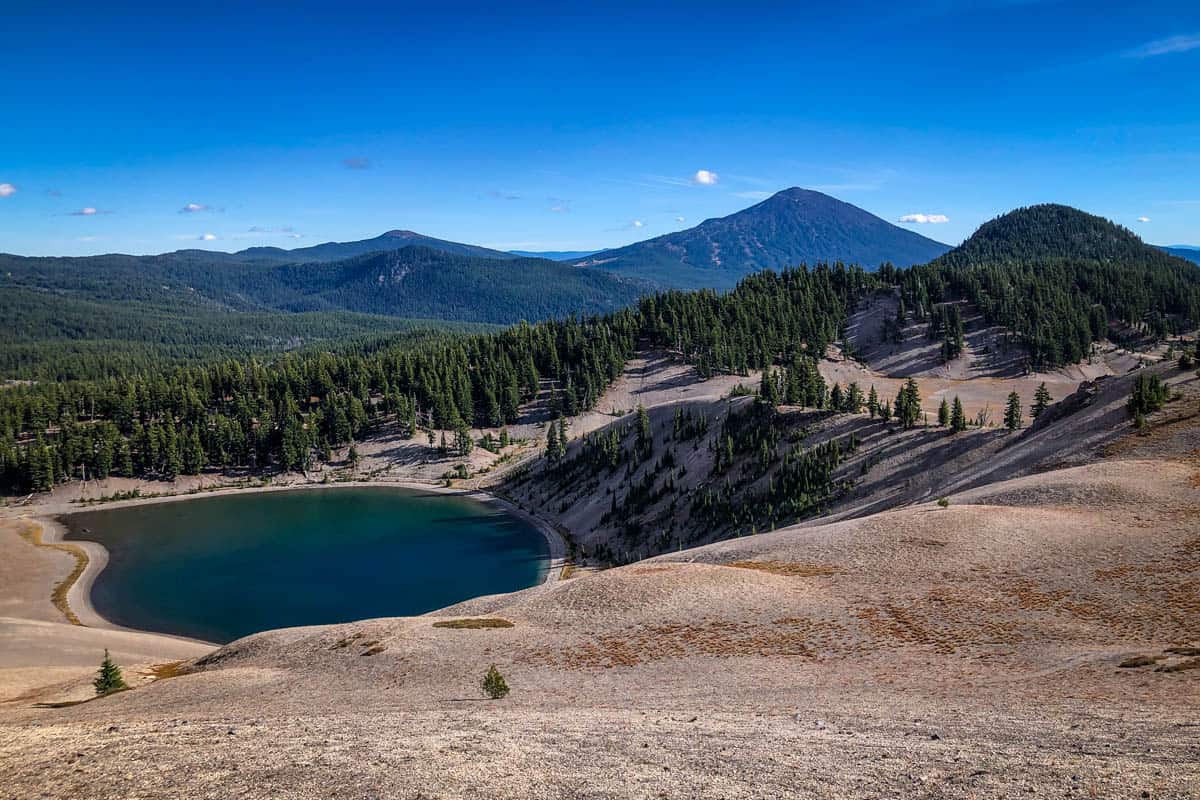
Once you’re at the summit, you’ll see several impossibly vibrant turquoise glacial lakes (including the highest in the entire state, Teardrop Pool, right near the summit of South Sister!), as well as Mount Bachelor and Mount Hood.
On very clear days, you may even spot Mount Rainier all the way up in Washington!
South Sister trail map
Things to know before you go
There are several things you should take into consideration as you plan for your South Sisters hike.
Best time of year for the South Sister Hike
While the South Sister hike is technically accessible from roughly mid-May to early November, the best months are by far July through September.
The roads and much of the trail are almost guaranteed to be under heavy snow through early to mid-June (and in some years, as late as mid-July!), and regular snowfall starts up again in October. Avalanches are also a major concern as snow starts to melt, so later in the season is much safer.
If you do want to attempt hiking South Sister in May, June, or October, heavy-duty crampons and an ice pick are absolute musts.
No matter what time of year, do not attempt this hike at all if the weather conditions aren’t right.
That may sound a bit dramatic, but we’re being completely serious — the summit is notorious for having its own weather. It may be 80 degrees and sunny at the trailhead, but in the 40s with blizzard-like wind gusts or even whiteout conditions at the summit!
If there are any clouds at all, err on the side of caution and don’t attempt it. Due to the steepness and length of the South Sister hike, this is really not a trail you want to be on when an unexpected storm hits!
How long does it take to hike South Sister?
Most people take 8-10 hours to complete the nearly 12 miles and 5,000-foot elevation gain of the South Sister hike. Of course, several variables will affect your completion time, including trail conditions, your individual hiking pace, and how often you stop for breaks.
To ensure you can complete South Sister as a day hike, be sure to get a very early start, and aim for an average pace of at least 1.5 mph. Keeping in mind that some miles will fly by while others are incredibly slow-going (especially at the end, when the steepness really ramps up!).
If you’re interested in splitting the hike up over a couple of days, this is an excellent trail for an overnight backpacking trip. Be sure to apply for an overnight wilderness permit and camp one night on the trail (more on that a little later!), saving most of the really aggressive climbing for day two.
How difficult is the South Sister hike?
We won’t even attempt to sugar coat it; the South Sister hike is extremely challenging. While it’s non-technical in the sense that you don’t need any formal climbing gear or training, there are stretches where you’ll probably wish you had both.
At some points, particularly during the last two miles when you’re already pretty tired, you’ll be climbing upwards at a mind-boggling angle of 45 degrees! These steepest sections are covered with loose volcanic scree, making it necessary to occasionally scramble on all fours.
With its unforgiving terrain, high altitude, and often unpredictable weather conditions, this hike will push you to your absolute limit.
Having said that, anyone who’s reasonably fit and has some hiking or backpacking experience can complete the South Sister hike (we promise!).
If it has been awhile since you completed a summit hike or hiked while wearing a loaded pack, it would probably be beneficial to do some training. Otherwise, all you need is the right mindset and some fierce determination. Oh, and a supportive pair of hiking shoes and trekking poles — those are necessities on this trail!
Once you’re at the top, gazing out at literally more than half the state of Oregon, it will all be worth it and you’ll feel incredibly accomplished.
Wildlife on the trail
Being an alpine environment, several wildlife species call the Three Sisters Wilderness home. It’s not at all uncommon to spot deer, coyotes, bobcats, wild turkeys, and even snakes.
While they’re exceedingly rare, once in a blue moon, you may spot a black bear. They aren’t typically aggressive, but it’s a good idea to pack bear spray and properly store your food, just in case.
Believe it or not, “mad squirrels,” technically called Golden-mantled ground squirrels, are probably the biggest wildlife concern while hiking South Sister. These innocent-looking squirrels have quite the appetite and are notorious for getting pretty aggressive with hikers in an attempt to commandeer their snacks.
This is especially true in the late spring and early fall, because the squirrels hibernate from October through May — they’re either trying to put on extra weight before their long winter nap or have just woken up from it, famished.
No matter how tempting it is, do not feed them (or any wildlife, for that matter)! Also, don’t leave food unattended unless you want it to become squirrel snacks.
Obtaining a permit for your South Sister hike
A Central Cascades Wilderness Permit is required to enter the Three Sisters Wilderness between June 15 and October 15. The $1 permits, which you can get on recreation.gov or by calling 877-444-6777, are required for both day use and overnight camping.
Although permits for the South Sister hike are limited, they’re not nearly as competitive as for hiking the Enchantments, and the system is also much simpler.
Instead of a lottery, Three Sisters Wilderness permits are released continuously. On April 5, 40% of the season’s overnight permits are released. The remainder are released on a rolling 7-day basis throughout the season, always at 7:00am PDT. For example, overnight permits for Saturday, September 10, are released on Saturday, September 3.
The system for releasing day-use permits is a little different. Permits are made available during two rolling windows: 10 days ahead of time and two days in advance, also at 7:00am PDT. In our September 10 example, you can apply for a permit on September 1 and again on September 8.
When you put in for a permit, you’re required to state the entry date and trailhead. This is not changeable and permits aren’t transferable, so be absolutely sure of your start date and trailhead (if you’re reading this, we assume you’re doing the South Sister hike, but it’s always smart to double- and triple-check!) before applying.
Please note that in addition to a Central Cascades Wilderness Permit, you will also need to have a Northwest Forest recreation pass to park at the trailhead. America the Beautiful national parks passes are also accepted. If you don’t have either of these ahead of time, you can buy a single-day permit for $5 from a kiosk at the trailhead.
The route
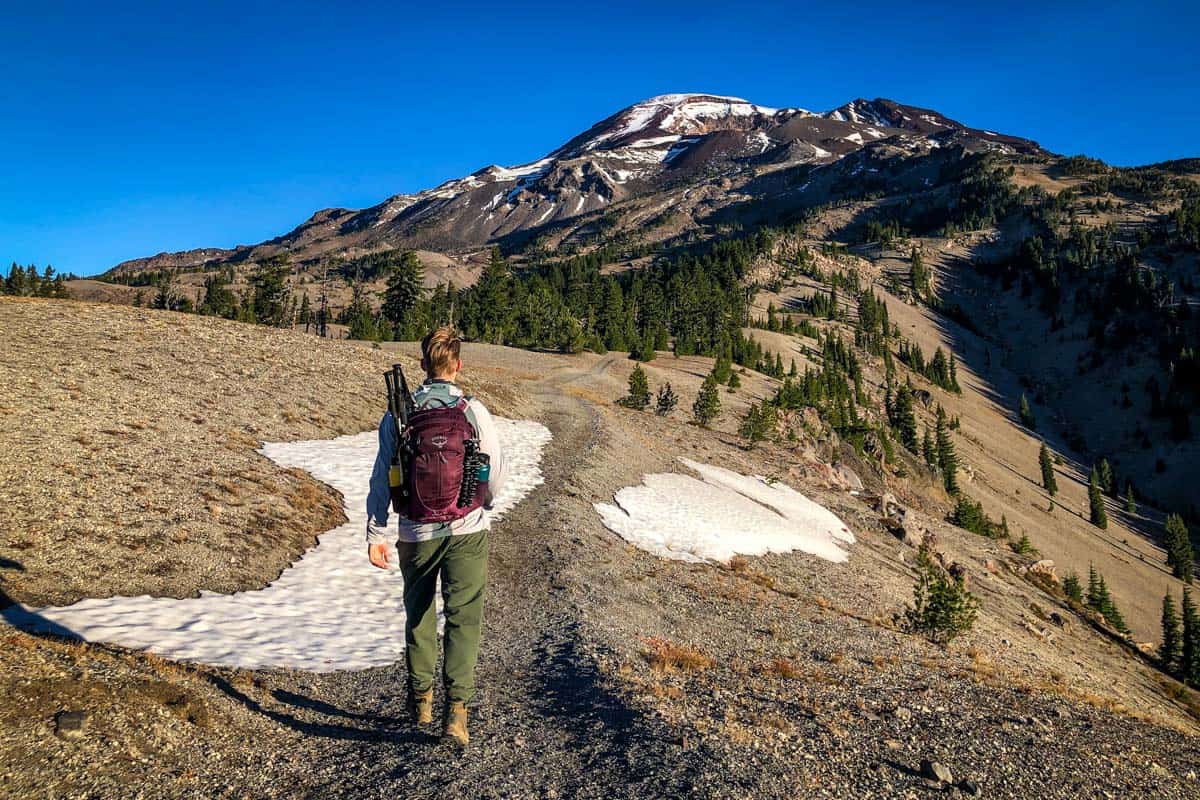
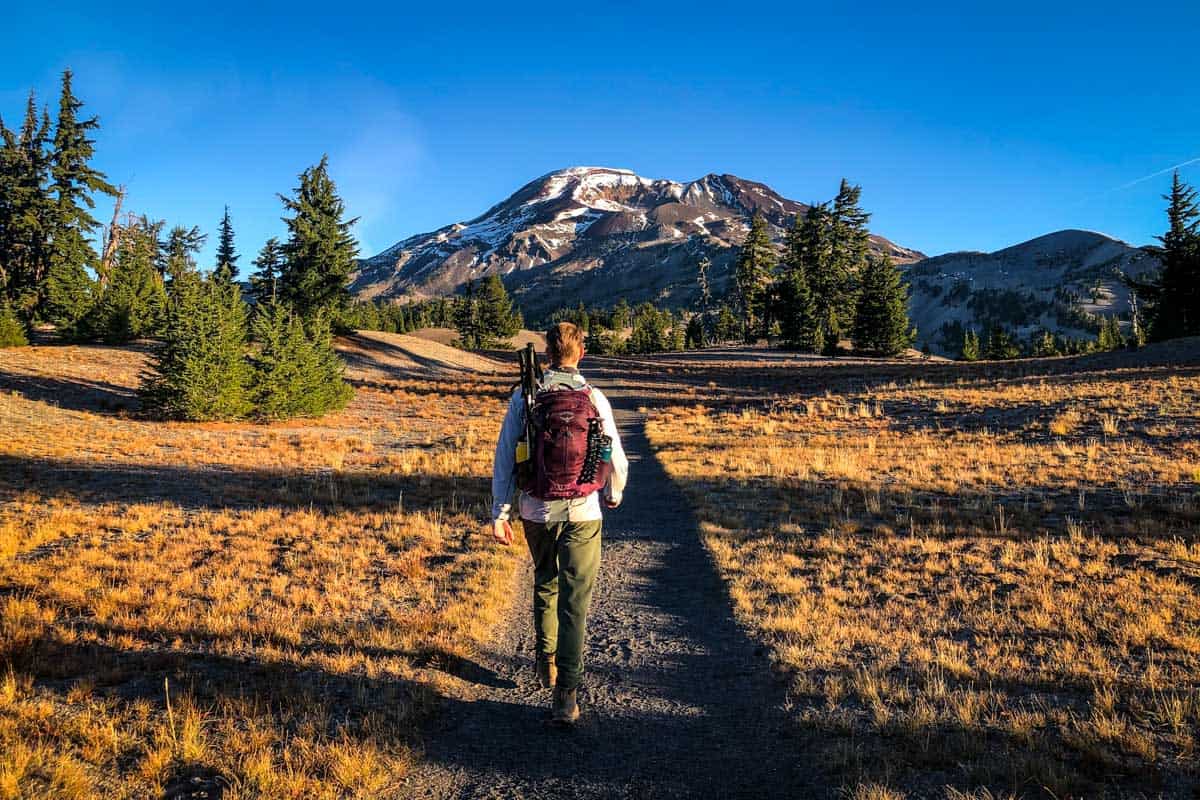
While there are a few routes you can take to summit South Sister, most hikers will want to stick with one in particular: the “main,” or south side, route. This route, the least technical of all the options, starts from Devil’s Lake. Other trails to the summit are not well-marked and notoriously difficult to follow.
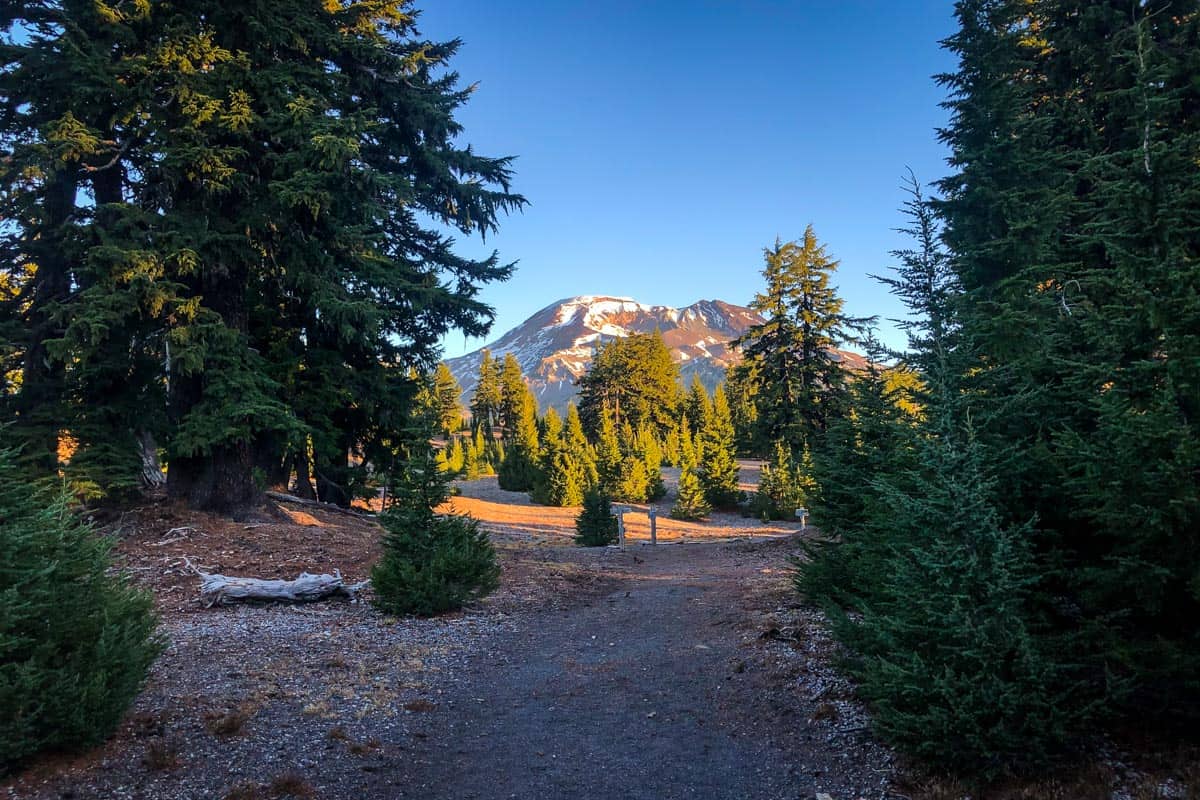
From the Devil’s Lake trailhead and campground, follow the South Sister Climbers Trail. You’ll quickly cross a bridge over Tyee Creek, then the highway, and immediately start the long uphill slog.
You won’t see much of anything but trees for the first 1.5 miles, but when you come out of the forest, the landscape is vastly different — a mostly flat, treeless plateau of sand. This is your first view of South Sister (ahead) and iconic Broken Top (to your right).
When you reach the 4-way junction, go straight ahead to South Sister.
Note: Moraine Lake is to your right, and if you’re just not feeling up to taking on the rest of the South Sister hike, this is an excellent alternative. At 6.8 miles round-trip with a total elevation gain of 2,000 feet, it’s no walk in the park, but it does avoid South Sister’s brutal, especially steep stretch, and it’s incredibly scenic in its own right.
Moraine Lake is also a great option for days when the weather looks sketchy or changes unexpectedly and you don’t want to risk summiting South Sister.
For a (very) short while after the trail junction, the hike is almost…leisurely. Elevation gain here is gradual and you’ll lose count of how many glacial lakes you spot.
Savor this and grab a snack, because once you get to the upper end of the valley holding Moraine Lake, the climb really begins. You’ll ascend relentlessly up soft sand and rock for 1.2 miles, then come to a natural rest area, Cirque Lake at the base of Lewis Glacier.
You’re almost there, just another 1.1 miles to go, but you’ll need to muster some serious energy, determination, and willpower to make it to the summit. In addition to being slippery, the trail actually traverses a glacier in this stretch and becomes difficult to follow.
This is where microspikes may come in handy…We were sure glad we had ours!
The next landmark is 0.7 miles ahead — the rim of South Sister’s formidable crater. You’ll see brilliant blue Teardrop Lake (the highest lake in Oregon!) on the crater floor. Head right and follow the rim for 0.4 miles up to the summit.
While that sounds simple enough, trust us, it’s anything but.
The terrain here is incredibly rugged, soft sand underneath loose scree and jagged rocks, with several enormous boulders randomly sprinkled in. At the same time, the climb is unrelenting, with an incline of as much as 45 degrees in some places. Take it slow and use trekking poles, and heck, even your hands and knees if you have to.
But after that…you’ve made it!
To get back to your vehicle, you’ll follow the route down exactly the same way you came up. Be extremely careful — if the climb was steep on the way up, you can imagine it’ll be just as challenging going down.
Tips for the South Sister hike
While literally nothing about the South Sister hike is easy, these tips can help better prepare you for the climb.
- Allot more time than you think you’ll need and start your hike extra early. It takes most hikers 8-10 hours, but that’s just an average. Build in time for snack breaks, resting, photo ops, and even more of a cushion in case anything unforeseen comes up. With its rocky, rugged terrain and weather that can change in a matter of minutes, this isn’t a trail you want to be on in the dark!
- Check the weather (and check it again!) before heading out. Once you get to the trailhead, reassess the situation. If there are any clouds over the summit, even if the sky is otherwise cloudless and blue, don’t attempt it. We can’t emphasize this enough: weather changes rapidly on South Sister’s summit!
- Even if it’s chilly and/or cloudy, generously apply sunscreen and wear a hat for protection from the sun. After the initial 1.5 miles, the trail is completely exposed and the elements are harsher at this high elevation.
- Hike single-file, especially along ridgelines and in especially rocky sections. If other hikers approach from the opposite direction, those going uphill always have the right-of-way.
- Check road conditions before you head out to be safe. Road closures are fairly common in the Three Sisters Wilderness area, especially in the winter and spring when the chance of heavy snow is ever-present. We love using TripCheck for this.
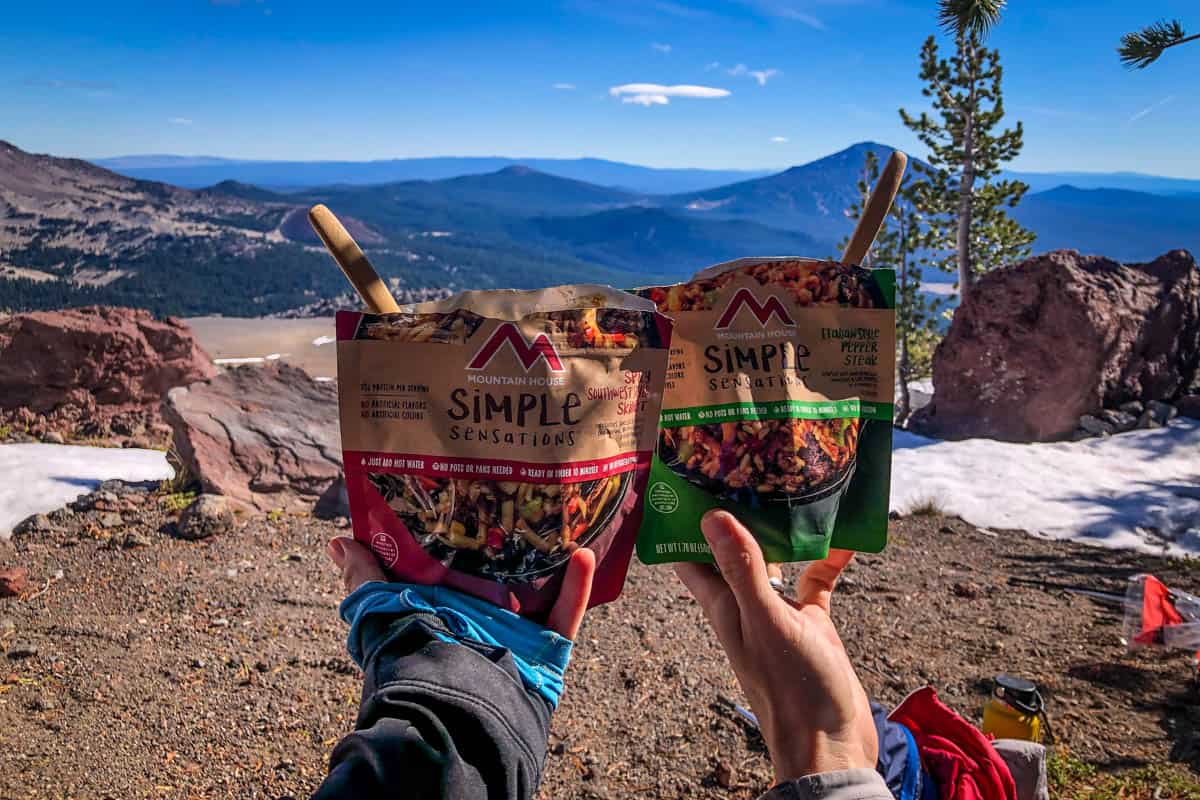
- Be sure to pack plenty of hearty hiking snacks. We already mentioned this will be a long one. Keeping yourself nourished and energized on the trail is important.
- ALWAYS practice the Leave No Trace principles, no matter where you’re hiking or how hard the trail is. To help hikers and climbers practice LNT, blue bags for proper solid waste disposal are available at a kiosk at the trailhead.
Where to camp near South Sister
There are two main camping areas for hiking South Sister, both of which are first-come, first-served.
The first is Devil’s Lake Campground, which is where the trailhead starts, a simple 10-site walk-in campground. It doesn’t cost anything to camp here, but you will need to have a Northwest Forest Pass to park (the same one we discussed earlier).
The second campsite is actually along the trail, at Moraine Lake. Pitching a tent is only permitted at designated sites, marked with posts.
Moraine Lake tends to get quite busy on summer weekends, but if it seems full when you arrive, don’t worry! With your South Sister hike permit, you can technically pitch your tent anywhere within the wilderness area.
Lots of hikers and climbers prefer camping at Green Lakes or nearby, just above or west of Moraine Lake. Note that campfires are not allowed here at all.
Other campsites nearby (within a roughly 10-minute drive) include:
- Soda Creek Campground
- Elk Lake Campground
- Point Campground
- Dispersed camping along the Cascade Lakes National Scenic Byway
Finally, if you’re not backpacking the South Sister hike and want some more luxurious digs, Bend is just a 40-minute drive. You’ll find a little of everything here in terms of accommodations, so it’s a great option for anyone who doesn’t want to camp.
What to pack for the South Sister hike
- Navigation: we recommend using Alltrails+ to download the offline trail map
- Get your first week of using Alltrails+ for FREE when you sign up using our link!
- **Permit
- Hiking daypack
- Warm layers (here is a great resource if you’re wondering what to wear hiking)
- Rain jacket
- Hiking boots
- Microspikes (if there is any chance of snow and ice)
- Hiking poles (optional)
- Bug repellent (we prefer the natural stuff)
- Sun protection: sunscreen, hat, sun glasses
- Water bottles and bladder for your Camelbak
- Way to purify your water (we love our Grayl water bottles, and before them we always brought along our Steripen)
- Headlamp
- Battery pack (if you are relying on your phone)
- Camera/tripod (this one’s our favorite for hiking)
- Bear spray (just in case)
- Bear canister (to properly store your food)
- Multi-tool
- Toilet kit: toilet paper, small shovel, bag for packing out TP, hand sanitizer
- Plenty of snacks: check out our favorite hiking snacks here!
**Don’t forget to pack your permit!
Be sure to grab our ultimate hiking packing list includes our must-have gear for any hiking trail!
You may also like…
- Best Hikes Near Bend Oregon
- Best Campsites near Bend Oregon
- 45 Best Hikes in Oregon
- Broken Top Hike: How to Get There & What to Expect
Save this article on Pinterest for later!
We want to hear from you!
Have you ever done the South Sister hike in central Oregon? What was your experience like? Do you have more questions about doing the hike? Comment below and let us know!
Good report- a few comments after many SS climbs.
1. Climbing after mid August is new snow risky
2. Plan to be headed down by noon. Wind usually comes up in the early afternoon.
3. Check you back path on the way up. Many people get into trouble by not going east far enough on the decent before dropping to the plateau.
4. In the summer tennis shoes for 3 miles, then boots.
13 summits over 44 years. Have a good one.
These are fantastic tips! Thank you, Dave! 13 summits is super impressive!