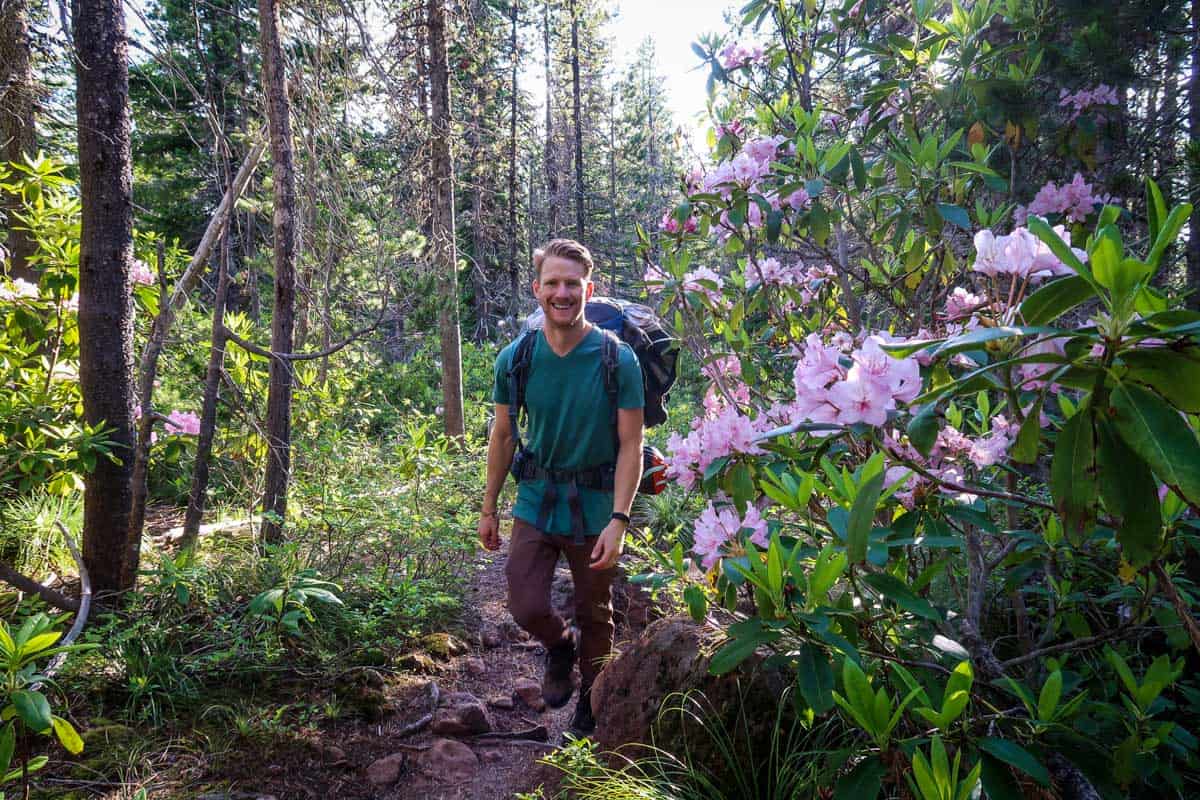
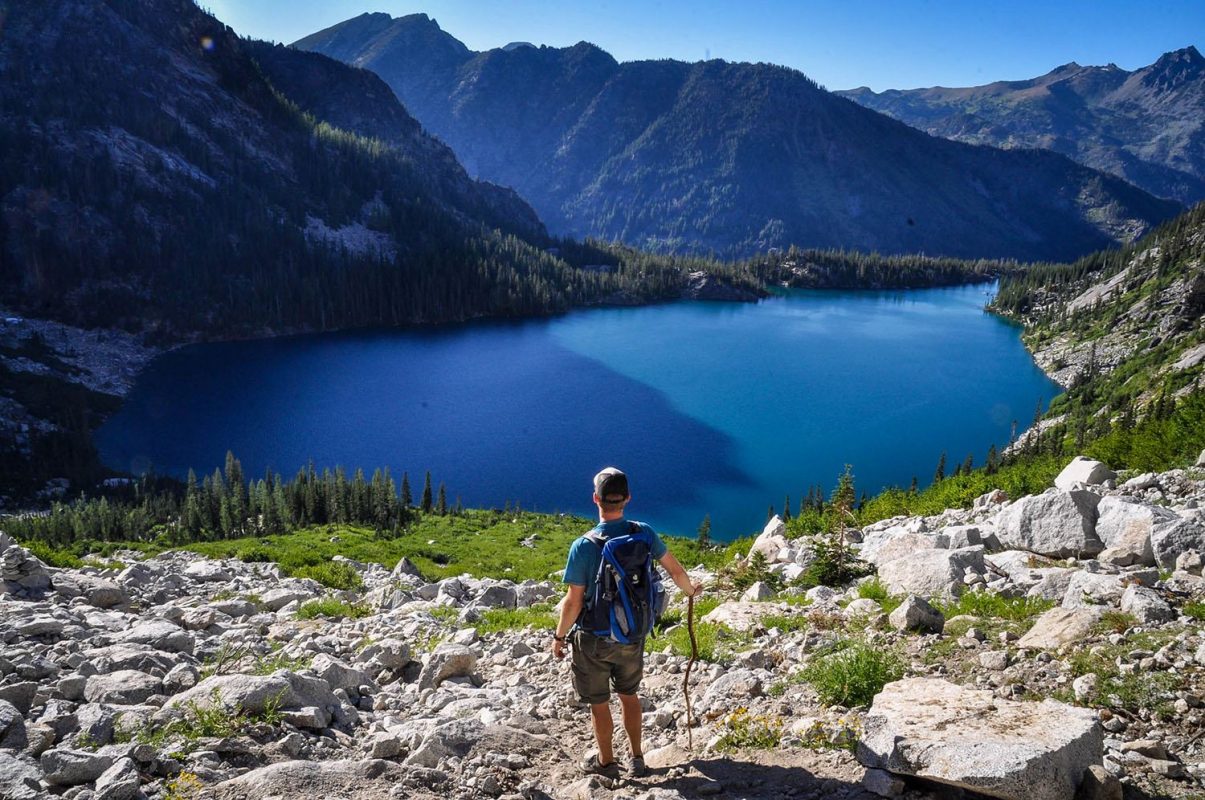
If you’ve ever wondered, “What is thru hiking?” you’ll want to keep reading! From covering the basics like water purifying and navigation to highlighting some of the best thru hikes in the US, this guide details everything you need to know before you hit the trail.
Have you ever heard your outdoor-loving buddies talk about “thru hiking” and wondered what the heck they meant? Perhaps you’ve seen a trail listed as a “thru hike” but didn’t understand the meaning.
In this article, we’re covering all the basics, starting with what exactly is thru hiking, and you can prepare for success on the trail.
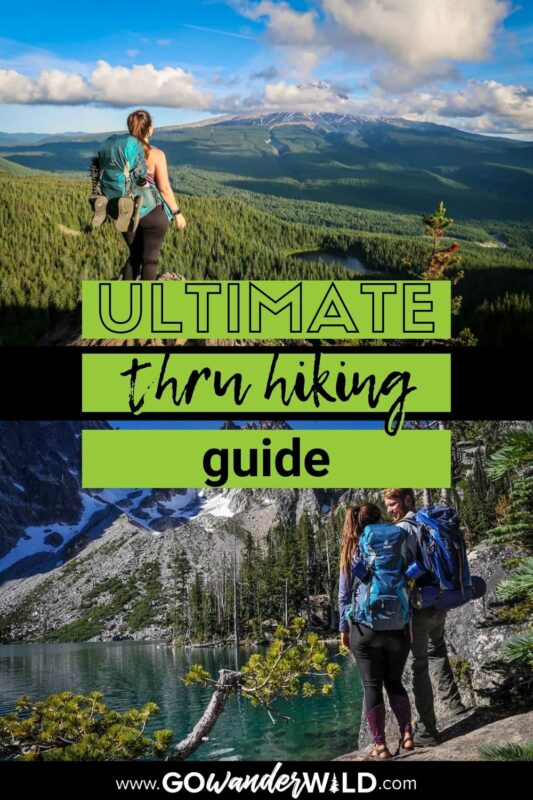
Thru Hiking Guide
- What is thru hiking?
- Thru hiking basics
- Transportation
- Gear for thru hiking
- Popular US thru hikes
- Best thru hikes in the PNW

What is thru hiking?
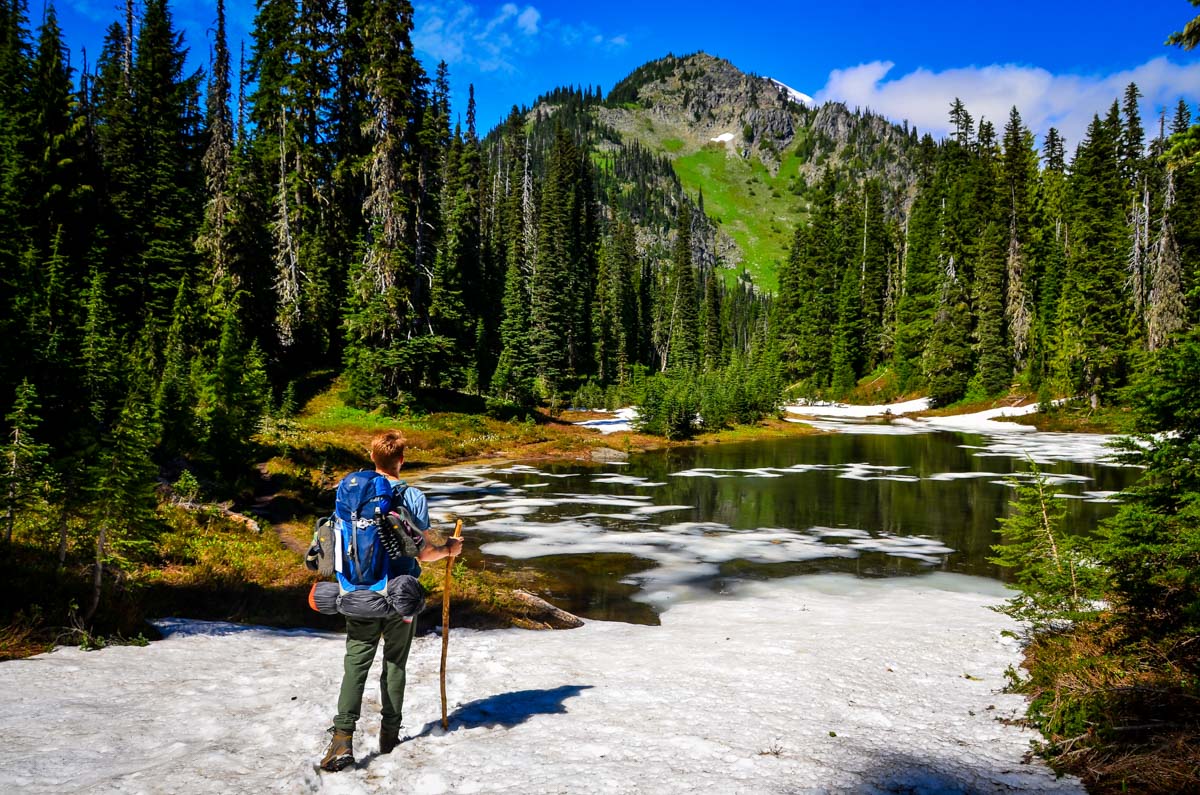
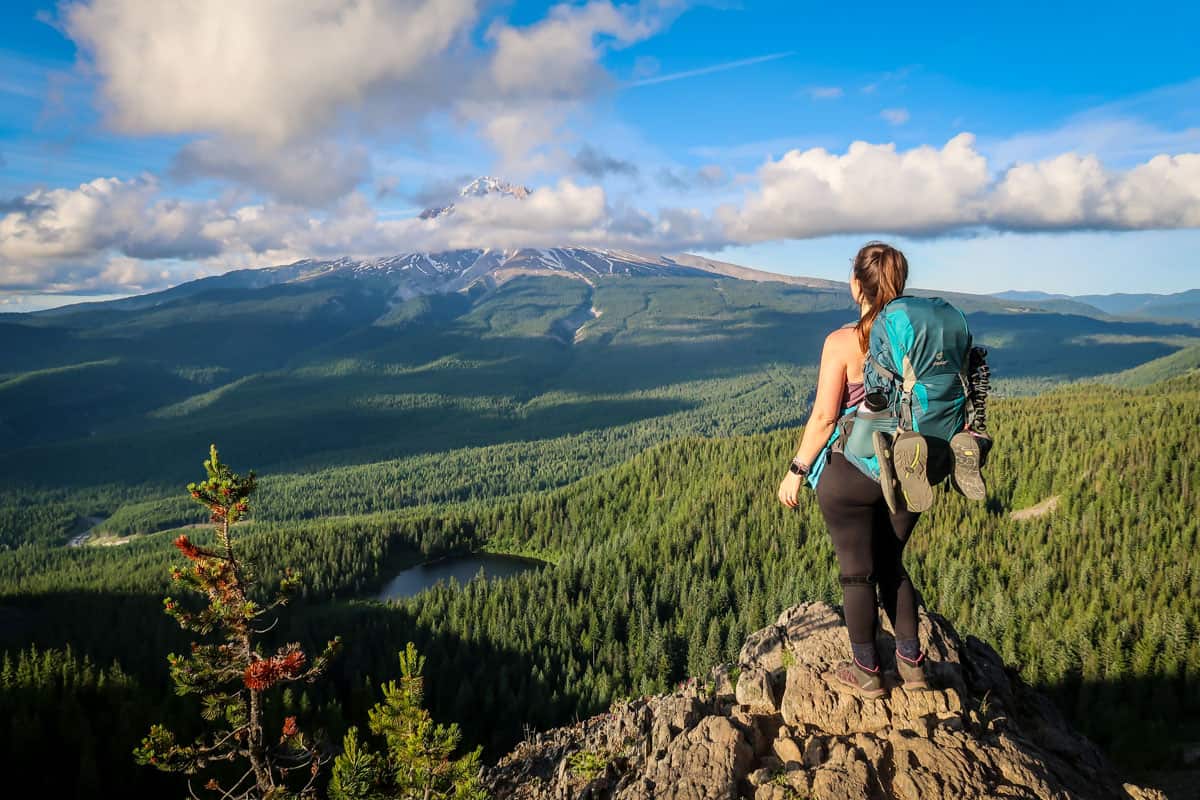
Thru hiking is defined by tackling an extensive, long-distance, point-to-point hike in one trip.
Unlike traditional backpacking trips, thru hiking involves completing an entire long-distance trail from end to end, covering hundreds or even thousands of miles in one continuous endeavor. That could mean you spend days, weeks, or even months on the trail.
While many people associate thru hiking with the most famous ones—the “Triple Crown Trails” (the Appalachian Trail, the PCT and the Continental Divide), a thru hike doesn’t have to meet any minimum length requirements.
We’ll get into more details later, but some thru hikes are as few as 20 miles.
Thru hiking basics
Whether you’re tackling a 15-mile trail in a single day or you’ll be on one of the Triple Crown trails for months, there are some basic, but important, things you should know about thru hiking.
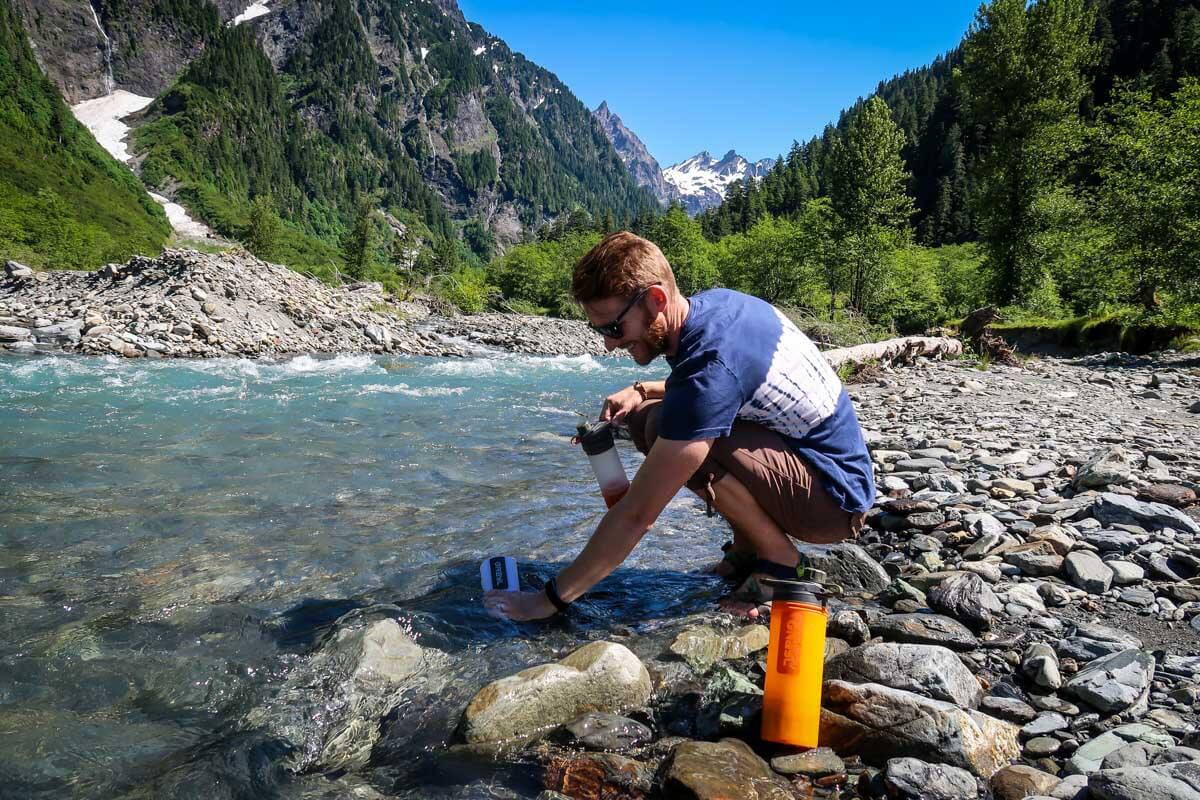
Water purification
Plumbing is not an amenity you can expect in the undeveloped backcountry. While thru hiking, you’ll be responsible for your own water supply.
Since water can be very heavy to carry, especially considering all the water you’ll need on a long-distance trail, we’d recommend bringing along a water purification system so you can refill on the go from a lake or river.
Why do I need to purify my water?
Even if the water in a remote lake or stream looks crystal clear, it’s still important to purify it. Nearby wildlife use the water sources, making them a very likely carrier of some nasty illnesses, like giardia. Google it if you need a graphic reminder as to why you need to take the time to sterilize your water.
How can I purify my water?
There are plenty of ways to safely purify your drinking water from UV light to pump systems to tablets and built-in filters. Some systems work better than others in certain situations.
We’ve recommended a few of our favorite water purification products in the thru hiking gear list below.
It’s also a good idea to consult with experts at your local outdoor stores (like REI) as well as with park rangers. They can be very helpful in determining which system is right for you and the location in which you’ll be camping.
Where can I fill up my water?
Before heading out on any thru hiking trip, it’s important to understand exactly where the water fill-up points are.
If you’re camping in an area where there are no water sources, like the desert, the beach, or certain mountain terrain, you will need to make sure you have enough water packed for drinking, cooking and cleaning up.
It’s probably more than you think!
For this reason, we’d recommend first-time backpackers stick to locations where there are several water sources for refilling opportunities.
Off-line Navigation
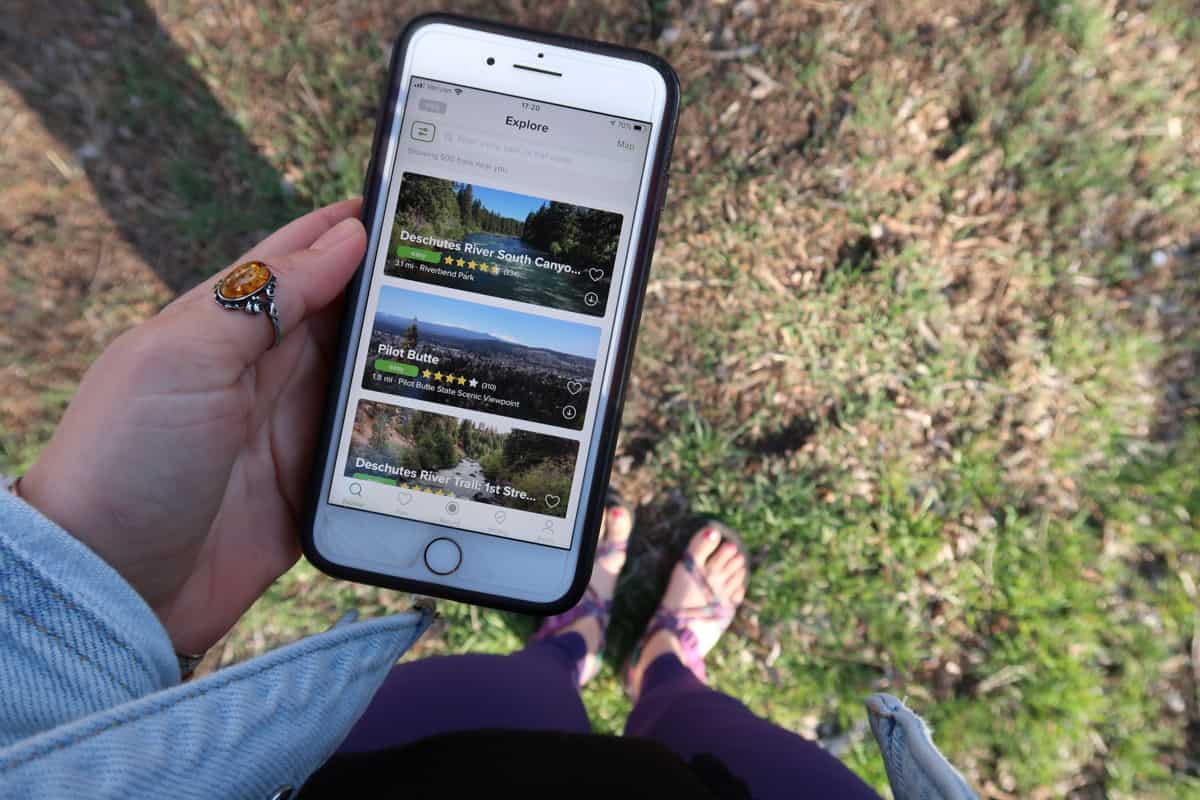
Understanding how to navigate is an important skill when going off-the-grid on a long thru hike. It should come as no surprise that oftentimes, you will have no cell service coverage in the backcountry. And you can bet you won’t be finding any wifi hotspots!
You’ll want to be prepared for your thru hiking trip with off-line methods for navigation such as an actual handheld paper map and compass. We also like to download the offline map of our route from AllTrails+ on all of our hiking and backpacking trips.
Important: If you plan to use digital maps (aka on your cell phone), you should also remember to carry a reliable way to keep your device charged for your entire trip. For longer backpacking trips, it’s best to stick to the good old fashioned paper map and compass so you don’t run out of battery.
Good to know: To be able to download the offline version of these maps, you must have Alltrails+. It is $35 annually (less if you commit to more than one year), and in our opinion, it is totally worth the money.
We rarely pay for apps, but this is one that we will likely never go without. AllTrails+ has maps all over the world, so it’s great to use even when you travel internationally.
BONUS: You can get your first week FREE when you download Alltrails+ using our link.
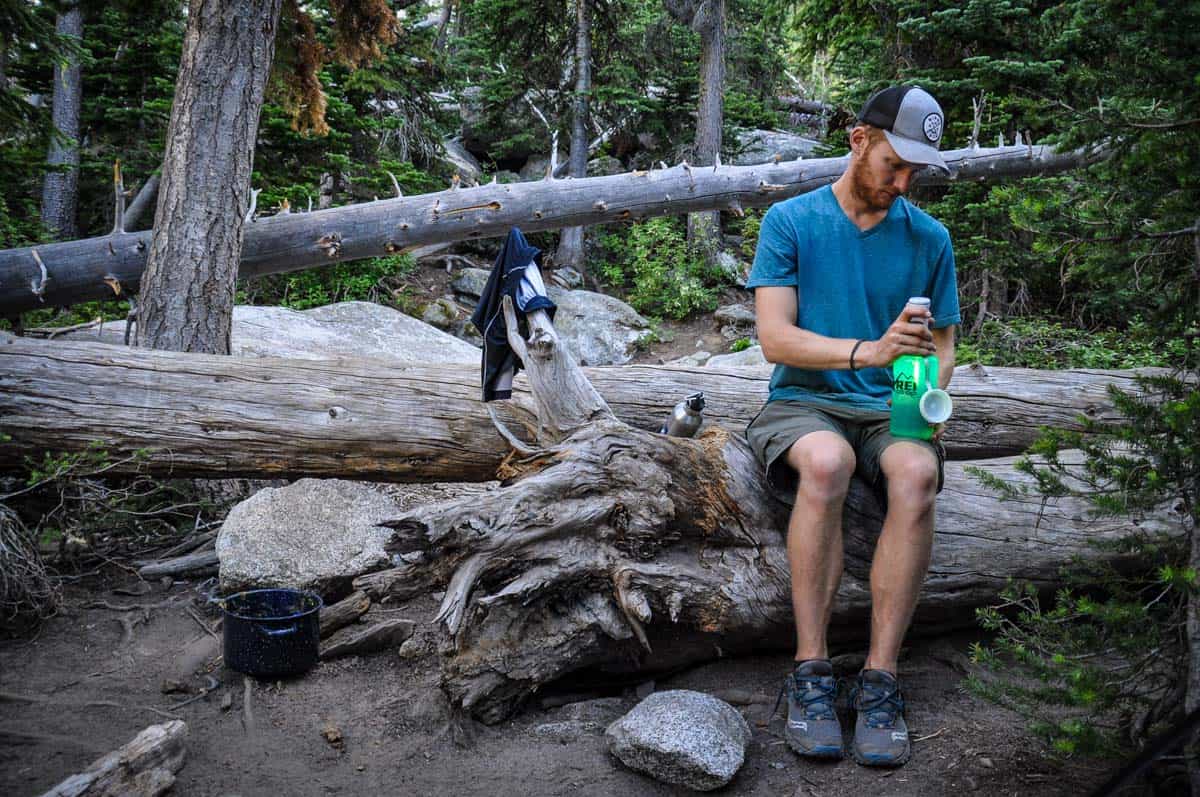
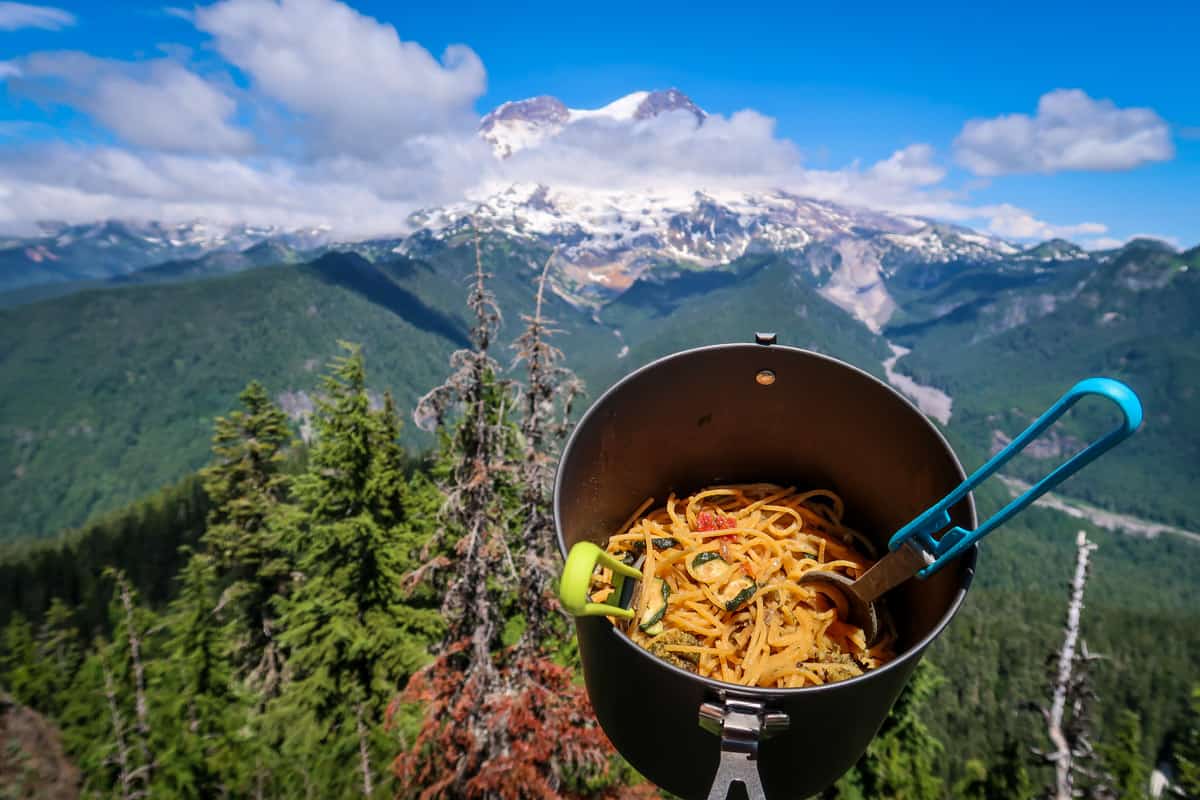
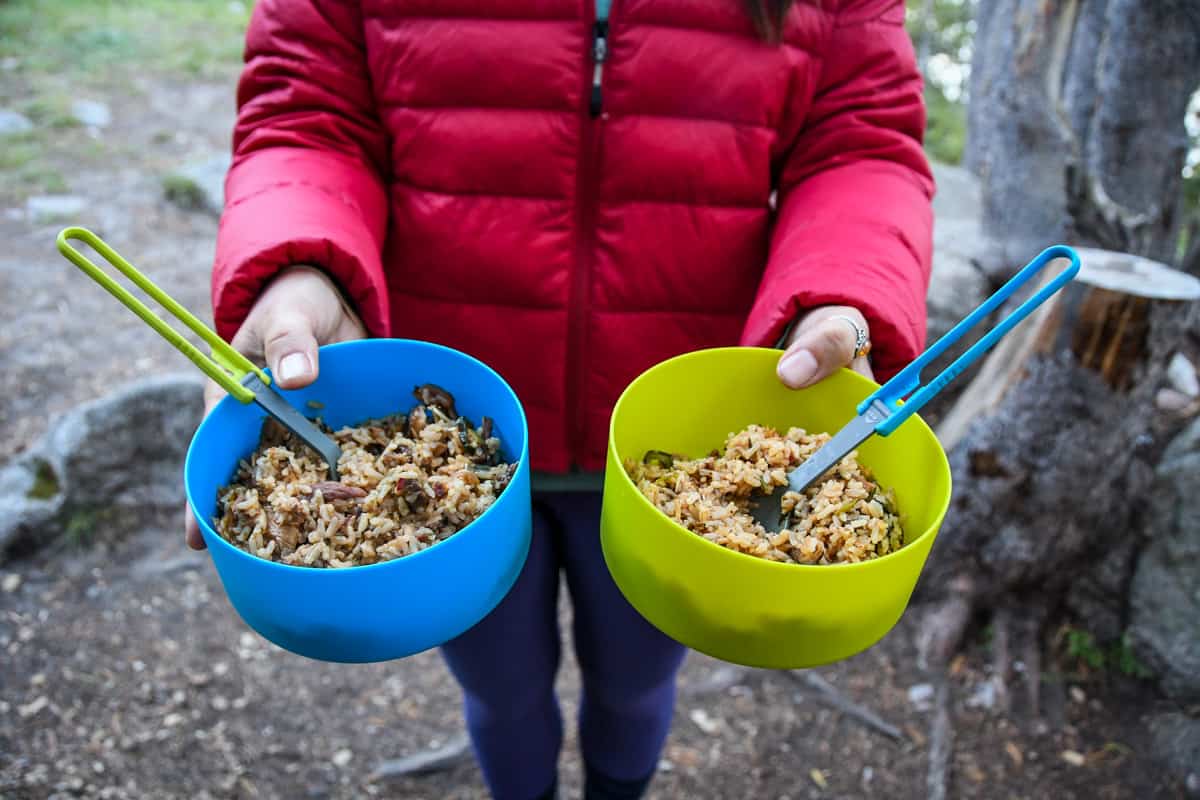
Cooking over an open fire or camp stove
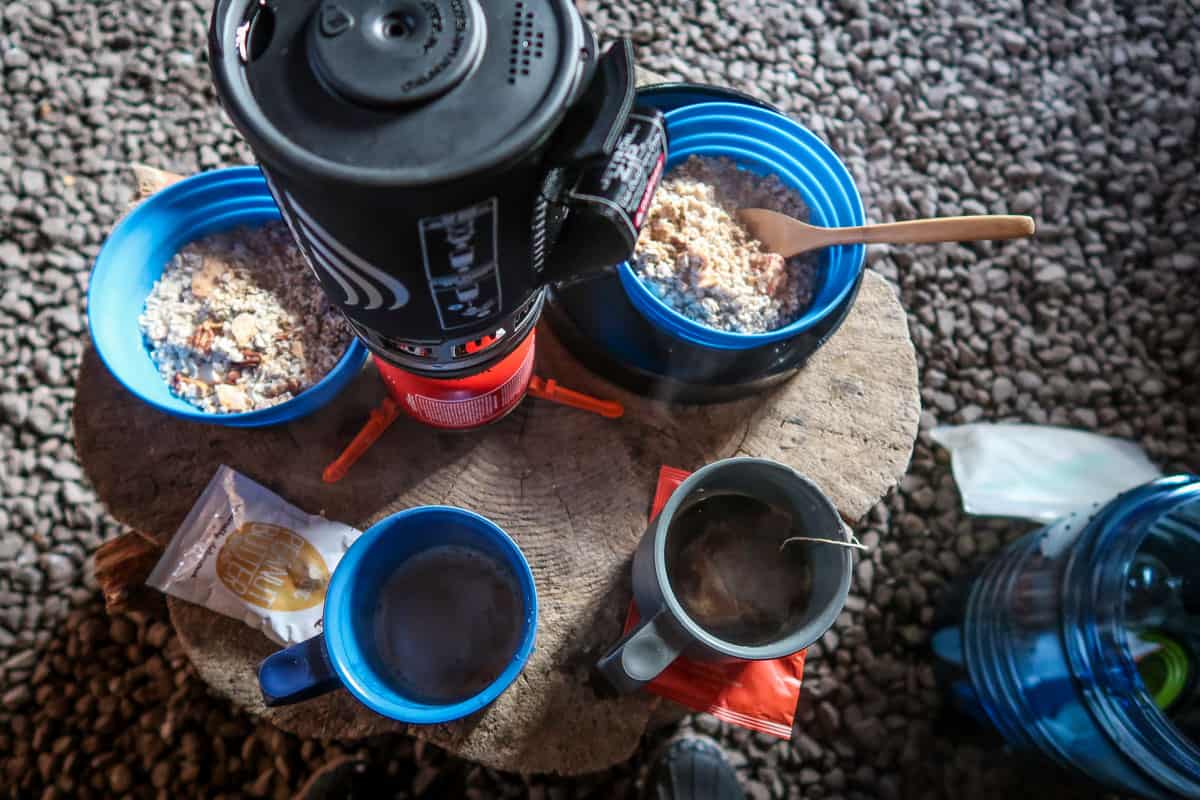
Since you have to carry in all of your own food supplies, you will need to pack lightweight meals that can be easily cooked on the trail.
We like making our own backpacking meals with dehydrated ingredients, but you can pick up a decent variety at most outdoor stores.
In their simplest form, dehydrated meals can be prepared by pouring boiling water into the meal packet and letting it sit for a few minutes. This is nice because there is little clean-up involved (aka no dishes to do!).
We always hike with our Jetboil for cooking on longer thru hikes and backpacking trips.
With some more complicated meals, you may need to actually cook the meal with water in a pot over a flame. This will result in some dishes, but may be a better option depending on your preference.
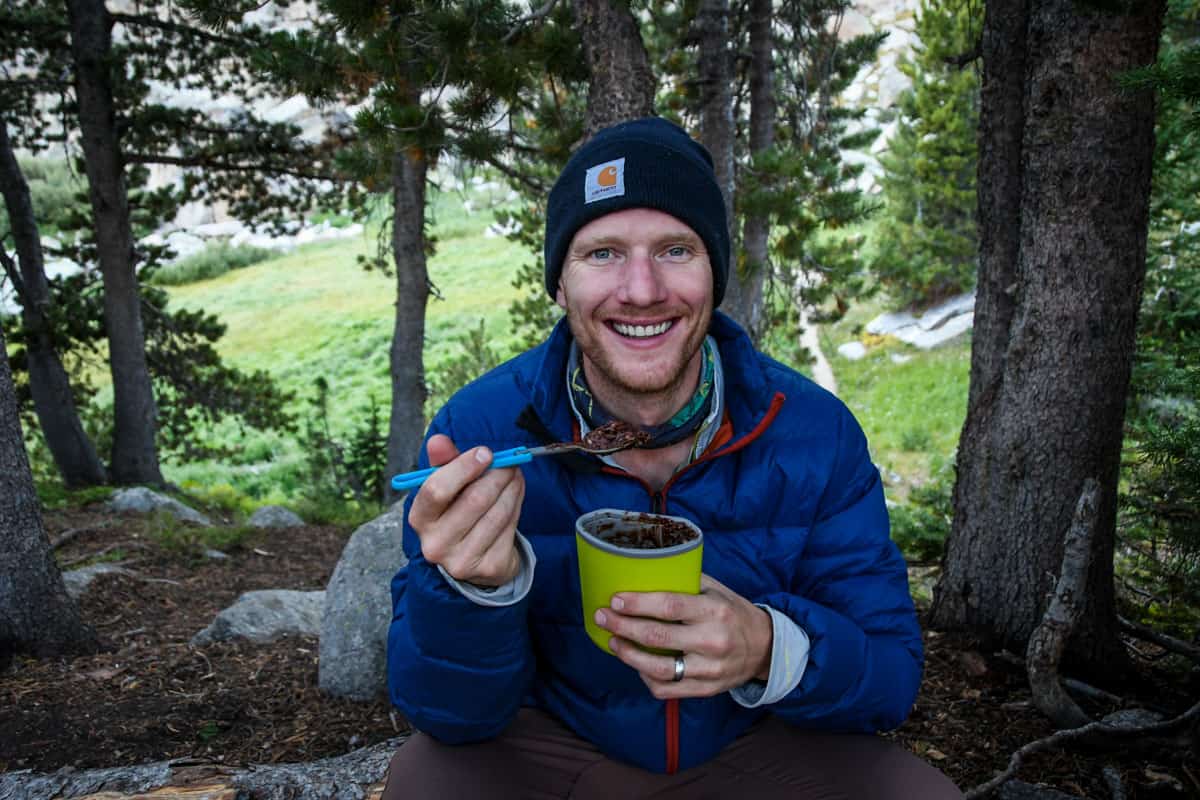
In addition to 3 meals a day, you’ll also want to bring plenty of healthy hiking snacks for the journey as well since you’ll be using all sorts of energy to hike and set up camp.
Insider Tip: If this is your first time cooking backpacking meals, we’d recommend doing a “test run” at home just so you know how it’s done and exactly what tools to bring. You don’t want to end up in the middle of nowhere and unable to make a decent meal.
Food storage
A lot of the backcountry wilderness — especially the Western part of the United States — is home to wild animals like bears that can be attracted to the scent of food (or other smelly items!).
It is incredibly important that you properly store your food and any other items that smell (like deodorant, hand sanitizer and toothpaste!) at all times.
Why do you need to store your food?
Glad you asked!
- Your safety
- The wellbeing of wildlife
- To prevent small critters from stealing your food (oh, hell no!)
Your safety
The first major reason for properly storing your food is for your own safety. In regions that are known for bears, this can mean the difference between life and death.
We don’t say this to scare you, but there have been incidents of people being seriously injured (or even killed) because they haven’t properly stored their food.
When you are in the wilderness, you are the visitor, and you’re playing by the animals’ rules.
The wellbeing of wildlife
Animals have very good senses of smell and will be able to detect food from a long distance (yes, even if your chocolate bar is stuffed deep inside your backpack). This can entice them to get close to humans and to eat human food, neither of which are healthy for wildlife.
Keep them (and yourself!) safe by storing your food properly.
To prevent your food from being stolen
Obviously, it’s really scary to think about a bear approaching camp, but in reality it’s a lot more likely that your smelly food will attract smaller critters — think mice, squirrels, marmots, raccoons, etc.
Trust me when I say you don’t want these guys coming into your camp and nibbling through your gear.
One more thing: If you’re camping in bear country, you’ll likely want to bring bear spray with you as well.
How do I know if I need to store my food?
It’s always good practice to store your food separately from your campsite. But to determine if you need a bear-safe method, check with the closest ranger station. They will have all sorts of good information for you.
How can I store my food?
There are a few different methods for safely storing your food in the backcountry.
Bear canister
This is a plastic container that is somewhat difficult to open (aka think of a childproof pill container). When you are storing your food and toiletries, you should put the canister at least 100 meters downwind of your tent.
- Pro: Bear canisters are easy because you don’t need to be camped by a tree in order to hang your food.
- Con: These can be heavy and bulky, which is something to consider especially on longer backpacking trips.
Tip: If you don’t have your own bear canister for food storage, you can usually rent one (sometimes they are even free of charge) from one of the nearby ranger stations.
Hanging your food pack
Another way to store your food safely is to hang it from a tree or food pole.
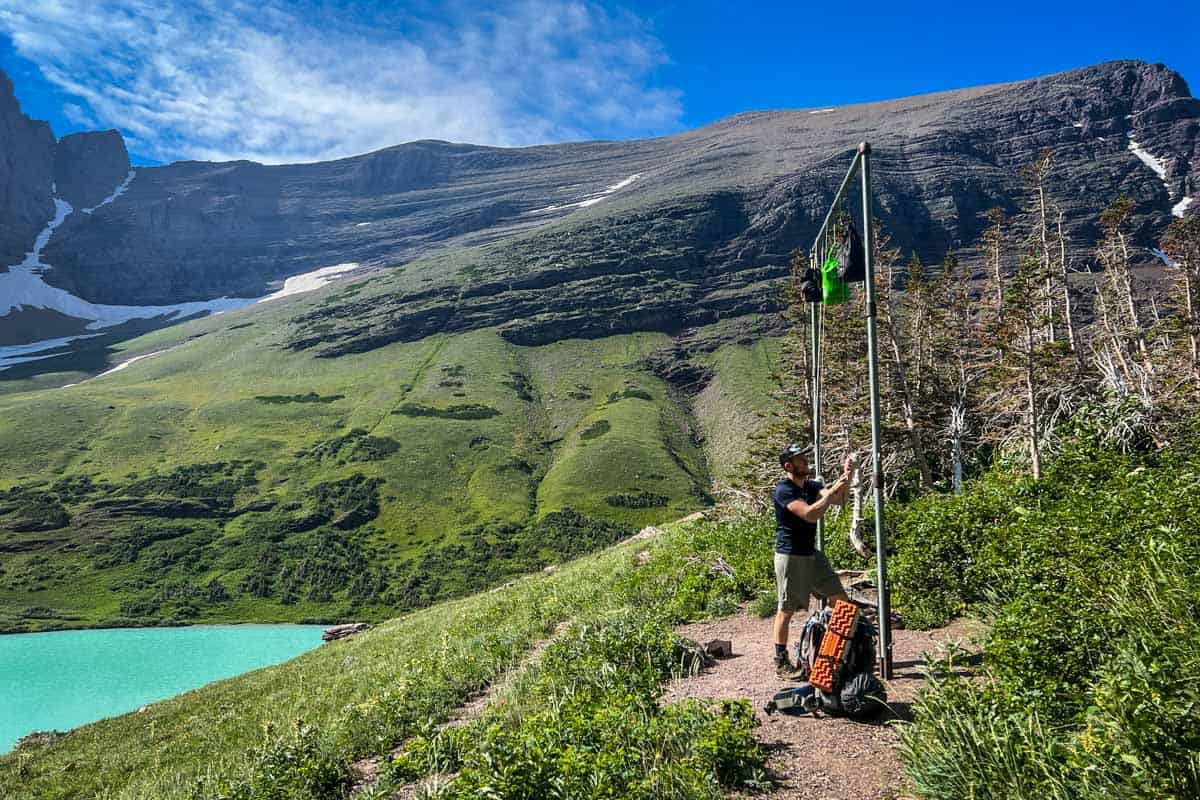
At some established backcountry sites, there will be a free standing “bear pole” or wires from which you can hang your bag. Some people will hang their entire backpack, but we prefer to carry a lightweight dry bag and just hang that.
At less established backcountry campgrounds where there isn’t a dedicated bear pole or wire, it’s still possible to hang your food pack. The tricky part is you’ll need to find a tree that works, and it can be a little more difficult than it might sound.
To actually be hung properly (where large animals cannot get to it), you’ll need to make sure that the food pack is high enough from the ground as well as far enough from the trunk of the tree. Ideally, this means the pack will hang 15 feet from the ground and 10 feet from the trunk.
For more information, check out this step-by-step guide from the Washington Trails Association.
Psst! Be sure that you have a rope if you plan on hanging your pack from a tree.
Food lockers
You won’t often find these at backcountry sites, but it’s another option worth mentioning.
Some campgrounds have metal storage containers for storing food inside. However, you should be prepared to follow one of the methods above as it’s unlikely your wilderness site will have a locker.
Leave No Trace principles
If you haven’t heard of the 7 principles of Leave No Trace, it’s important to familiarize yourself with these guidelines and follow them anytime you are in the wilderness.
The idea is that you leave any place you visit in the same condition as you found it (or better) so that you don’t impact the environment and others are able to enjoy the same experience as you.
7 Principles
- Plan ahead and prepare
- Travel and camp on durable surfaces
- Dispose of waste properly (this generally means carry out any waste you carry in)
- Leave what you find
- Minimize campfire impacts (be careful with fire and under no circumstances should you light a fire during a fire ban)
- Respect wildlife
- Be considerate of other visitors
Weather warning signs and safety
Check the weather before your trip and get to know the weather patterns in the area. We always like to stop at the closest ranger station, as they typically have the most accurate weather forecasts for the wilderness areas nearby and can provide more information than you’ll find online.
Understand the warning signs of severe weather. Weather can change drastically while you’re in the backcountry (even if it’s not forecasted), so it’s good to be prepared with proper clothing and shelter.
Tip: It’s always a good idea to pack rain gear, even if it’s not predicted to rain. You’ll also want to have warm layers, even if it is predicted to be hot.
First aid and prevention
Consider learning some basic first aid before your backcountry trip. It’ll help you know what to do if something should happen while you’re completely disconnected from other people and even better, how to prevent accidents from happening.
Important: It’s good to understand what everything is inside your First Aid Kit. You may need to add items depending on how many people are in your party and how long your trip is.
Proper clothing for thru hiking
Make sure you are outfitted with proper clothing, including lots of layers while thru hiking in the backcountry.
It may be hot during the day while you are hiking in, but when the sun goes down the temperatures can drop drastically. Know what the climate is in the area and what to wear hiking to make sure you’re comfortable on your trip.
Shelter
This may go without saying, but you should come prepared with a proper shelter for camping during your multi-day thru hike.
If it’s a tent, be sure you know how to set it up before you are in the woods in the middle of nowhere and the sun is setting and it’s getting darker by the minute.
If you prefer sleeping under the stars (in a hammock let’s say), be sure you are prepared for the weather and have a bug net or bug repellant if necessary.
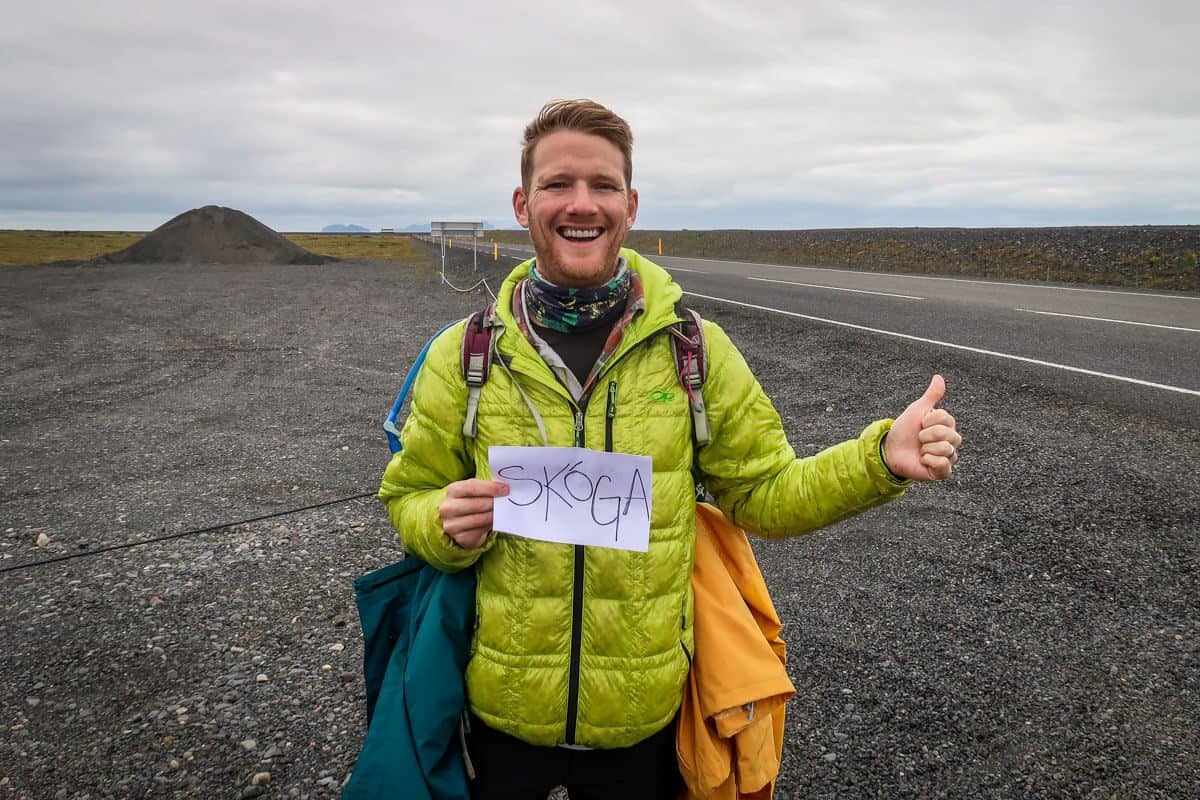
Transportation
Finishing your hike somewhere other than where you started means you need to plan ahead to make sure you have a ride home. Depending on where exactly you’re thru hiking and how far you are from your starting point, you have a few options.
Option 1: Get a ride from family or friends
If you know someone near your start or end points, you could ask them to drop you off and/or pick you up. This option works best on shorter thru hikes, since you need to have a rough idea of when you’ll be done — or be willing to wait on your ride.
Option 2: Use two of your own vehicles
If you’re thru hiking with a partner or group and it’s a relatively short trail close to home, you can create your own vehicle shuttle.
Drop one vehicle and any extra hikers off at the trailhead, then bring both vehicles to the trail terminus. If you have a group, leave the bigger vehicle at the end, since you’ll all have to cram into it!
Then, drive one vehicle back to the trailhead, bringing both drivers and both sets of keys. Now you can all start your hike together, and there’s a vehicle waiting for you when you finish! Go retrieve the other vehicle at the trailhead to complete the shuttle.
Pro tip: put clean socks, towels, fresh water, and a few snacks (properly stored, to disguise any scent from wildlife) in the vehicle at the end of the trail. You’ll be glad you did!
Option 3: Book a hiker shuttle
If you only have one vehicle to work with, your best option is likely a hiker shuttle. These are typically professional services, although sometimes helpful locals who live nearby also shuttle hikers. Note that in either case, hiker shuttles are generally not free.
Depending on the specific trail, there may be a well-known service with a very well-established system (like the AT and PCT). If it’s a smaller thru hike, search “_____ (trail name) hiker shuttle.” Reddit and Facebook groups are also excellent resources.
If you have the option, always leave your vehicle at the end of the trail and use the shuttle to get to the starting point. This way, when you’re done, you’re really done. No stressing over making it on time or having to wait on the next shuttle!
Option 4: Key hand-off
This option isn’t for everyone, as it requires swapping keys — and vehicles — with someone else. In some cases, that someone else may even be a stranger.
Two hikers or groups of hikers start a trail from opposite ends, at around the same time. When they meet somewhere in the middle, they trade keys so each of them has a vehicle waiting at the end.
Swapping keys requires you to meet up either before or after the hike, to swap vehicles. You’ll either start on your own and end up in the other one, requiring you to meet up after to swap back, or you swap cars beforehand, start in the other person’s vehicle, and return to your own.
We highly recommend the latter, so that when you’re done, you don’t have to meet up again and there’s no possibility of waiting for the other person to finish the hike. 548
Best gear for thru hiking
- Navigation*: we recommend using Alltrails+ to download the offline trail map
- Get your first week of using Alltrails+ for FREE when you sign up using our link!
- Permit** (if one is needed)
- Hiking daypack
- Water bottles and bladder for your Camelbak
- Way to purify your water (we love our Grayl water bottles, and before them we always brought along our Steripen)
- Dry bag (we always carry one with us for our valuables in case of rain)
- Bug repellant
- Sun protection: sunscreen, hat, sun glasses
- Headlamp
- Warm layers (here is a great resource if you’re wondering what to wear hiking)
- Rain jacket
- Comfortable hiking boots or shoes
- Microspikes (if there is any chance of snow and ice)
- Hiking poles (optional)
- Battery pack (if you are relying on your phone)
- Bear spray (just in case)
- Lightweight tent (check out the best 2-person tents)
- sleeping bag
- sleeping pad
- Multi-tool
- Lighter
- Toilet kit: toilet paper, small shovel, bag for packing out TP, hand sanitizer
- Bag for your trash
- Camp stove/fuel (we love our Jetboil!)
- Dishes/utensils
- Mess kit
- Biodegradable soap and towel
- Bear canister (to properly store your food)
- Rope (if you plan to hang your food bag, or for hanging sweaty/wet clothes)
*If you choose to us your phone for navigation, be sure to bring a reliable battery pack to charge your phone
**Don’t forget to pack your permit!
Optional gear
- Camera/tripod (this one’s our favorite for hiking)
- Camp chairs (we like our Crazy Creek chairs)
- Fishing pole (be sure you know the regulations about fishing in the area)
- Inflatable solar lantern
- Deck of cards
- Binoculars
- ENO hammock (we love our 2-person ENO shown above!)
- Book or Kindle
- Notebook and pen/pencil
- Shoes for at camp: We like to wear our Chacos at camp as it’s nice to be able to change out of the boots we’ve been wearing all day. Some people like hiking with lightweight Crocs or flip flops for a comfy option at camp.
- Inflatable camping pillow
- Kula cloth: reusable pee cloth for women (Yep, sounds weird, but it has a cult following. I’m new to this, but am loving it so far!)
Food
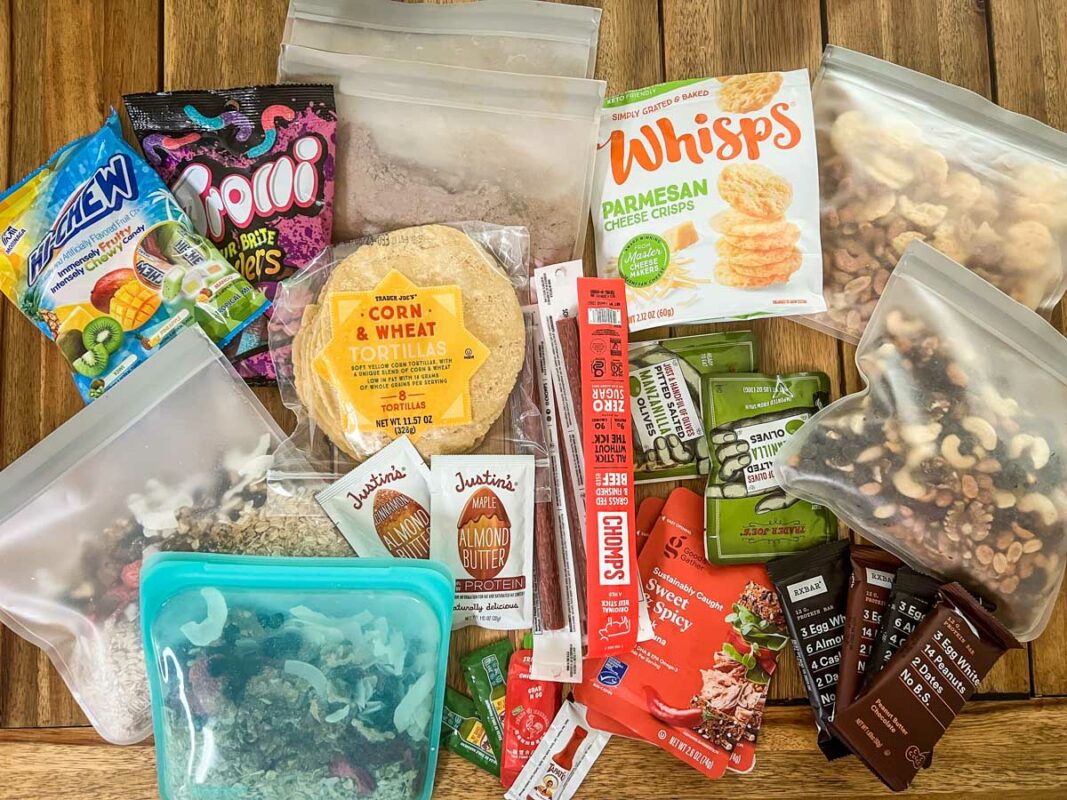
- backpacking meals (we like making our own backpacking meals with dehydrated ingredients, but you can pick up a decent variety at most outdoor stores)
- snacks: check out our favorite hiking snacks here!
- tea
- coffee: here’s how to make the best camping coffee!
Well-known thru hikes in the US
From trails you can complete in a weekend to others that require a commitment of several months, the US has some incredible thru hikes.
Pacific Crest Trail
- Distance: 2,653 miles
- Elevation gain: approximately 420,000 feet
- Difficulty: Extremely challenging
- Avg. Duration on the trail: 5 months
Spanning from Mexico to Canada, the Pacific Crest Trail, or PCT, is one of the most iconic thru hikes in the world. It runs the entire length of California, Oregon, and Washington, and passes through seven national parks and 26 national forests.
The vast majority of people (over 90%) hike the PCT northbound, taking anywhere from 4.5-6.5 months to finish. This is largely because high elevations in the PNW and throughout the Sierras are often winter-like until mid-summer, so hikers want to hit these areas later.
Appalachian Trail
- Distance: 2,190 feet
- Elevation gain: 515,000 feet
- Difficulty: Extremely challenging
- Avg. Duration on the trail: 5.5-6 months
Just as famous as the PCT (perhaps even more so, because it’s older), the Appalachian Trail — “AT” — spans 14 states along the eastern seaboard, from Georgia to Maine.
Despite the AT being nearly 500 miles shorter than the PCT and sitting at a lower overall elevation, many thru hikers find it more challenging. The weather’s much less predictable, there are far more people on the trail, and the overall elevation gain is substantially higher.
Continental Divide
- Distance: 3,100 miles
- Elevation gain: 457,000 feet
- Difficulty: Extremely difficult
- Avg. Duration on the trail: 6-6.5 months
By far the longest and most difficult of the “Triple Crown” thru hikes (this one, the AT, and PCT), only 30 or so people per year attempt the CDT.
The trail runs from the Mexico border in New Mexico to the Canadian border in Montana, passing through five states and extremely wild terrain. Unlike other thru hikes, you’ll have to make your own path on much of the CDT, dodging wildfires and wildlife en route.
John Muir Trail
- Distance: 211 miles
- Elevation gain: 47,000 feet
- Difficulty: Extremely difficult
- Avg. Duration on the trail: 20-25 days
The JMT is a major thru hiking goal for passionate outdoor lovers, as it’s named after world-famous naturalist and “Father of the National Parks” John Muir. While FAR shorter than some others, its terrain and elevation (8,000-14,000 feet) make it particularly challenging.
This trail sits entirely in California. The vast majority of it actually follows the PCT, starting in Yosemite Valley and ending at 14,505-foot Mount Whitney, the tallest mountain in the Lower 48.
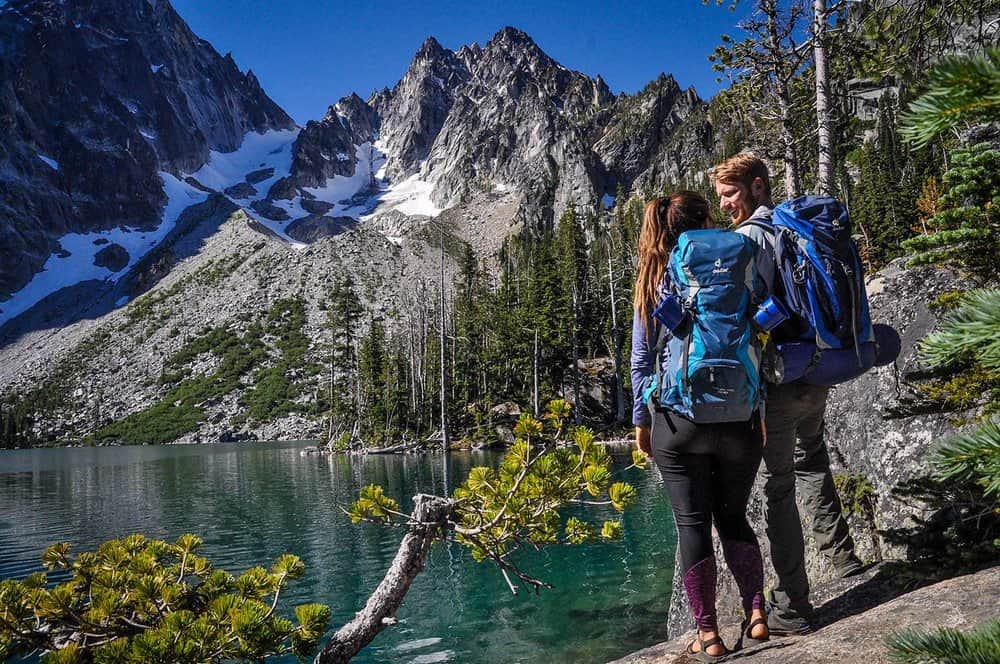
Best thru hiking in the Pacific Northwest
While most people associate thru hiking with trails that span much of the country, there are several incredible, shorter routes nestled in the PNW.
Pacific Northwest Trail
- Distance: 1,200 miles
- Elevation gain: 420,880 feet
- Difficulty: Difficult
- Avg. Duration on the trail: About 70 days
Covering some of the most beautiful terrain in the US, the Pacific Northwest Trail starts at the Continental Divide in Montana and works its way through Idaho and Washington to the Pacific Ocean.
Of course, that terrain is also some of the country’s most challenging, with snow in some places almost year-round, grizzly bears galore, and lots of wayfinding required.
Oregon Coast Trail
- Distance: 382-425 miles, depending on route
- Elevation gain: 40,000 feet
- Difficulty: Moderate – great for first-time thru hikers
- Avg. Duration on the trail: 25 days
The OCT is sometimes referred to as a “greatest hits album of Oregon.” It takes hikers about 400 miles along the entire coastline, from the Washington border to California. Along the way, you’ll experience dramatic rugged coastline, old-growth forest, and charming coastal towns.
One important thing to note is that you’ll have to cross bays or rivers in sections of the trail. You can take ferries, reducing your total mileage, or cross on foot, which requires monitoring local tide tables.
The Enchantments
- Distance: 19 miles
- Elevation gain: 4,500 feet
- Difficulty: Challenging
- Avg. Duration on the trail: 1-3 days
One of the most coveted wilderness permits in the Pacific Northwest for thru hiking is the Enchantments. This spectacularly beautiful part of Washington is truly something you have to see to believe, with mirror-still alpine lakes and soaring, rugged snow-capped mountains.
If — that’s honestly a BIG if — you can snag a permit, you’ll absolutely want to backpack the Enchantments, spending a few nights on the trail. However, it’s entirely possible to hike the entire trail in one day…although it’s a BIG day.
Wonderland Trail
- Distance: 93 miles
- Elevation gain: 22,000 feet
- Difficulty: Challenging
- Avg. Duration on the trail: 6-10 days
The aptly-named Wonderland Trail is inside Mount Rainier National Park, allowing hikers to get up close and personal with the iconic volcano.
By far the best thing about this trail is its incredible diversity. You’ll see waterfalls, glacial lakes, wildflower-covered meadows, rainforests, and steep canyons — with Mount Rainier itself towering over most of the trail.
You may also like…
- How to Get Outdoor & Camping Gear for Cheap
- Backpacking Meals: Guide to Meal Planning on the Trail
- Best 2-Person Tents for Camping & Backpacking
- Beginners Guide to Backpacking
Save this article on Pinterest for later!
We want to hear from you!
We hope this guide gave you a good introduction to the basics of thru hiking. Comment below if you have any more questions about thru hiking and we’ll do our best to get back to you!