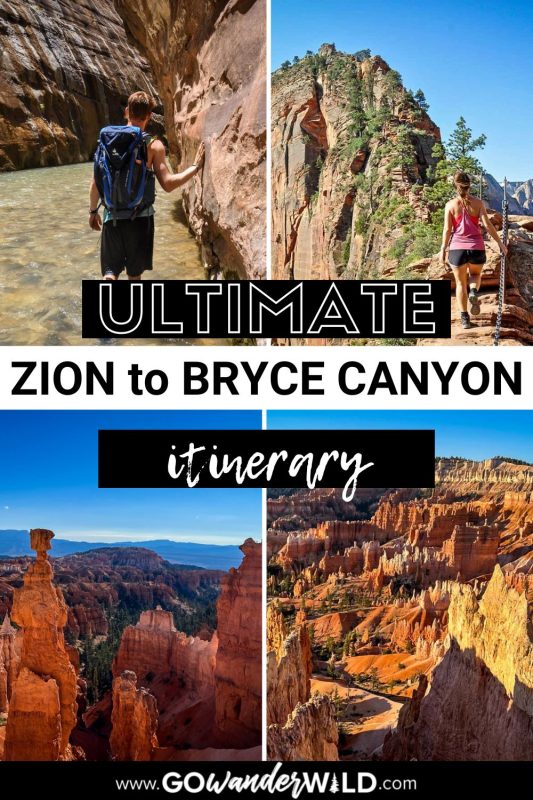
Both Bryce Canyon and Zion are filled with some of the world’s most renowned hiking trails, viewpoints, and geology in the American Southwest. In this guide, we highlight all the best stops on an epic Zion to Bryce Canyon National Park itinerary.
Utah is an incredibly diverse state with so much beauty highlighted within its five National Parks. Two of which are Zion and Bryce Canyon, some of the most popular national parks in the state.
Since both these parks are located in the southwest corner of Utah, a lot of travelers choose to visit them both in the same trip.
In this guide we’re laying out an epic road trip itinerary from Zion to Bryce Canyon National Park. We cover all the best things to do, the best route for traveling between the parks, essential tips, and what to pack for the ultimate adventure.
Article contents
- About Zion & Bryce Canyon
- Itinerary overview
- When to go
- Know before you go
- Day 1: Zion
- Day 2: Zion
- Day 3: Bryce Canyon
- Day 4: Bryce Canyon
- What to pack

About Zion and Bryce Canyon National Parks
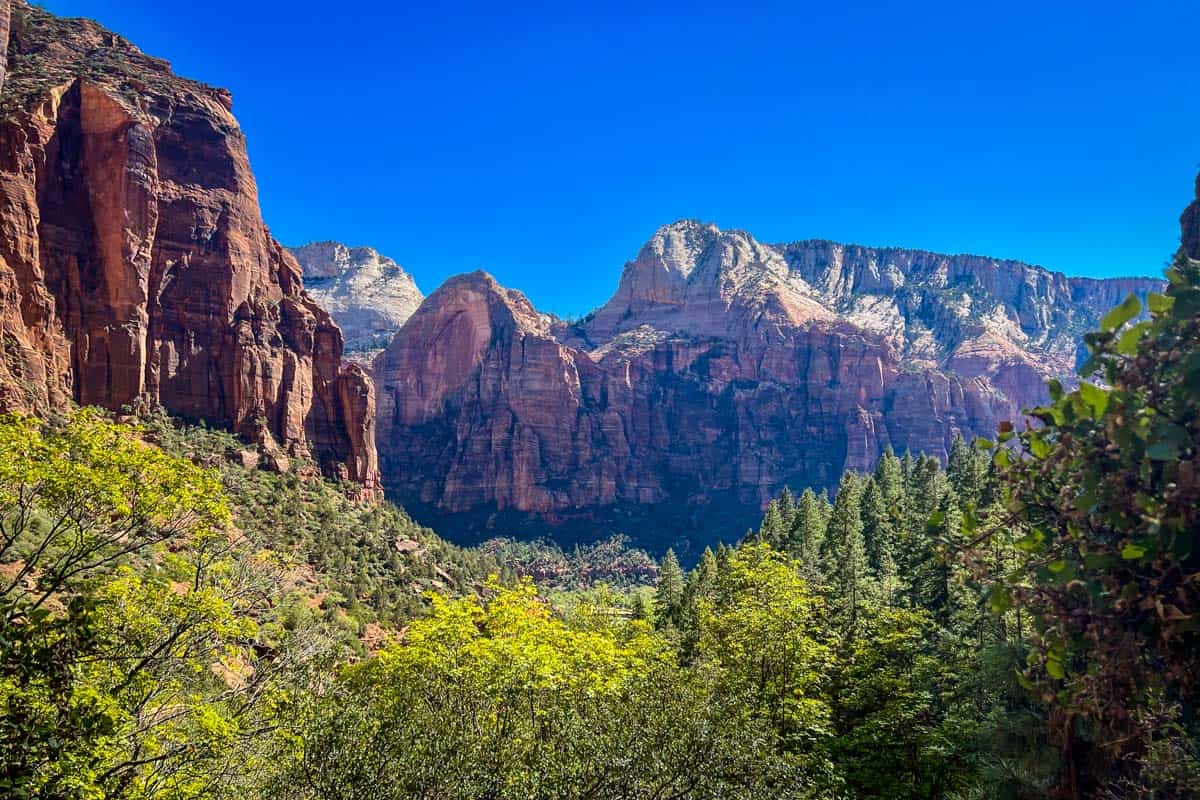
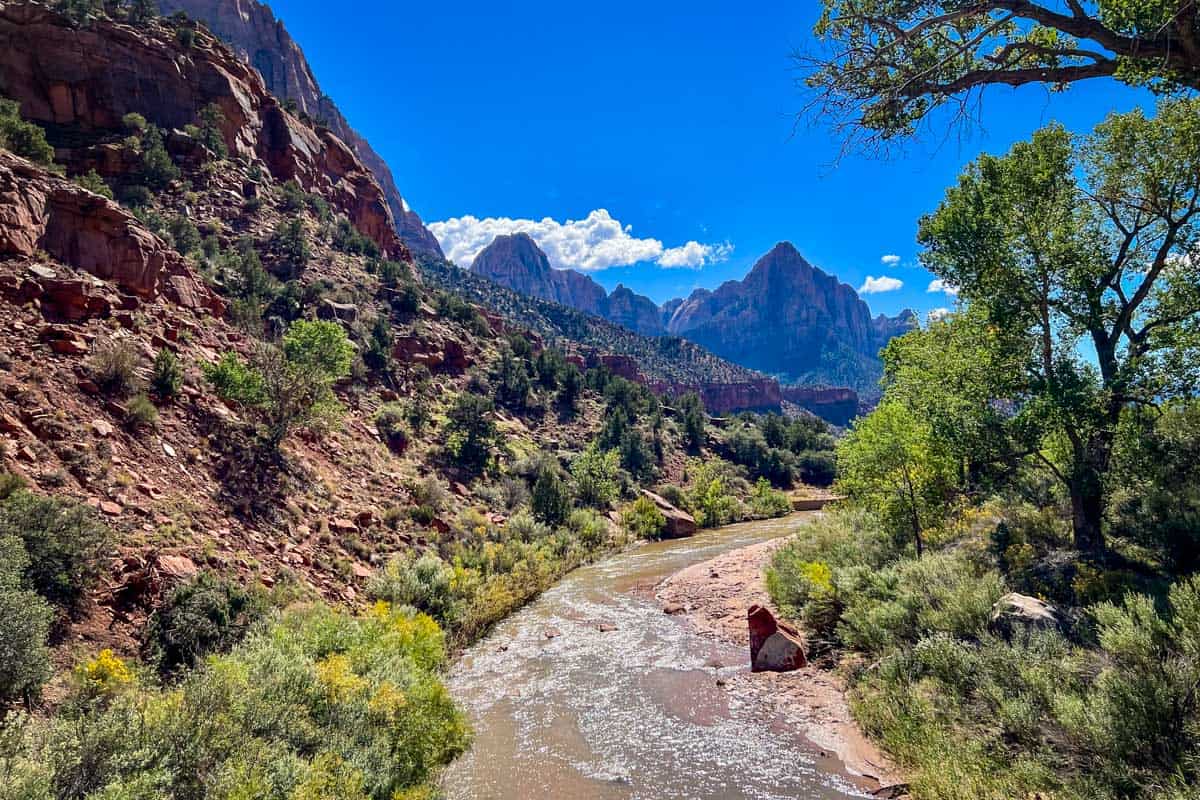
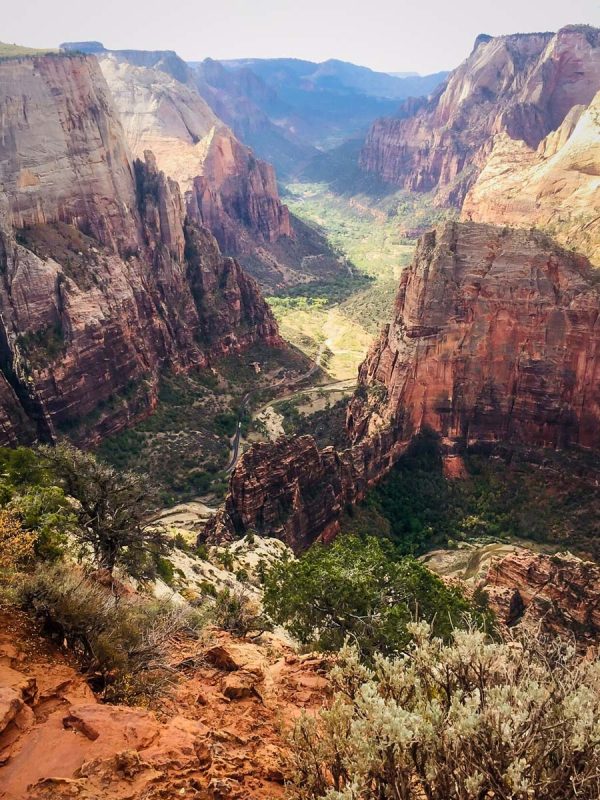
Bryce and Zion National Park are two beloved desert gems in the Southwestern corner of Utah. Zion is Utah’s most visited national park, with over 4 million visitors annually. The mile-deep canyon is carved by the breathtaking Virgin River and pine trees dot the landscape interspersed with red rock cliffs.
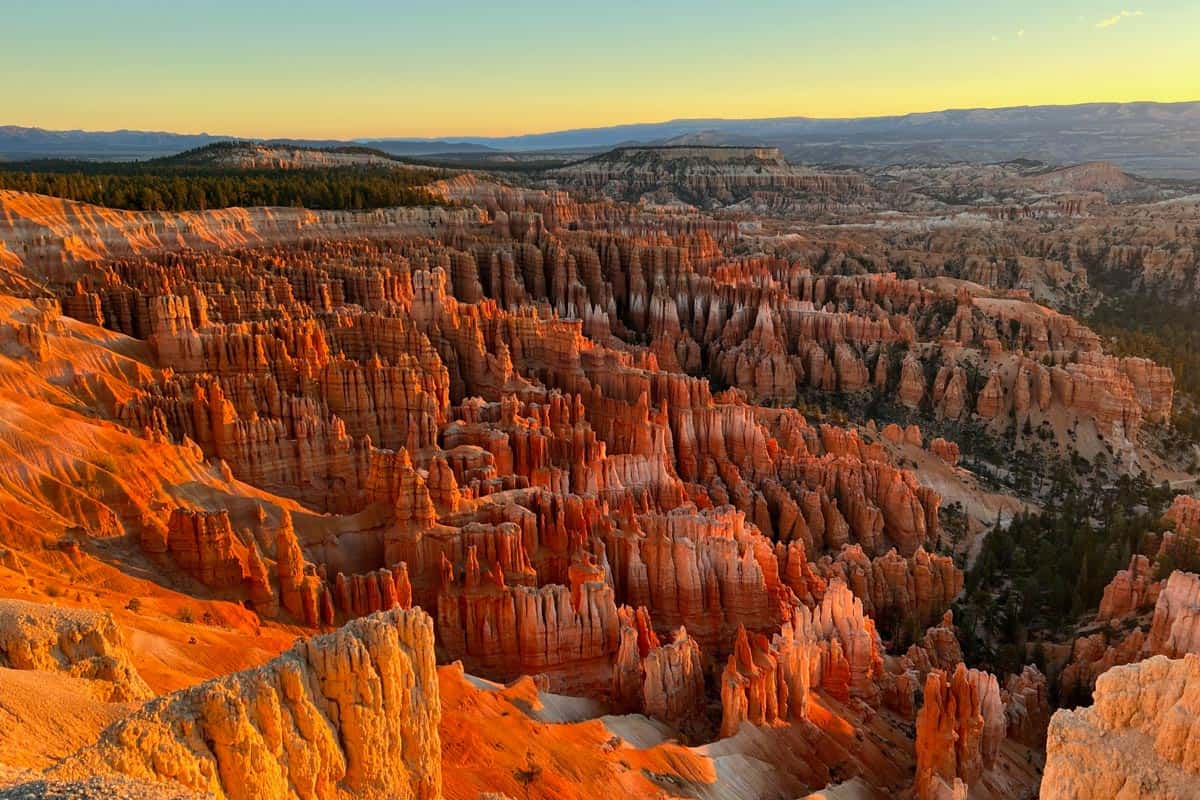
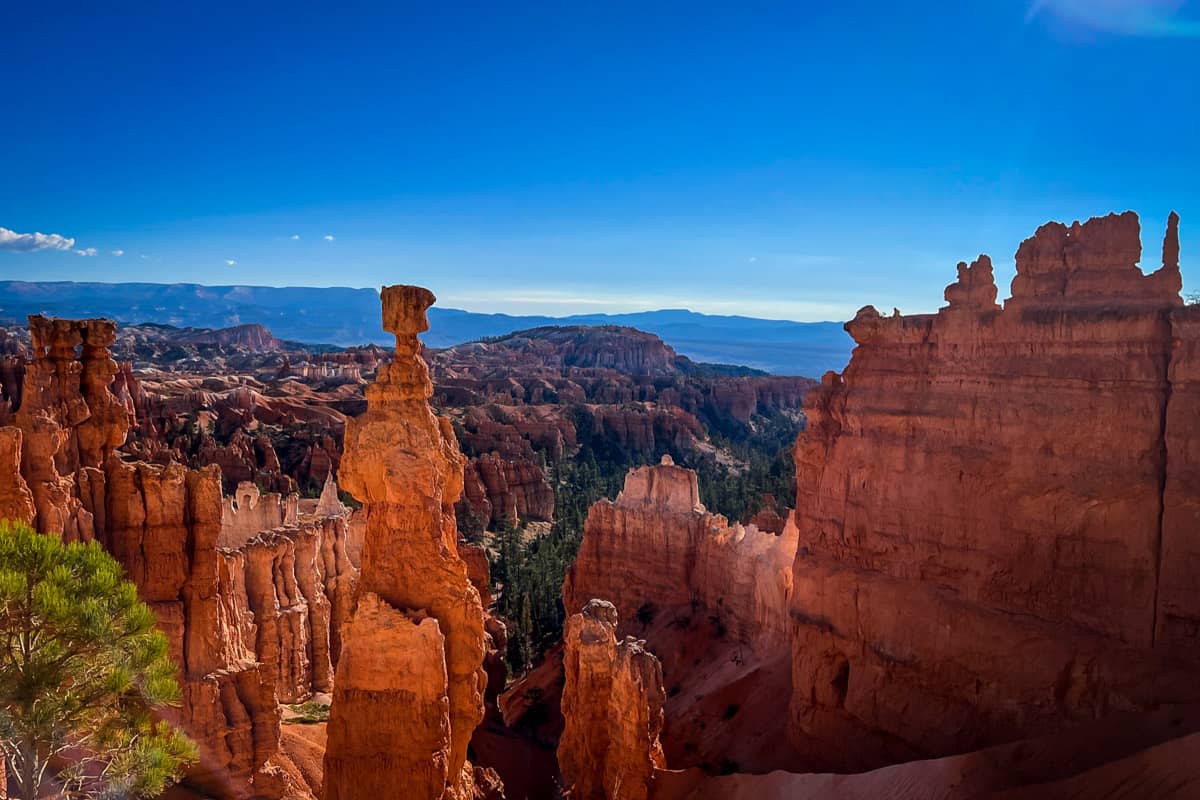
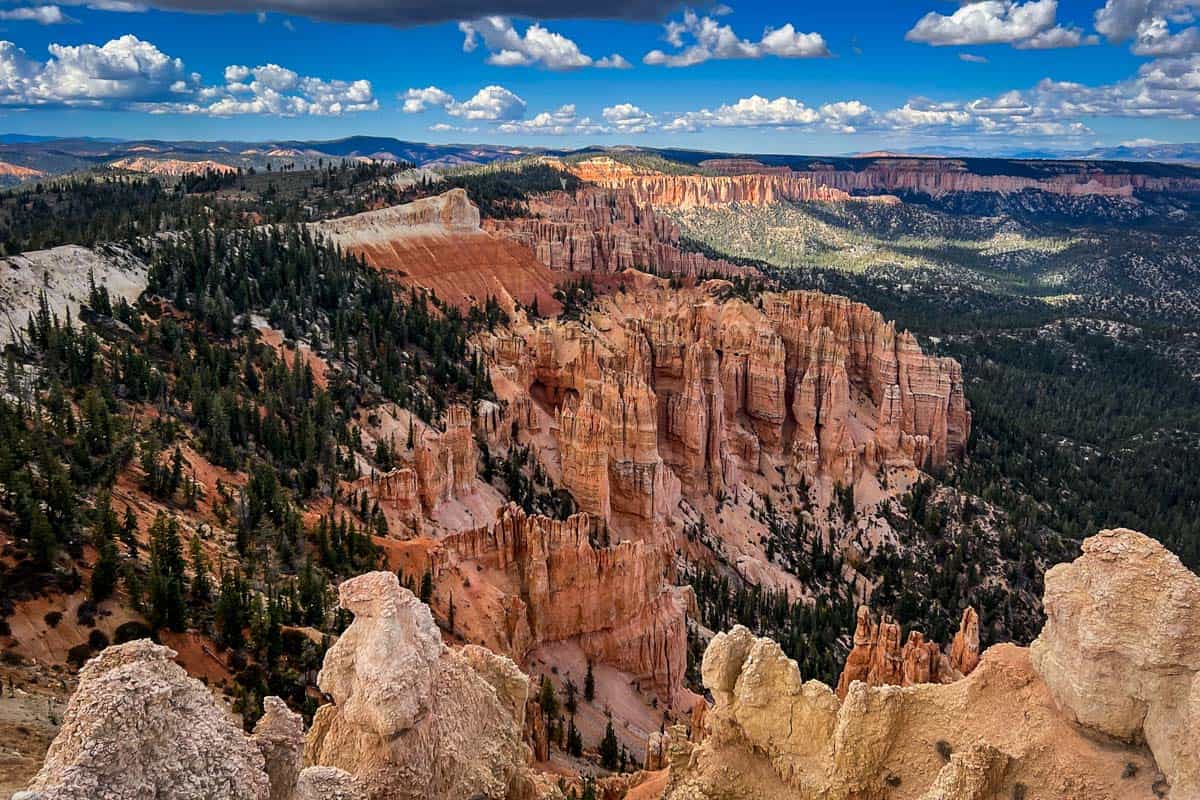
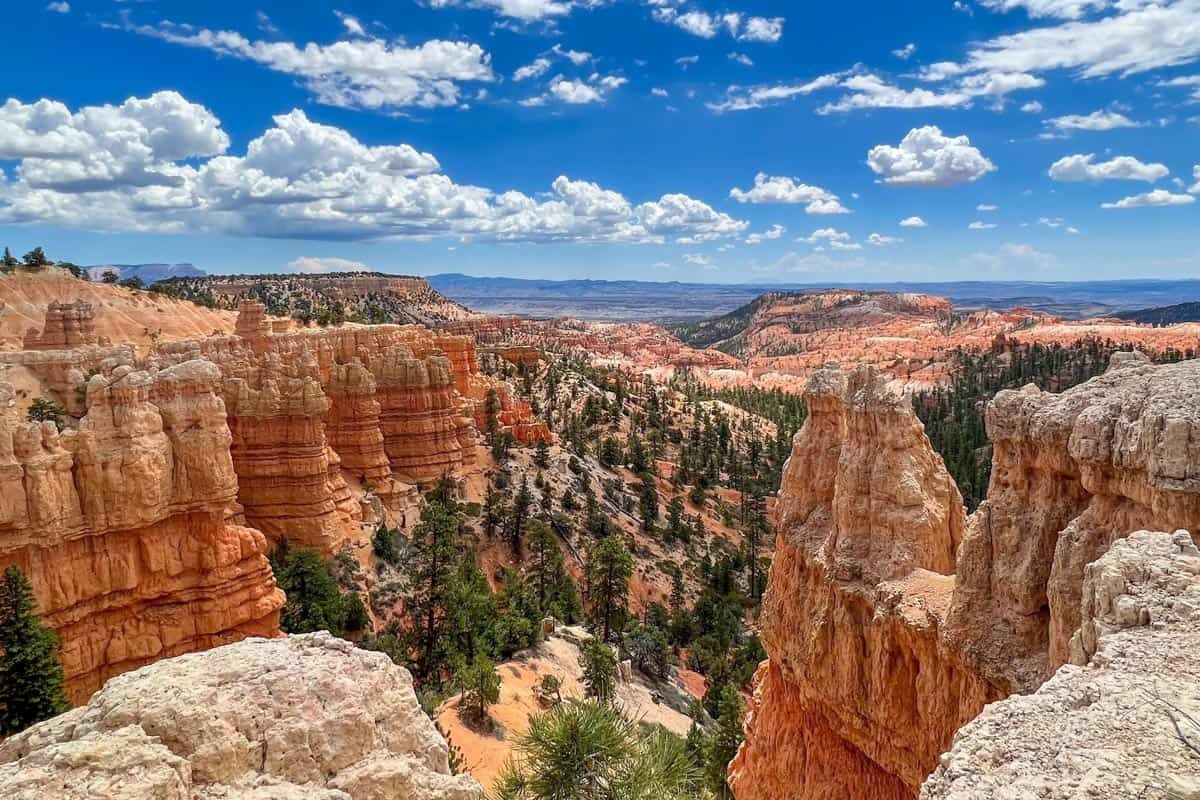
Just 85 miles to the east, Bryce Canyon is seemingly of another world. Famous for its hoodoos—the tall, pillar-like rock formations protruding from the arid basin. The landscape at Bryce Canyon is unlike anything you’ve ever seen before.
Zion Canyon to the vibrant hoodoos of Bryce make for an adventurous road trip to two iconic canyons in Utah.
Because these parks are direct opposites of each other, you wouldn’t expect them to be just under two hours apart. Some people visit each park individually from Las Vegas or Salt Lake City, but we think they’re best explored together on a road trip.
Zion to Bryce Canyon National Park Itinerary Overview
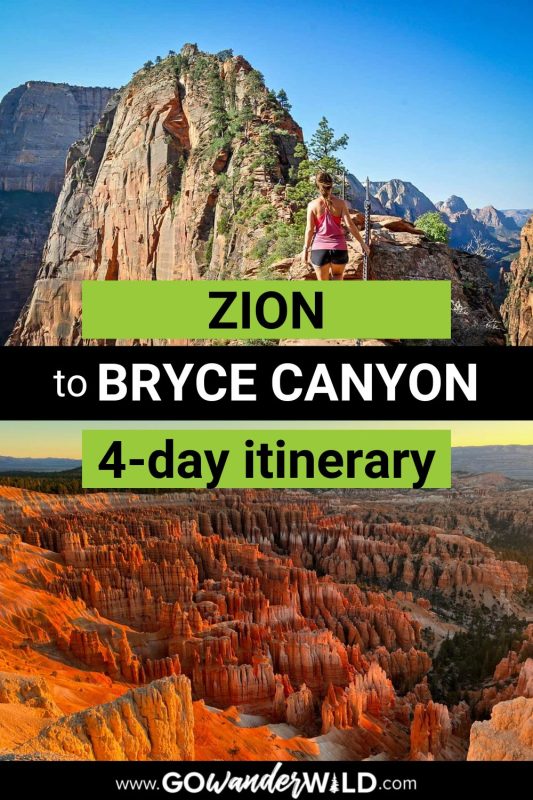
In this article, we’ve outlined the perfect 4-day Zion and Bryce Canyon National Park itinerary. This itinerary is designed for those looking to fill their days with adventure and end their trip truly feeling like they experienced each park to the fullest.
You’ll begin your trip by spending two days experiencing a taste of what the picturesque Zion canyon has to offer. Then you’ll spend the next two days exploring in and around the hoodoos of Bryce Canyon.
How much time do I need in Zion and Bryce Canyon?
You could spend years adventuring through each of these parks and still not experience everything. However, we think two days in each park is the sweet spot where you are able to see the highlights and then some.
We found 2 days in Zion to be especially useful because if you didn’t get a permit for Angels Landing on your first try, you’ll have an extra day to enter the next-day permit drawing.
When to go to Zion and Bryce Canyon National Parks?
You can enjoy either park year-round, however, the best seasons to visit Bryce Canyon and Zion are spring and fall because the crowds are slimmer and the weather is a lot more favorable than in the scorching heat of the summer months.
Want to try out vanlife while visiting the national parks?
If you’ve been following us for a while now, you know we’re obsessed with #vanlife. However, if you don’t have the time (or interest!) in building your own conversion but you still want to give vanlife a test drive, we’ve got options for you…
Check out our list of top companies for USA Campervan Rentals, from budget to bougie, we’ve even included some exclusive discounts for our readers.
One company we’d recommend looking into is Escape Campervans. They have 12 different locations across North America (including Seattle) and come fully loaded with all the gear you need for an epic road trip. Plus, their rates are fair and affordable.
BONUS: We’ve partnered with them to give you a 10% off discount when you use our link!
Things to know before visiting
- Expect crowds. Expect to share the scenic drives, trails, and viewpoints with a ton of other people in each of the parks since they’re both so popular.
- Take advantage of the free shuttles. Both parks have limited parking and offer free shuttle services. These are the best and quickest ways to get around since you won’t have to worry about finding parking, especially in Bryce Canyon.
- Get an early start. Starting early will give you a bit more solitude from all the crowds and a respite from the midday desert sun.
- Pick up a park pass before you go. An America the Beautiful Pass will save you a ton of money on entry fees for the U.S. national parks. More on this pass below!
- Book far in advance. These two national parks are increasingly popular year after year, and most accommodations book up 6 months to a year in advance.
- Pack layers for Bryce Canyon. The park sits at an average of 8,000 feet above sea level, so the temperature stays chilly year round.
- You cannot drive your car in Zion. To reduce pollution and congestion, you can only drive inside Zion when the shuttles aren’t running in the winter months.
- You’ll need a permit to hike Angel’s Landing in Zion. In response to overcrowding and congestion, a pilot permit program was introduced in 2022. More on how to snag your permit below.
America the Beautiful annual park pass
If you’re planning to visit more than just Zion and Bryce Canyon National Parks, we’d highly encourage you to look into getting an annual park pass. At $35+ per vehicle upon entry, visiting the national parks in the U.S. can get expensive.
For just $80 per year, you can purchase the America the Beautiful park pass. This pass grants you free access to all of the national parks. Plus it also covers your entrance to over 2,000 natural, historical, and recreational sites across the United States.
→ If you still need convincing, check out our article: National Park Annual Pass: Is it Worthwhile? + How to Buy
How to get you Angels Landing permit
As of April 1, 2022, everyone on the trail to hike the famous (and most popular of the hikes in Zion) Angels Landing, needs to have a permit.
Permits are allotted via an online lottery system. You can apply for a permit for up to 6 people and can select from multiple preferences for hike start times.
Permits are divided between the Seasonal and Daily lotteries. The fall seasonal lottery (hiking dates between Sept 1 – Nov 30) applications are available between July 1-20 and winners are notified on July 25th.
That leaves the daily lottery for the remainder of the year. You may enter for a chance to win a permit the day before your intended hike from midnight to 3:00 p.m. Results will be delivered via email by 4:00 p.m. for the following day.
Apply for your Angels Landing permit the day before your intended hike here.
And now with all that info out of the way, let’s get into the fun part!
Day 1 | Zion National Park
The first day of this itinerary takes you up to the infamous Angels Landing and along the scenic vistas of the Zion Mount-Carmel Highway. From there, you’ll have the option to hike the Watchman Trail before enjoying sunset at Canyon Overlook.
Important Note: This itinerary for 2 days in Zion is best if you have a permit to hike Angels Landing. If you didn’t get a permit, consider switching Angels Landing and the Narrows hike to give yourself an extra day to enter the permit lottery.
Hike Angels Landing
- Distance: 4.4 miles, out and back
- Elevation gain: 1,604 feet
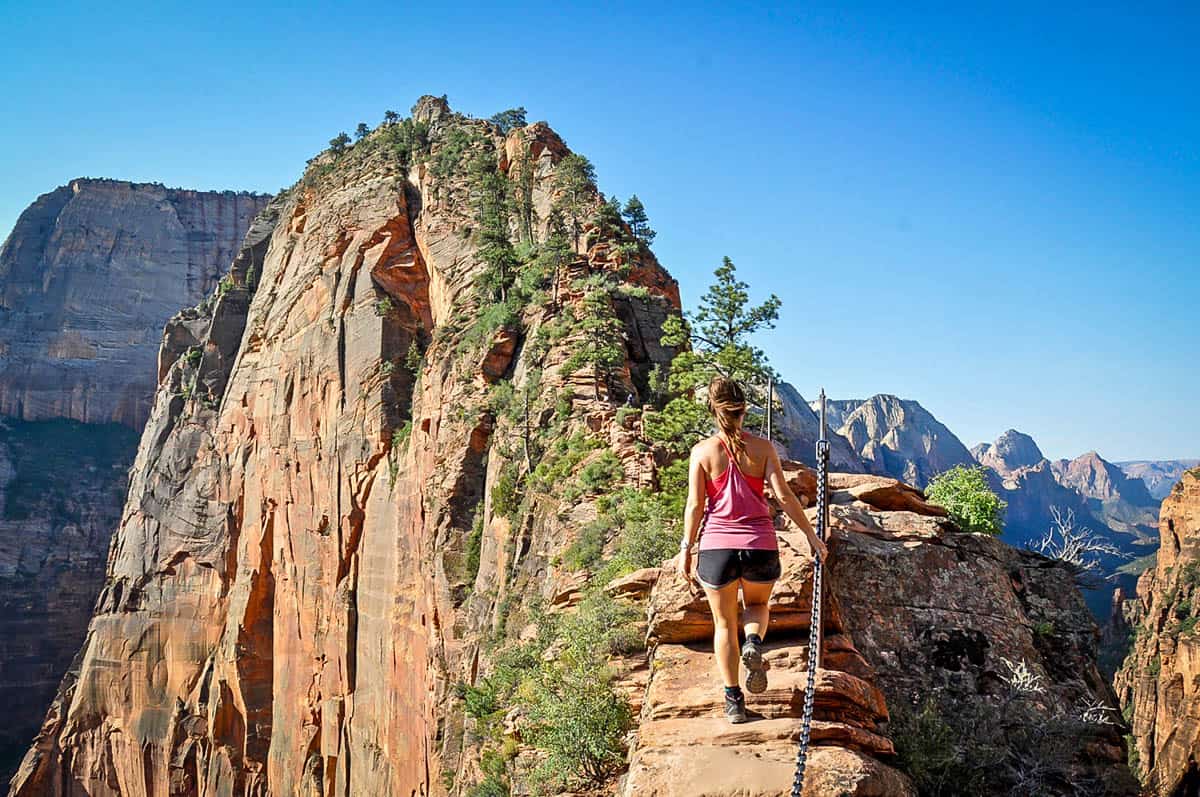
- Difficulty rating: hard, because of the exposure on the spine
- Duration: 4-5 hours
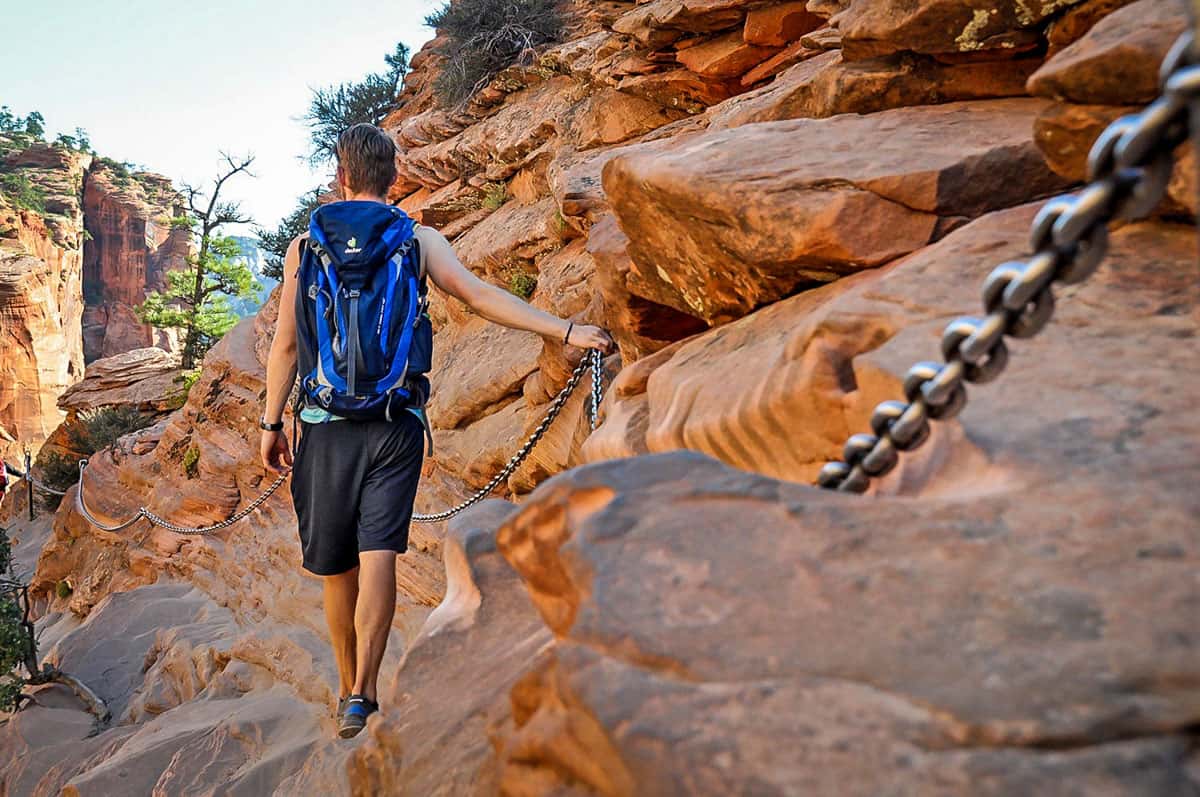
For your first day in Zion, you’ll be taking on the challenge of the Angels Landing Trail. Aim to make the first shuttle to the trailhead to avoid a ton of crowds.
Along this 4.4-mile hike, you’ll sweat your way up Walters Wiggles before arriving at the infamous Scouts Lookout. Take in the views, then make your way to the top of Angels Landing via the iconic chains nailed into the sandstone rock spine.
Optional: If you didn’t get a permit or simply don’t want to attempt the entire Angel’s Landing hike, you can still make your way up Walter’s Wiggles to Scout’s Lookout and just turn around from there.
Take the Zion Canyon Scenic Drive Shuttle
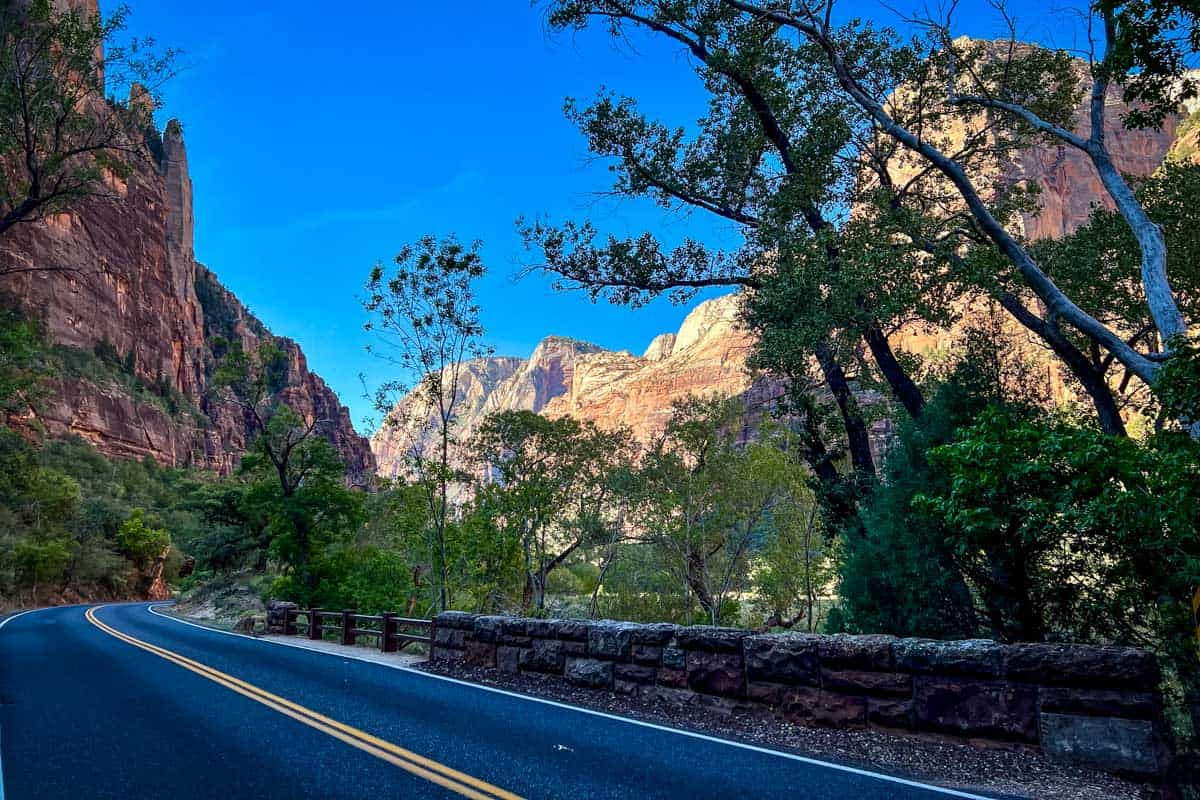
- Duration: 1.5 hours round trip
After an adrenaline-filled morning, give your legs a rest while taking in the views along the Zion Canyon Scenic Drive. Hop on the free Zion Shuttle Bus to navigate this 26-mile road, which features historic rock tunnels, hairpin switchbacks, and the unique geology of Checkerboard Mesa.
This highway was considered impossible when road plans began due to design, engineering, and logistical challenges, but somehow they pulled it off. As you ride the shuttle, you’ll take in both the remarkable views along the drive and impressive feats of early engineers.
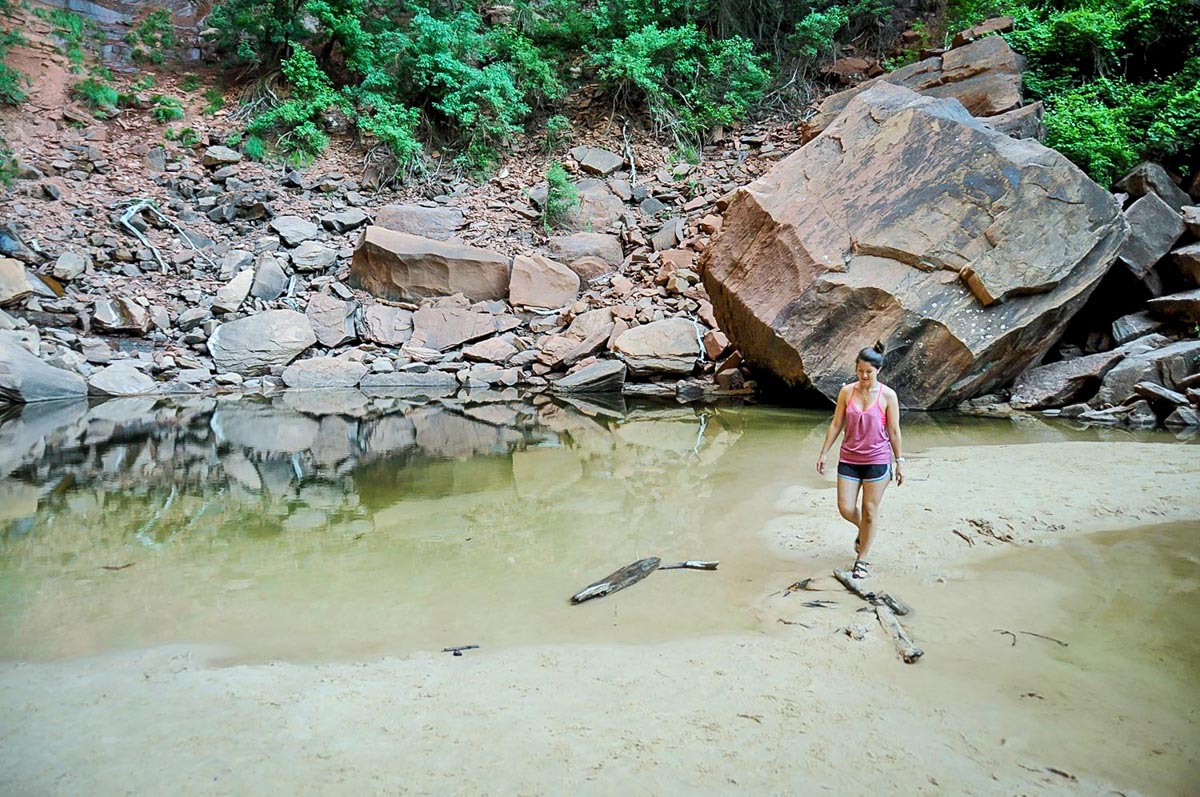
Hike the Emerald Pools Trail (Optional)
- Distance: 3 miles, loop
- Elevation gain: 620 feet
- Difficulty rating: easy – moderate
- Duration: 1-3 hours
Depending on how your legs are feeling, the best way to spend the late afternoon is along the Emerald Pools Trail. This 3-mile loop trail takes you to vibrant green pools and close to stunning waterfalls.
This is a moderately easy trail that is well-worth the hike in this unique area of the park.
Sunset at Canyon Overlook
- Distance: 1 mile, out and back
- Elevation gain: 187 feet
- Difficulty rating: easy to moderate
- Duration: 1 hour
At the end of the day, head to the Canyon Overlook Trail for a 1-mile out-and-back hike to incredible views of Zion Canyon. This is a short trail, but it is very steep! Parking is also extremely limited, so you may need to park your car a little ways down the road.
Day 2 | Zion National Park
The second day in Zion will be hiking through the world-renowned, 100-foot walls of Zion Canyon known as the Narrows. After checking off this bucket list item, you’ll head out to peruse the Pa’rus Trail and stop into the Zion History Museum, then end the day at Observation Point.
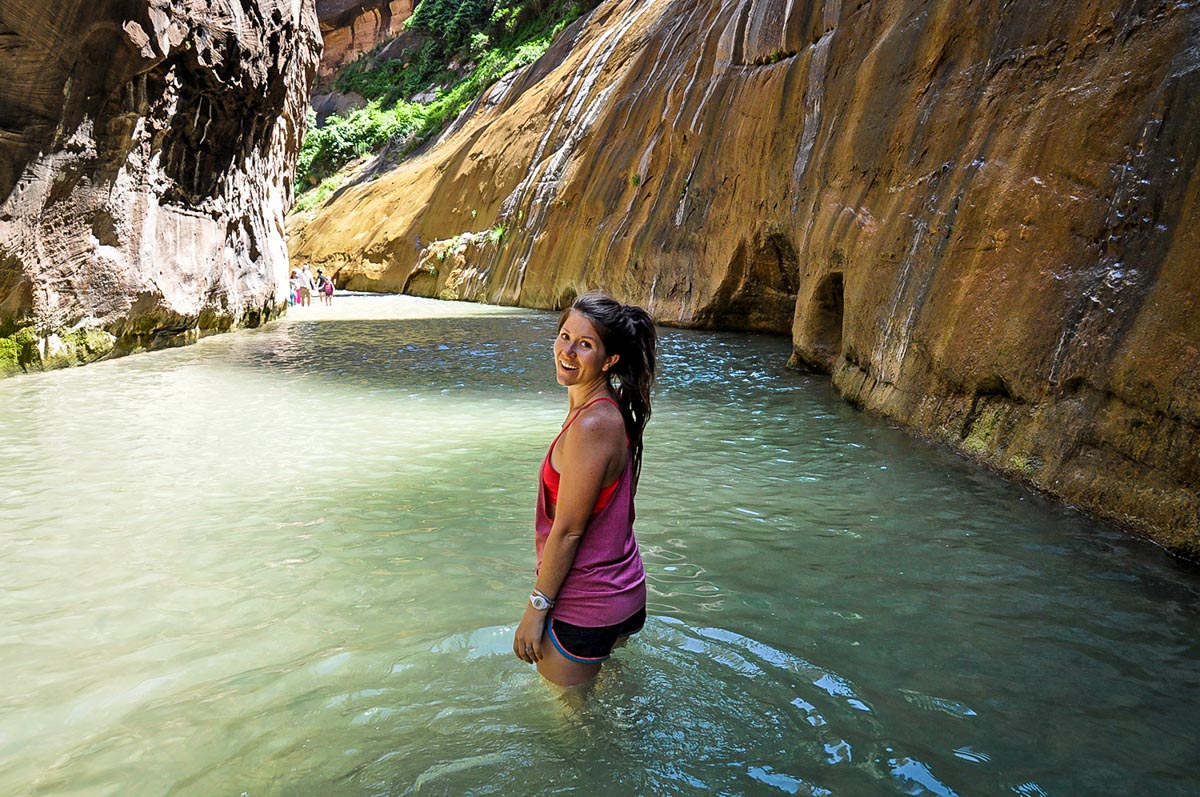
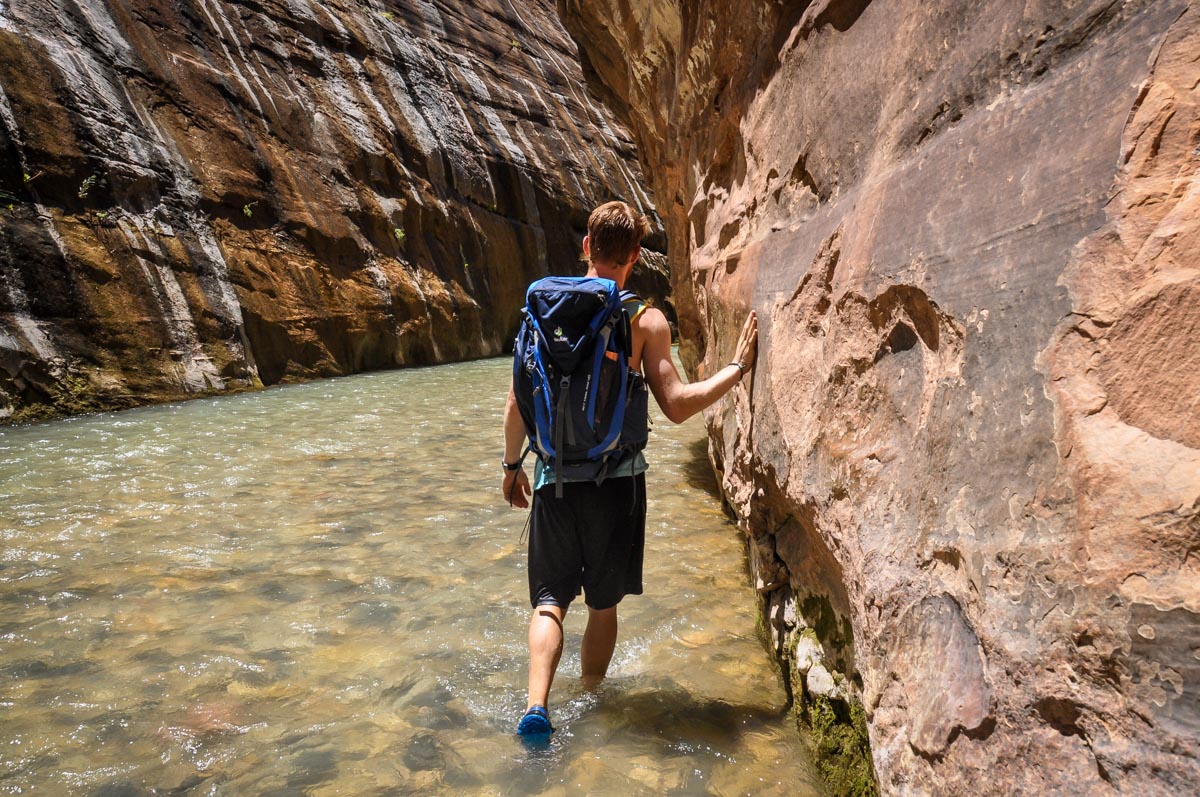
Hike The Narrows
- Distance: 8.9 miles, out and back
- Elevation gain: 695 feet
- Difficulty rating: moderate to hard
- Duration: 2-6 hours depending on your speed and how far you hike
The Narrows hike has been rated one of the most scenic trails in the WORLD, year after year, so be prepared to be in awe as you hike the narrowest portion of Zion Canyon.
The best part about this hike is that you can make it as easy or difficult as you’d like.
We recommend at least hiking to Wall Street, the narrowest and most beautiful part, which is 6-miles there and back. But the views along the entire trail are all memorable.
Cycle the Pa’rus Trail
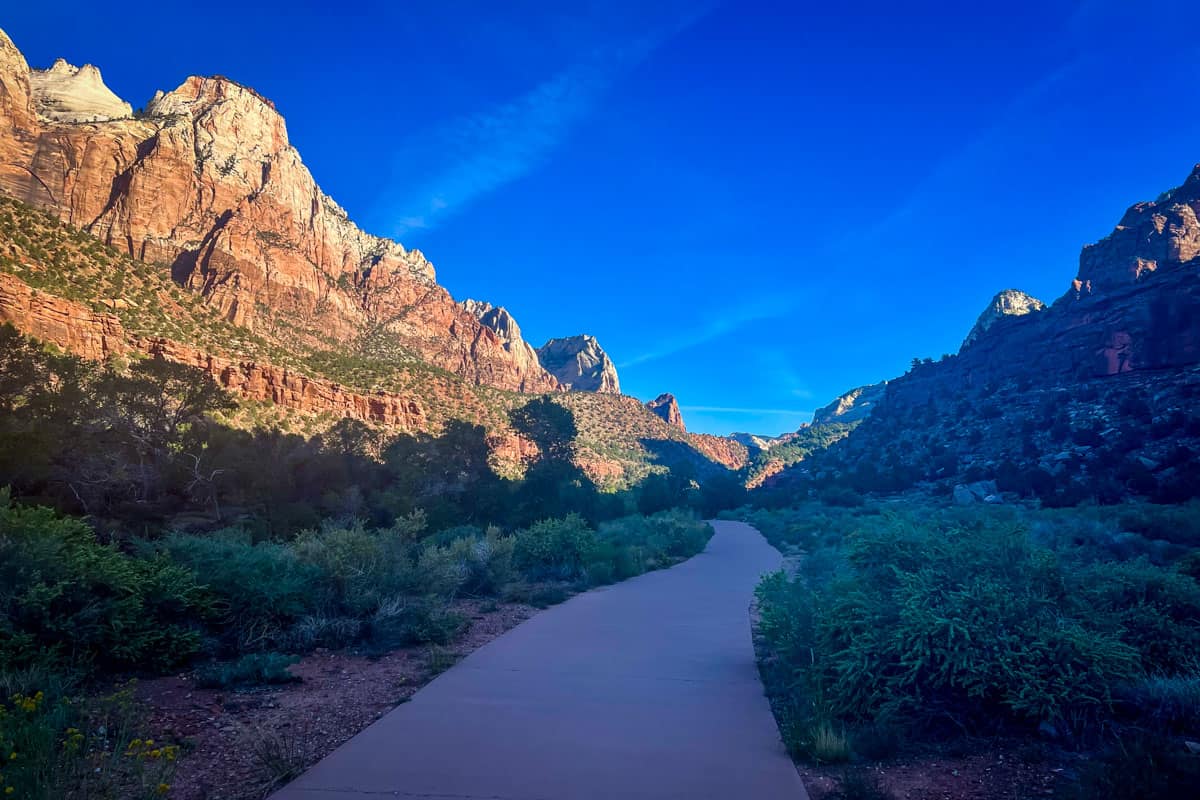
- Duration: 1-2 hours
After resting your legs, you’ll head to the Zion Visitor Center and walk along the scenic and paved Pa’rus Trail. If your legs are spent after hiking the Narrows, there are eBike rentals just up the road at Zion Outfitter. An eBike is great for this trail since it’s paved and you’ll get a nice breeze as you cruise down it.
Check out the Zion Human History Museum
- Duration: 30 minutes – 1 hour
About a mile into the Pa’rus Trail, you’ll take a small dirt spur path to the Zion Human History Museum. Inside, you can learn about Zion’s original indigenous settlers as well as the Euro-colonizers that later settled the area.
Option 1: Sunset at Canyon Junction Bridge
- Duration: 1-2 hours
Canyon Junction Bridge is one of the best places to watch the sunset in Zion National Park that doesn’t require a hike. From the heart of Zion valley, you will see the iconic Watchman Peak turn shades of red and orange as the sun sets beyond the horizon.
This is a popular spot for sunset, so make sure you arrive with plenty of time to get a decent spot on the bridge. Just off the Pa’rus Trail, you can either walk/cycle here, or take the shuttle and get off at Stop 3.
Option 2: Hike to Observation Point for sunset
- Distance: 7 miles, out and back
- Elevation gain: 702 feet
- Difficulty rating: moderate
- Duration: 4-6 hours
If you’re feeling up for another long hike (maybe you decided to skip Angel’s Landing) you can venture out for sunset at Observation Point via the East Mesa Trail. This is a longer journey, but the hike is relatively flat for 7-miles out-and-back. The trail to one of the most iconic viewpoints in the park for sunset.
Where to stay in Zion National Park
You’ll want to base yourself close to the park since you only have two days here. The Zion Lodge is in a great location in the heart of the park. Other great options are either of Zion’s campgrounds, the Watchman and South Campgrounds, or the Driftwood Lodge in Springdale.
Day 3 | Bryce Canyon National Park
On the morning of day 3, you’ll drive from Zion to Bryce Canyon National Park. You’ll want to get an early start so you can get to Bryce Canyon before 9:00 a.m. to avoid crowds.
Directions from Bryce Canyon to Zion National Park
The distance from Zion to Bryce Canyon is only about 85 miles and takes just under 2 hours. You’ll take scenic Highway 9 towards Canyon Junction then head north on US-89 N. From there, you’ll turn right on UT-12 E to Bryce Canyon.
Take the Bryce Canyon Scenic Drive
- Duration: 1.5-3 hours, depending on how many stops you make and for how long
Once you arrive at the park, pick up a map at the Visitor Center and head out on the 38-mile round trip Bryce Canyon Scenic Drive. You can take your time hitting all 13 viewpoints along this road, or focus on Bryce’s best views: Inspiration Point, Bryce Point, Natural Bridge, Rainbow Point, and Yovimpa Point.
Take in the views at Fairyland Point
For the afternoon, drive or take the shuttle to Fairyland Point to take in the remarkable vista of hoodoos before heading out on the most underrated hike in Bryce Canyon, the Fairyland Loop.
Hike the Fairyland Loop for sunset
- Distance: 7.8-mile loop
- Elevation gain: 1,545 feet
- Difficulty rating: challenging
- Duration: 4 hours
This 8-mile trail is the perfect way to wrap up your first day in Bryce Canyon. The hike is one of the most scenic in the park, has few crowds, AND has the best sunset spot in Bryce Canyon, Tower Bridge.
It takes 4 hours in total to complete, so be sure to pack a headlamp and plan the right timing for sunset, or head out early if you don’t want to hike back in the dark.
Day 4 | Bryce Canyon National Park
For the final day of this itinerary, you’ll enjoy your first and last sunrise in Bryce Canyon. Then, you’ll hike the best trail in the park. After finishing the trail, you can take the Rim Trail back to your car at Sunset Point.
Sunrise at Sunset Point

- Distance: 1.1 miles out-and-back
- Elevation gain: 82 feet
- Difficulty rating: easy
- Duration: 1 hour
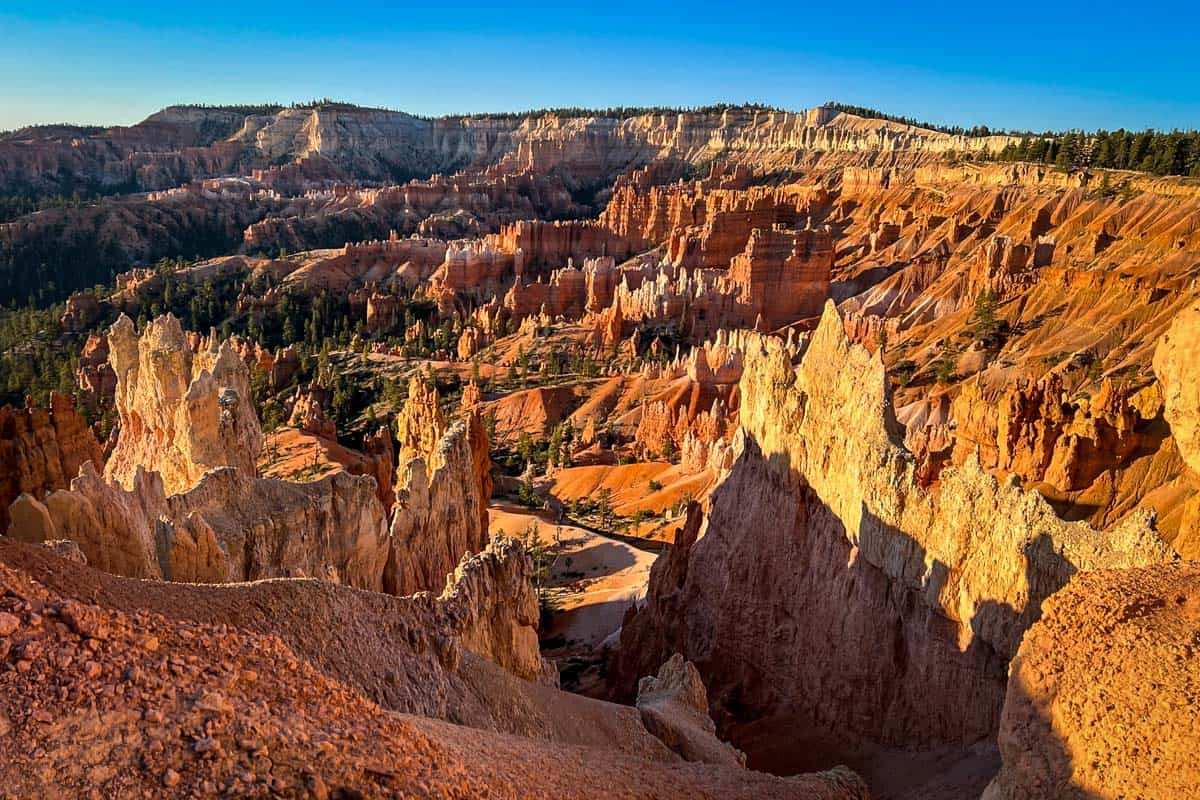
It seems counterintuitive so watch the sunrise at Sunset Point, but all of the park rangers in Bryce Canyon will attest that the sun lights up the canyon even more beautifully for sunrise here. Plus, you’ll avoid all the crowds at Sunrise Point.
Figure 8 Loop Trail
- Distance: 6.3-mile loop
- Elevation gain: 1,499 feet
- Difficulty rating: challenging
- Duration: 3.5 hours
While many people hike the trails in Bryce Canyon individually, the park’s condensed nature has allowed for an incredible network of interconnected trails. The Figure 8 Loop Trail is a prime example of that.
This scenic 6.3-mile hiking trail combines the three best hikes at Bryce Canyon National Park: the Navajo Loop Trail, Queens Garden Trail, and the Peek-a-boo Loop.
You’ll get up close and personal with the hoodoo rock formations that make Bryce Canyon such a unique destination not only in the U.S., but worldwide.
Sunrise Point for sunset
At the very end of the Figure 8 Loop, you’ll climb up scenic switchbacks to Sunrise Point. Take in the stunning vistas standing at the edge of the Bryce Canyon Amphitheater, then walk back to Sunset Point via the Rim Trail to complete the loop.
Spend the rest of the day getting an early start heading home, or check out other incredible things to do in Bryce Canyon, like the Mossy Cave Trail.
Where to stay in Bryce Canyon National Park
The Lodge at Bryce Canyon, Sunset Campground, and North Campgrounds are all in a prime location next to all the best trailheads in the park. Ruby’s Inn is another great option just a short drive away from the park in Bryce City.
What to pack for your Zion to Bryce Canyon National Park itinerary
Since you’ll be doing lots of hiking in Zion and Bryce Canyon, you’ll want to come prepared. There are a few items we take on every hike with us, no matter how far or challenging the trail we plan to tackle.
- Navigation: we recommend using Alltrails+ to download the offline trail map
- Get your first week of using Alltrails+ for FREE when you sign up using our link!
- Hiking daypack
- Hydration pack and/or water bottles
- Sun protection: sunscreen, sunglasses, hat
- Bug spray (we prefer the natural stuff)
- Camera and tripod (this is our favorite for hiking)
- Hiking boots/shoes
- Note: If you plan to hike the Narrows in Zion, you’ll want to bring close-toed shoes that can get wet. Keen makes great shoes for just this purpose!
- Comfortable hiking clothes (dress in layers!)
- Swimwear (if you’re visiting in the summer and plan to take a dip!)
- Light jacket for the cooler evenings
- Drybag
- Headlamp
- Hiking snacks
You may also like…
- The Narrows Hike: Trail Guide for Zion National Park
- Best Hikes in Zion National Park
- Best Hikes in Bryce Canyon National Park
- USA National Parks Checklist & Guide
Save this article on Pinterest for later!
We want to hear from you!
Are you planning a road trip through Utah from Zion to Bryce Canyon National Park and still have questions? Leave your comment below and we’ll do our best to get you the answers you’re looking for!
Hi! This has been super helpful in planning our own trip. Just wondering: what shuttle service did you use for the Zion-Mt Carmel Highway? I can’t find anything about a shuttle on that section from the park’s website.
Great question! The Mount-Carmel Scenic Highway is a state highway, and the turn off is just before the gate where no outside cars are allowed. Therefore you can drive your own vehicle on that road.