Utah’s Zion National Park has countless jaw-dropping sights and incredible hikes, but there’s nothing quite like The Narrows hike. To help you plan your adventure, we outlined everything you need to know about hiking Zion Narrows.
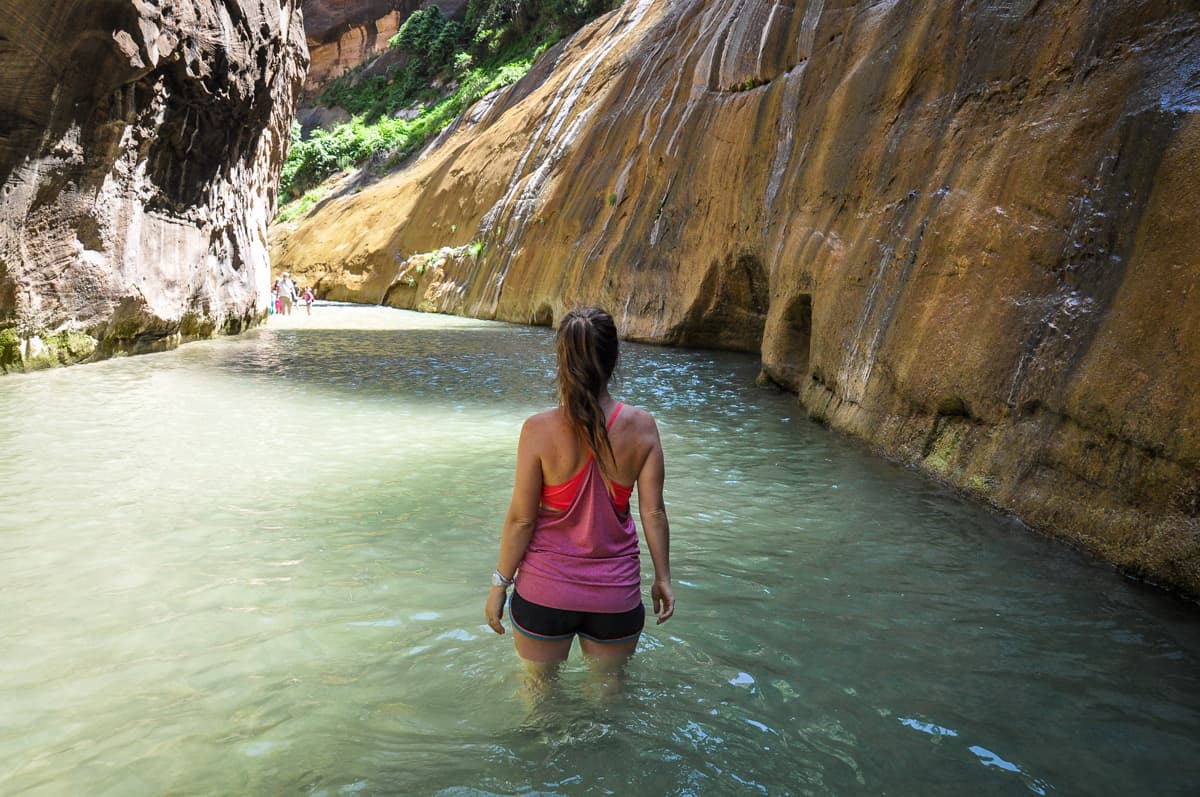
The Narrows of Zion are the very definition of iconic; nearly everyone’s seen at least one photo of the dramatic canyon and river scenery. However, nothing compares to experiencing it for yourself.
Slowly walking through the sparkling Virgin River, with the unbelievably tall canyon walls soaring overhead…it’s an experience worthy of all the superlatives!
Since The Narrows is a “wet” slot canyon, this hike is very different from others. You walk through water, not on a well-beaten trail! Being aware of what to expect and familiarizing yourself with the conditions is even more important.
Let’s dive into what The Narrows hike is all about!
The Narrows Hiking Guide
- The Narrows trail stats
- The Narrows hike overview
- Know before you go
- The route
- Tips for hiking the Narrows
- What to pack


The Narrows hike trail stats
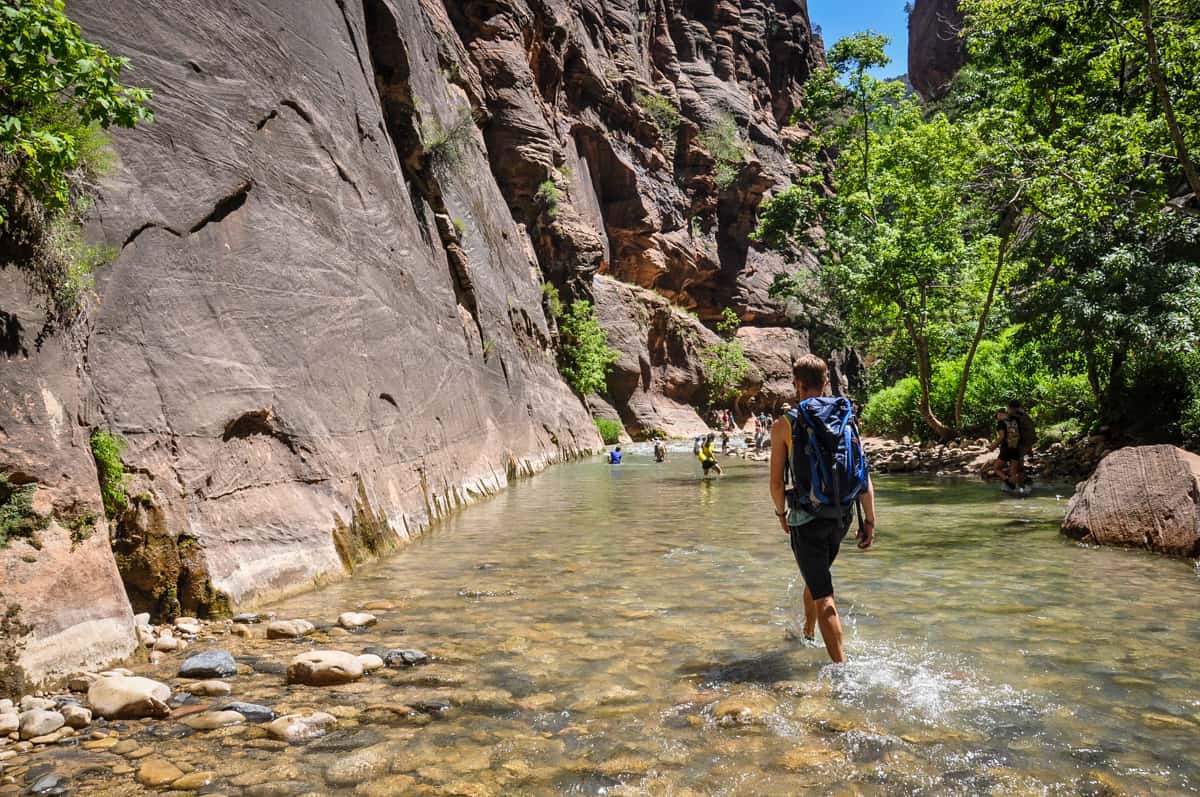
The Narrows hike is located in southern Utah as part of Zion National Park. You’ll need to access the park with your America the Beautiful Pass or by paying the $35/vehicle entrance fee.
Since there are no cars allowed in Zion, you can utilize the free shuttle service to get you to the start of your hike. For this hike, you will also have to leave your pets at home.
The Narrows: Top Down
- Distance: 16.1 miles point-to-point
- Elevation gain: 2,076 feet
- Difficulty rating: Challenging
- Timing: 10-12 hours, or overnight
- Permit: Permit required for Top Down
- View the trail notes
The Narrows: Bottom Up to Big Springs
- Distance: 8.9 miles out-and-back
- Elevation gain: 695 feet
- Difficulty rating: Challenging
- Timing: 4-6 hours
- Permit: None required
- View the trail notes
The Narrows hike overview
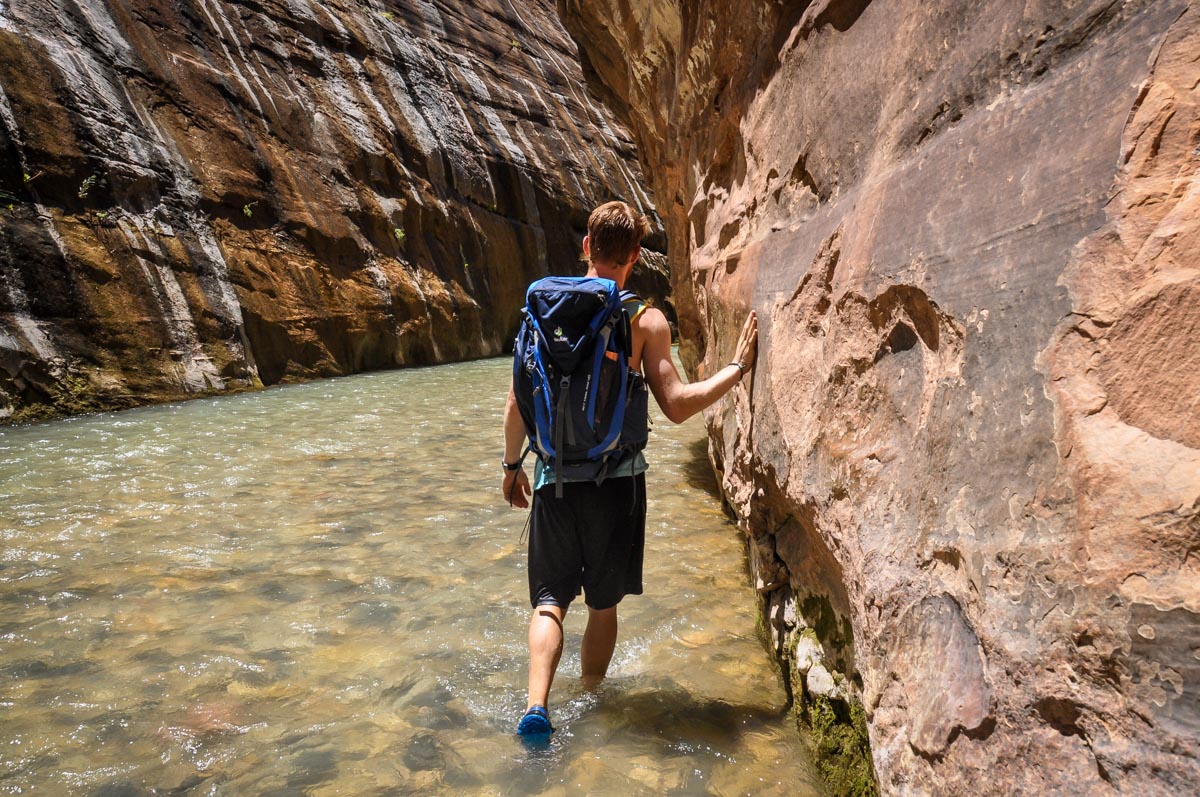
Slowly trudging through The Narrows is an unforgettable experience. Although the trail continuously follows the Virgin River (and often takes you into it!), there’s a mesmerizing variety of views and terrain along the way.
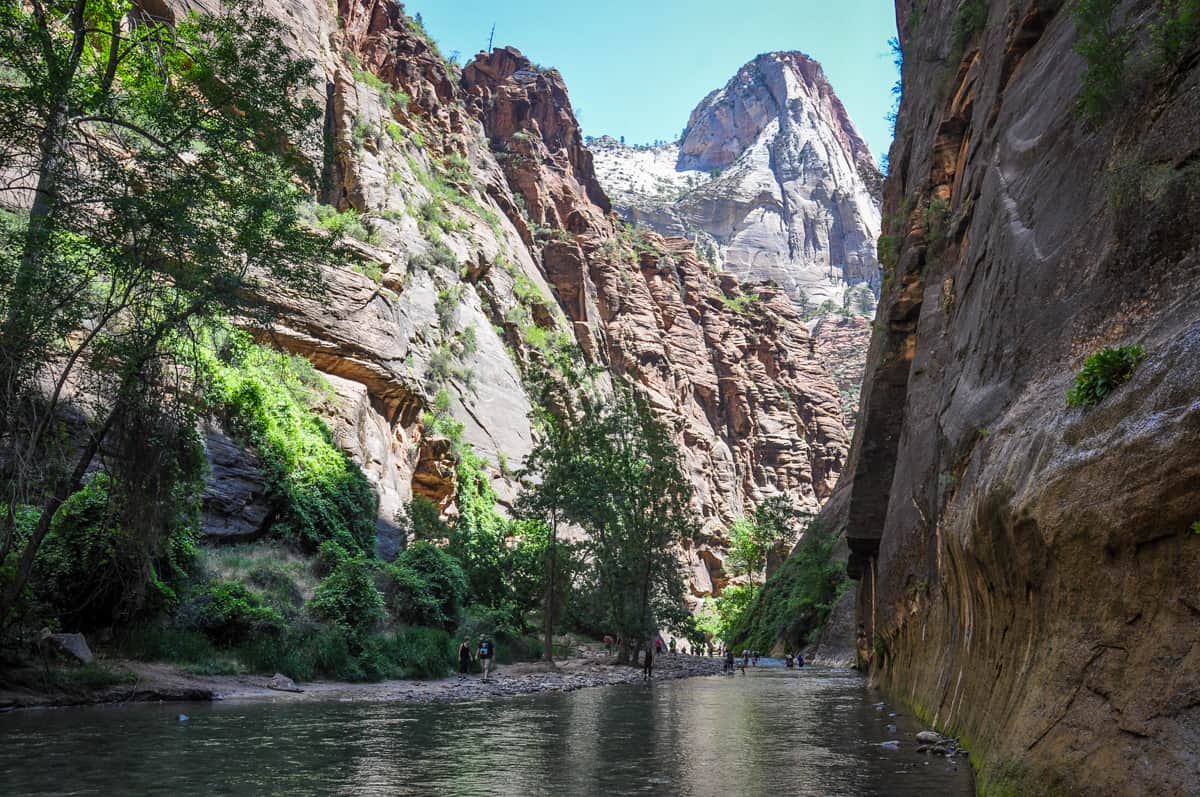
In some sections, the gorge has wide banks framed by large trees and camping areas. But in others, it “narrows” to just 22 feet wide, with the canyon walls towering 1,500 feet above.
There are two routes to explore the Narrows of Zion. The significantly more popular option, referred to as Bottom Up, starts at the Temple of Sinawava and heads upriver to Big Springs.
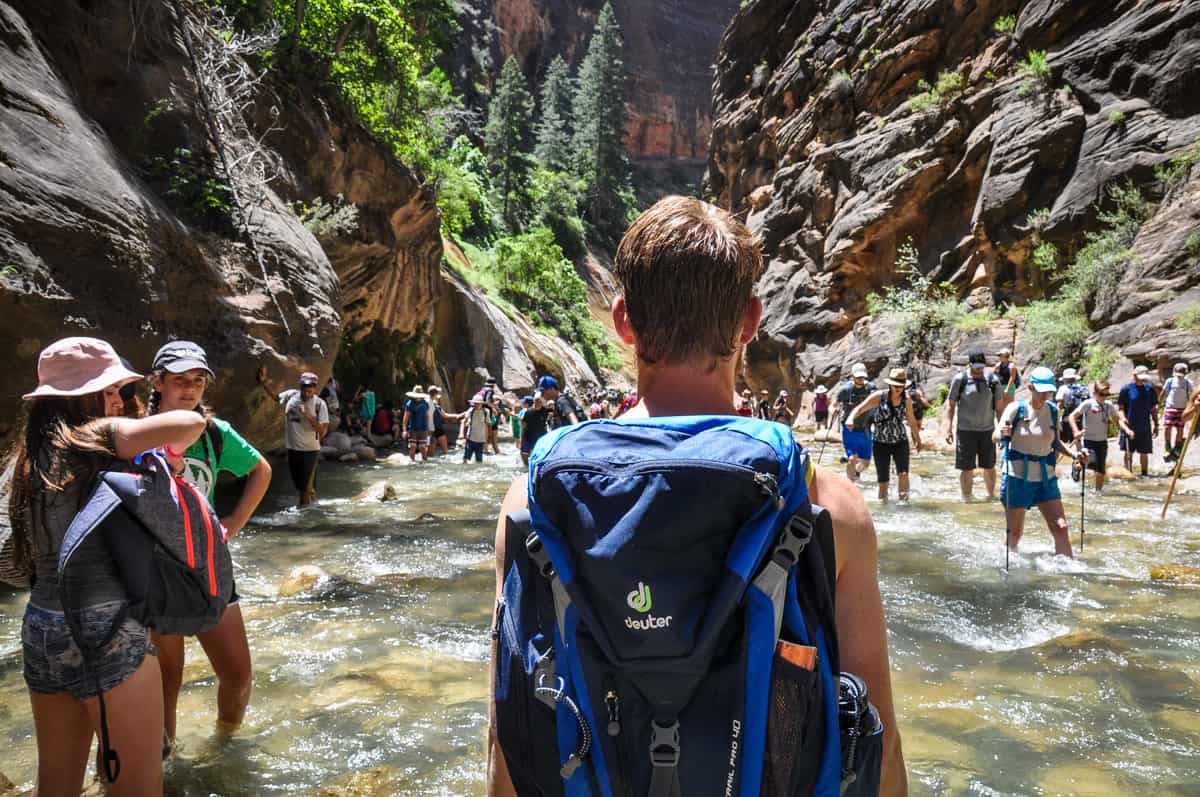
Although Bottom Up is shorter, this route is much more crowded — but nevertheless, it showcases some of the most dramatic sections of the Narrows.
If you’re up for a more intensive hike, opt for the Top Down approach. This hike is twice as long, descending from the boundary of the national park. It meanders through miles upon miles of slot canyons, all the way down to the terminus at Temple of Sinawava.
While Top Down is doable as a day trip, many people opt to camp along the way, an unforgettable experience in the Narrows of Zion.
No matter which route you choose, safety in the canyon is paramount. The National Park Service closes the Narrows when there’s even a slight chance of flash flooding, a preventive measure against potential fatal risks.
The trail is also impassable when water flow exceeds 150 cubic feet per second. As long as you keep these factors in mind and monitor park conditions, hiking the Zion Narrows is an incredibly rewarding experience.
Things to know before you go
Hiking Zion Narrows is truly bucket list-worthy, but there are several logistics to consider beforehand for both safety and personal enjoyment.
Best time of year for hiking The Narrows

For the most comfortable hiking weather, head into the Narrows of Zion in the fall.
High temperatures hover in the 70s all the way through early November and although the water temperature starts to drop, preventive gear like neoprene socks can keep you safe and comfortable. Plus, The Narrows permits are generally a bit easier to snag in autumn!
The trail is fully shut down during spring, usually from March to late May. Melting snowfall causes a quick, unpredictable current, rendering The Narrows unsafe.
On the contrary, summer brings large crowds and obtaining a permit for the top-down route becomes difficult. Comparatively warmer water makes parts of the hike more pleasant, but air temps can also be extremely hot, especially in July and August. Monsoon storms also present an increased risk of flash flooding.
Our experience
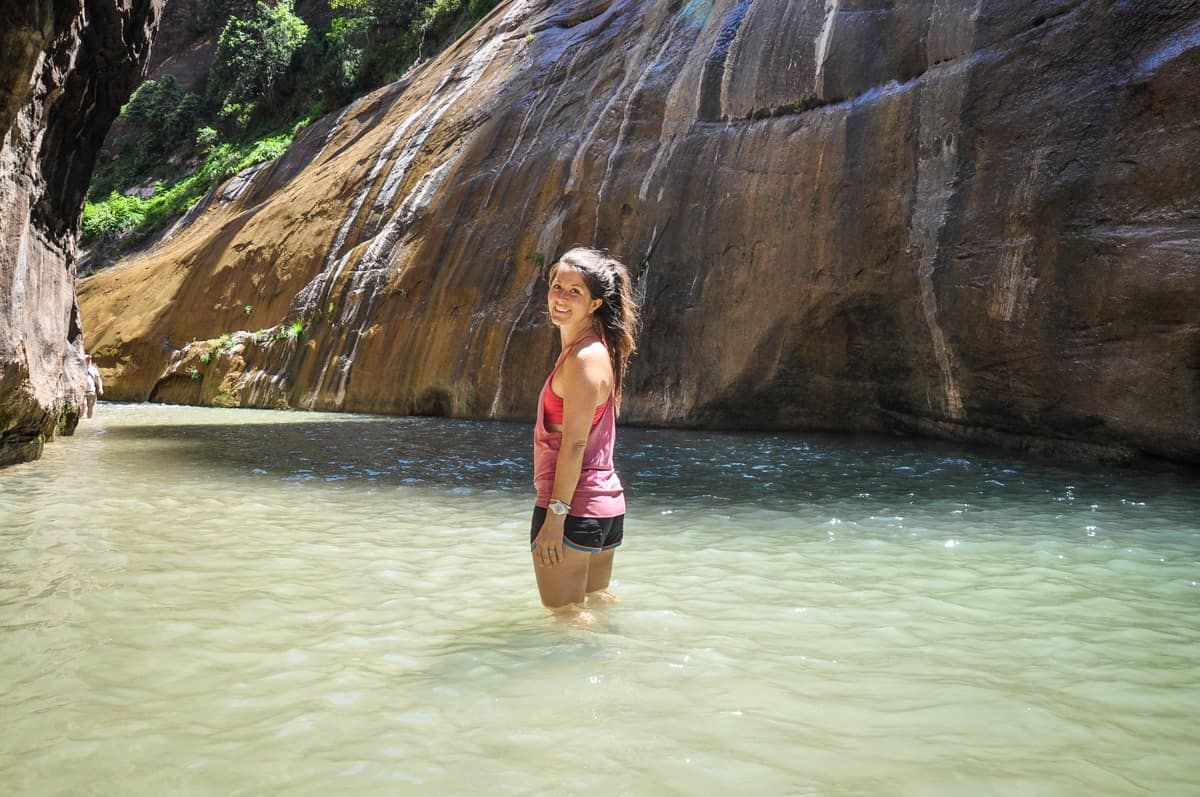
We hiked The Narrows Bottom Up trail in late-June. The water was pretty chilly, but the warmer air balanced it out and we were comfortable hiking in just tank tops and shorts.
We hiked (through the water) in our regular hiking boots and shoes, but if you’re hiking in cooler months, you may want to consider renting neoprene water shoes to keep your feet warmer.
How long does it take to hike The Narrows?
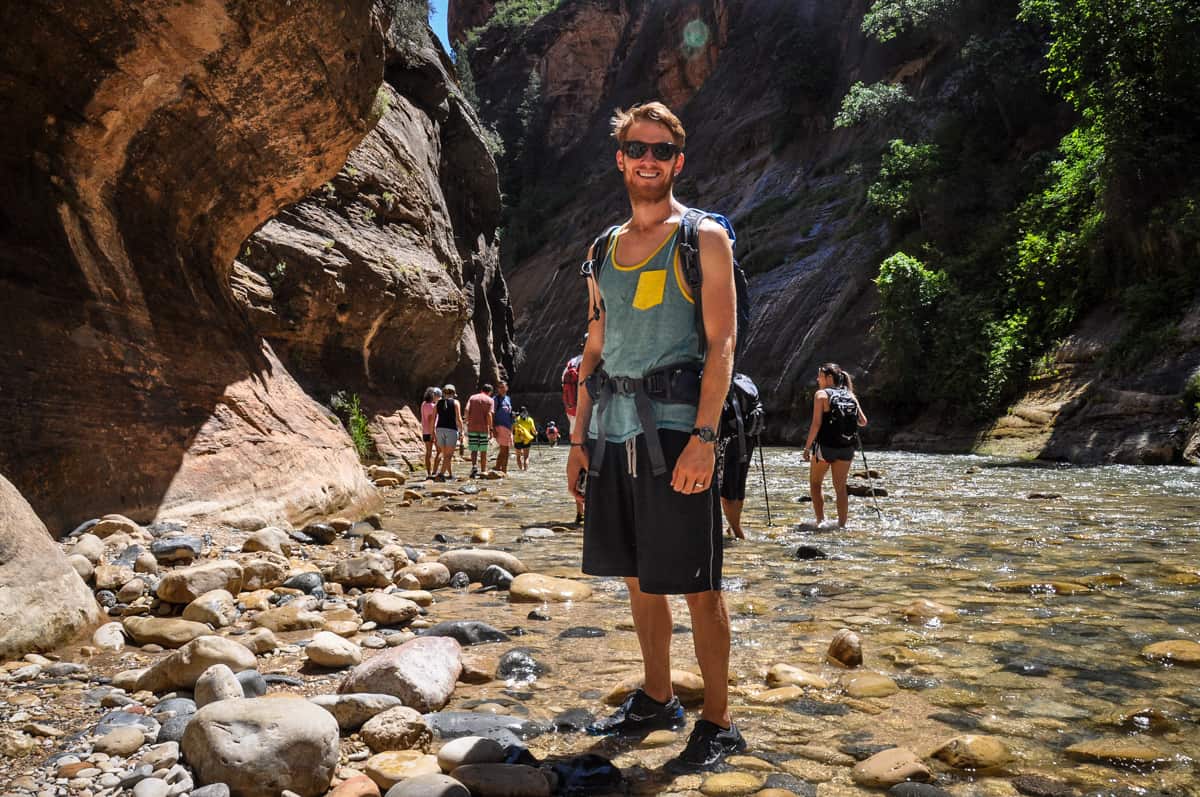
The time needed to hike The Narrows varies significantly more than other trails. Considering the different route options and varying water levels makes predicting timing tricky, not to mention factoring in personal ability.
There’s also the fact that you’re primarily hiking through water, so it’s not realistic to apply a typical hiking pace to The Narrows. Allocate more time than you think you’ll need, especially because no one wants to be stuck navigating the river after dark!
When hiking the more popular Bottom Up route, plan on roughly six hours for the trek to Big Springs and back. Don’t forget to factor in time for the shuttle, which takes about 1.5 hours roundtrip.
The upside of this route is that it’s easy to turn back if necessary. If you’re feeling rushed or the weather changes, turn around at Wall Street, which can shave an hour or two off your time. Plus, it’s often noted as the most scenic portion of the trail.
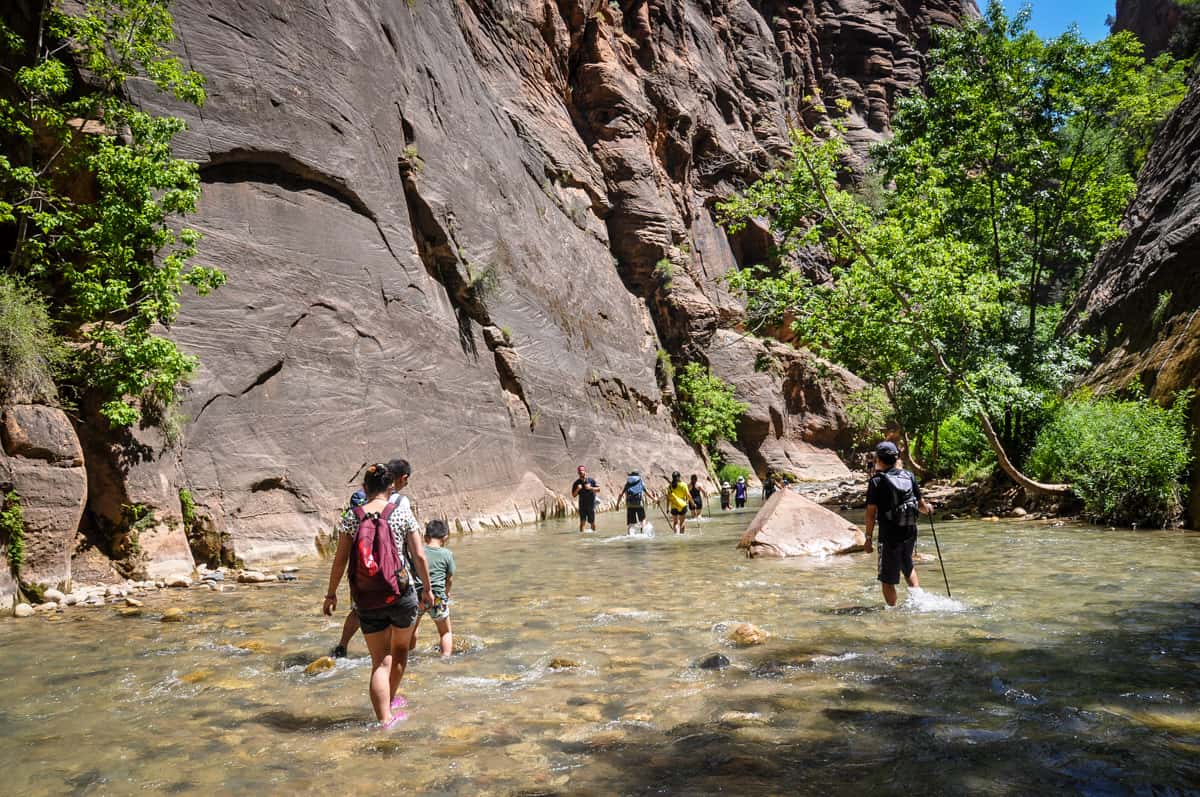
If you’re tackling the Top Down route as a day hike, factor in LOTS of time — it’s over a dozen miles of canyoneering! Usually, this hike takes around 10-12 hours, depending on fitness level and water conditions.
If you don’t have experience with long treks, or feel intimidated by the idea of slogging through water for hours on end, opt for the Bottom Up route, because there’s no turning back on this one.
Since it’s also necessary to align your finish time with the day’s last shuttle run, consider turning your Top Down hike into an overnight adventure. Not only will it take the pressure off your pace, but it will also allow you to spend an unforgettable night camping in the Narrows of Zion!
How difficult is The Narrows hike?
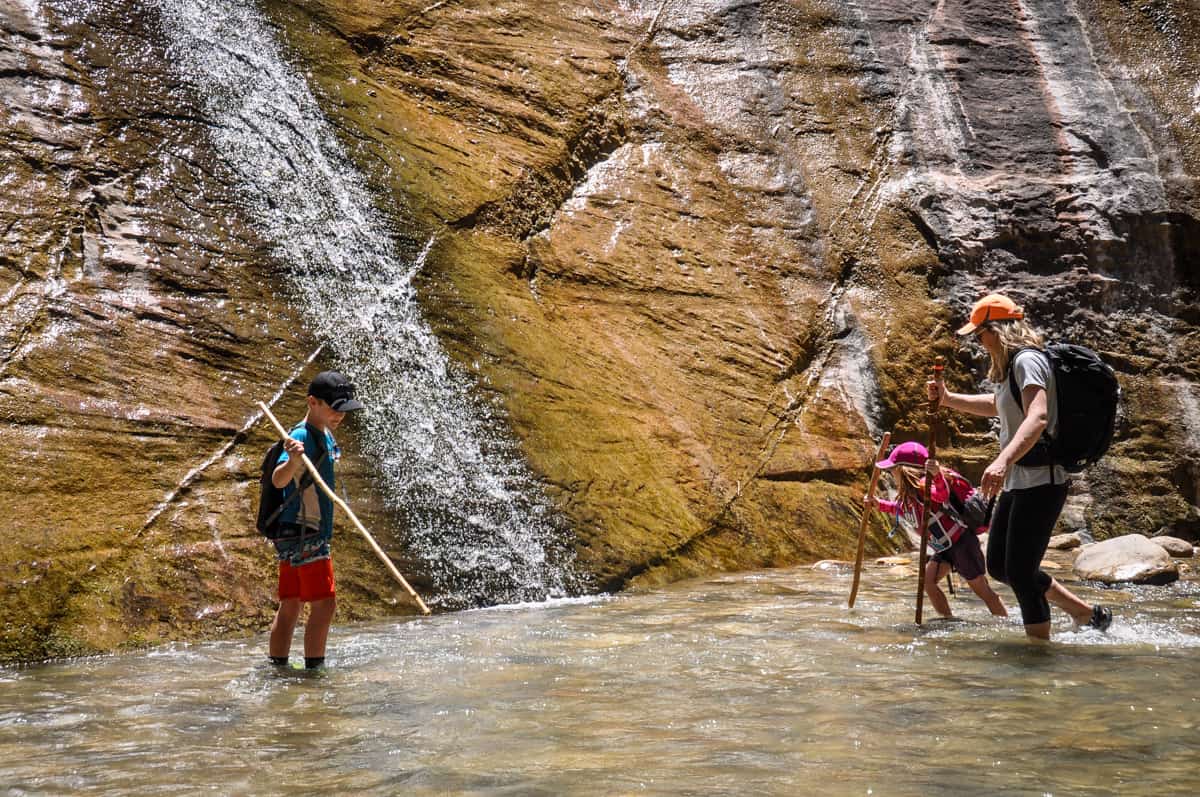
Hiking Zion Narrows may be a literal “walk in the park,” but it’s far from easy.
Despite the modest, gradual elevation gain, this trek requires you to have careful footing over slippery stones, through variable water depth (and even occasional waist-deep submersion), for several miles.
While these factors make hiking The Narrows memorable, they also make it challenging.
Needless to say, the Top Down hike is a much more grueling option. Packing in 2,000-plus feet of elevation gain over 16 miles, there are both near-vertical ascents and quite a bit of slippery downhill.
It’s important to check current river conditions and consult park rangers prior to hiking The Narrows — especially if you’re attempting the longer route. If the water flow isn’t below 75 cubic feet per second, the hike will be far more strenuous.
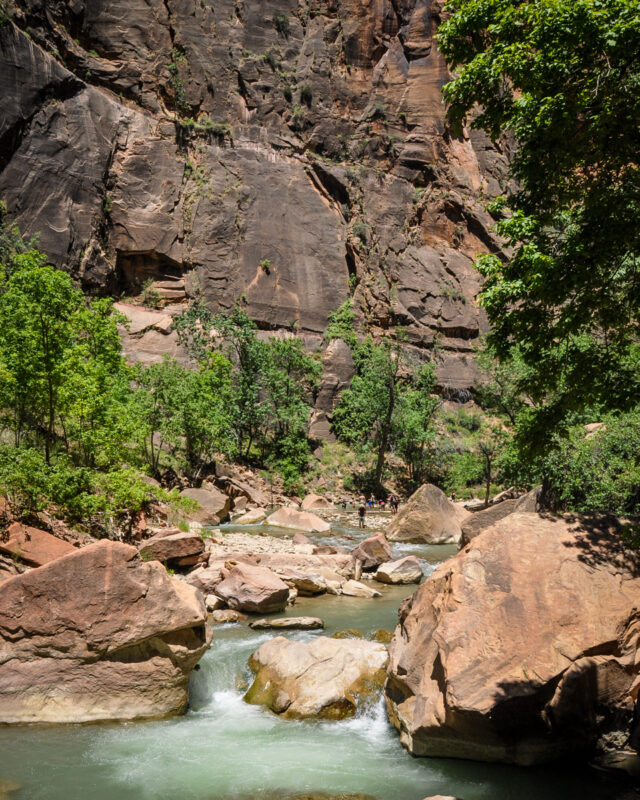
Obtaining a permit for Top Down hike
Wilderness permits are required for The Narrows hike Top Down route. However, snagging one can be tricky — there are only a dozen campsites in the canyon!
Online reservations open the 5th day of the month at 10:00 a.m. for the subsequent month. So for an October hike, log on September 5th. Permits typically sell out in minutes, so have those fast fingers ready!
Note there are two separate permits, one for day hikes and one for overnight treks. With both, the NPS only requires one permit per group. You’ll need to pick yours up at the Visitor Center prior to setting out.
If you don’t score a permit a month ahead, there are other options. Individual (not group) day hike permits are released through a lottery system one week in advance. You can also try your luck getting an overnight permit by going to the visitor center the day before hiking.

The route
The longer Top Down hike merges with the Bottom Up route at Big Springs, about 11 miles in. If you’re planning on tackling the lower Bottom Up trail, turn around here.
Exclusively Top Down Route
This route to the Narrows of Zion starts at Chamberlain’s Ranch, a private property outside park boundaries. The first three miles are along a dirt road with a gentle grade, and they’ll fly by!
Soon, there’s an entry to the Virgin River Canyon alongside a gentle stream. For the next five or so miles, the route travels through a wide, less imposing slot canyon. In this section, there are frequent wide river banks with trees and other scenic foliage.
Eventually, the canyon starts to slowly but noticeably expand in scale, with the surrounding walls getting taller and taller.
Your next landmark is the small but photogenic North Folk Falls. The falls act as a signal, indicating the jaw-dropping scenery to come. Just around the corner, the confluence with Deep Creek is one of The Narrows’ most impressive views.
Here, the two streams combine volume and the slot canyons above are unbelievably tall. This spot acts as a gateway to quintessential Narrows scenery, because the sights from here on are continuously more jaw-dropping.
Campgrounds are sprinkled along river bends for the next three miles. Look carefully for site numbers if you spend a night, as they’re easily missed. Just past the last campsite lies Big Springs and the Bottom Up route.
Below Big Springs / Bottom Up to Big Springs
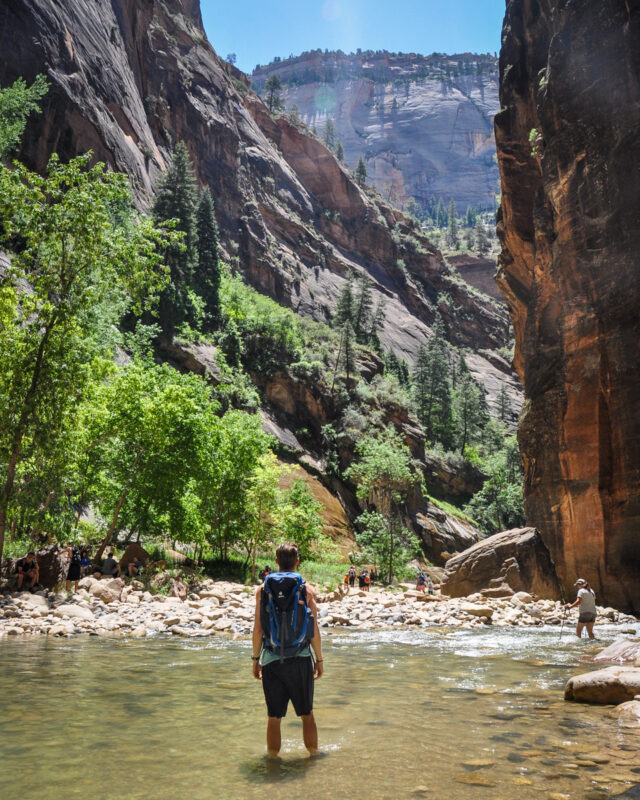
Big Springs lives up to its name. It’s a series of springs and cascades, with a blanket of lush greenery as its backdrop. If you hike Top Down, take a moment here to pause and enjoy the stillness, because the toughest section of The Narrows is up next.
As the descent from Big Springs starts, the boulders increase in size…and so do deep pockets in the creek. Some sections require scrambling, with a great deal of energy required to route a path between the imposing canyon walls.
Most of the hike’s elevation gain is here, with three up-and-down sections in rapid succession. Thankfully, the efforts pay off by leading to Wall Street, the most dramatic section in all of The Narrows.
Take pictures, and revel in the unbelievable carved rock of Wall Street. This section continues until the final 1.5 miles of The Narrows, where the confluence with Orderville Canyon widens the chasm once again.
There’s more vegetation, and the water is much more shallow. Soak in these final views until the last mile of the hike. The path departs from the river, and it’s an easy one mile along Riverside Walk to the Temple of Sinawava.
If you’re hiking The Narrows Bottom Up, you’ll start at the Temple of Sinawava (a park shuttle stop) and turn around at Big Springs.
Tips for hiking The Narrows of Zion
- Check water flow prior to your hike. Speak directly with park rangers or check online to ensure conditions are safe. Ideally, you want lower than 75 ft3/s.
- Rent gear in the park. Canyoneering shoes and neoprene socks can minimize discomfort, especially in the cooler months.
- However, we wore our regular hiking shoes for this hike and had no problem with the temps in June.
- DON’T rent trekking poles. They’re helpful, but if you don’t have your own, there’s always a pile of walking sticks near the start of the Bottom Up route.
- Pack a change of clothes. Whichever way you hike The Narrows, they’ll be a welcome relief afterwards. Bringing a quick dry towel is also a good idea.
- Bring a light jacket. Temperatures can be significantly lower inside The Narrows.
- We hiked The Narrows in summertime and the water was pretty chilly, but the warm air balanced it out and we were fine in tank tops. However, in any other season, I’d imagine it would get a bit chilly.
- Practice Leave No Trace. Pack out what you bring in, don’t camp anywhere other than designated sites, and do everything possible to minimize your impact.
What to pack for hiking The Narrows
- Navigation: we recommend using Alltrails+ to download the offline trail map
- Get your first week of using Alltrails+ for FREE when you sign up using our link!
- Hiking daypack
- Water bottles and/or bladder for your Camelbak
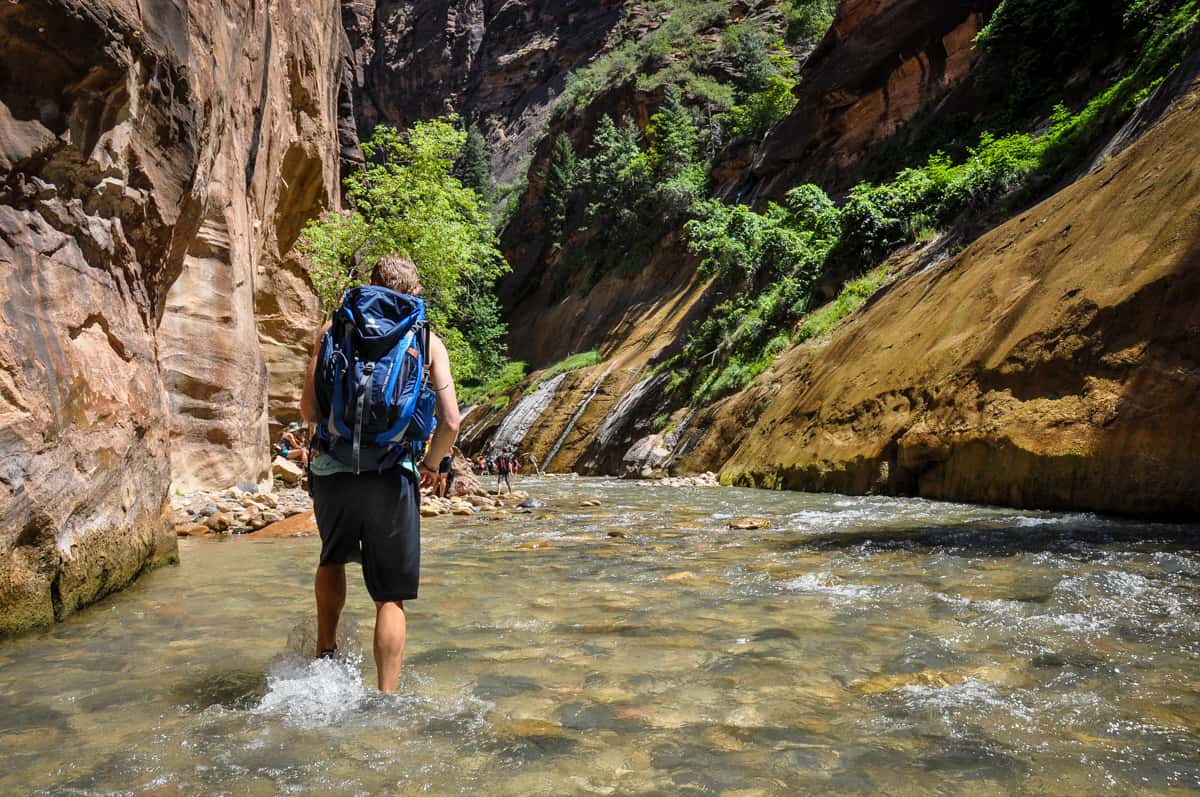
- Dry bag (we always carry one with us for our valuables in case of rain, but it’s especially helpful as most of this trail is through water)
- Sun protection: sunscreen, hat, sun glasses
- Bug repellant
- Camera/tripod (this one’s our favorite for hiking)
- Light layers (here is a great resource if you’re wondering what to wear hiking)
- Comfortable waterproof hiking shoes (we wore our regular hiking shoes and they were fine during the warmer summer months)
- Keen also makes great closed-toed water shoes for just this purpose!
- Plenty of snacks: check out our favorite hiking snacks here!
Be sure to grab our ultimate hiking packing list includes our must-have gear for any hiking trail!

You may also like…
- Best Hikes in Zion National Park
- Cool Utah Slot Canyons You Can Hike Through
- USA National Park Checklist & Guide
- Ultimate Zion to Bryce Canyon National Park Road Trip Itinerary
Save this article on Pinterest for later!
We want to hear from you!
Have you done The Narrows hike in Zion? What was your experience like? Are you planning a trip to Zion National Park and want more advice? Comment below and let us know!

