The Mesa Arch trail leads to one of the most famous and stunning views in Canyonlands National Park. Amazingly, the hike is short and sweet, not to mention easy to reach. This guide covers everything to expect on the Mesa Arch hike.
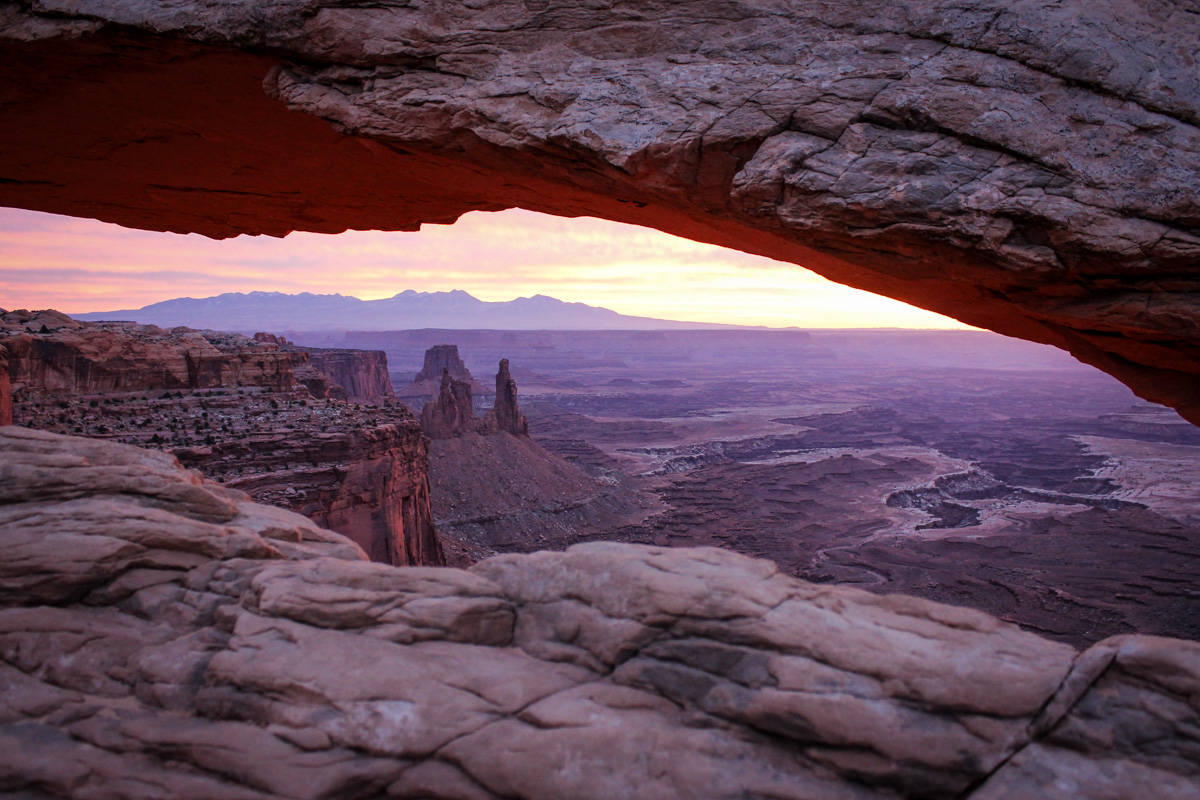
The vast, rugged beauty of Canyonlands National Park is almost incomprehensible, but there’s one viewpoint in particular that perfectly showcases it: the Mesa Arch trail.
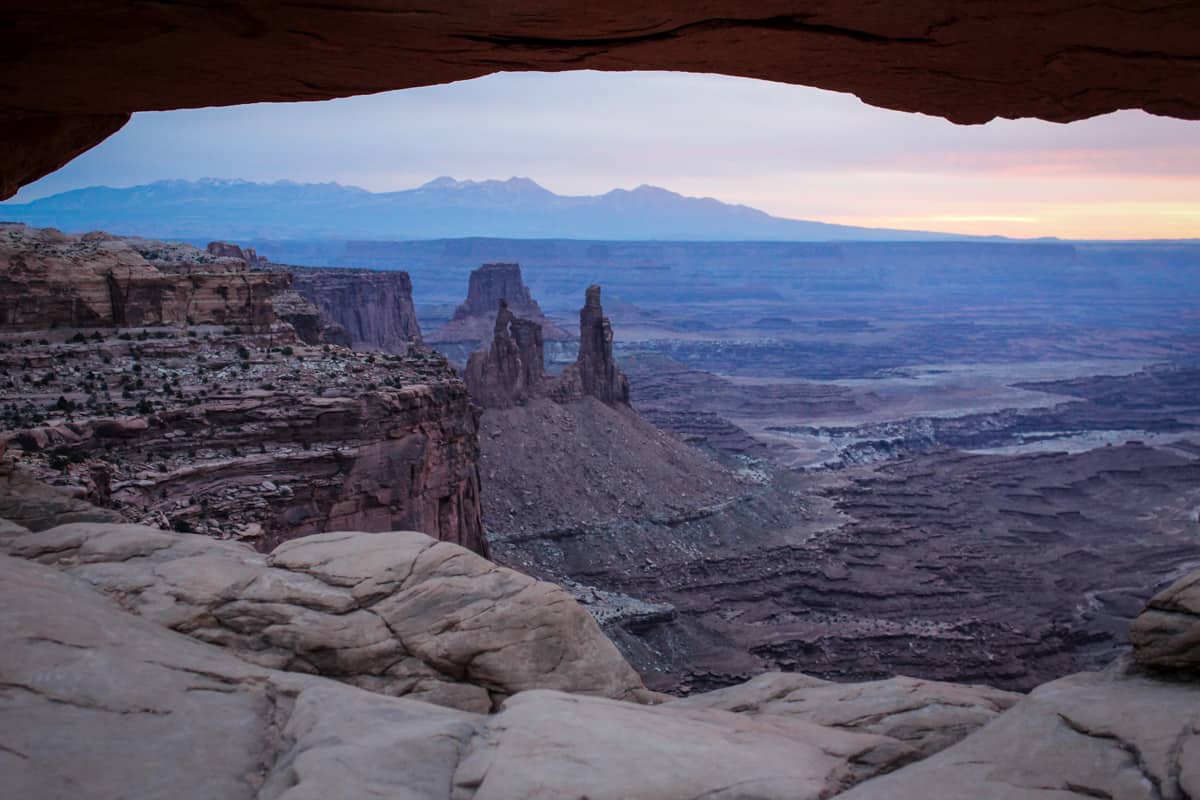
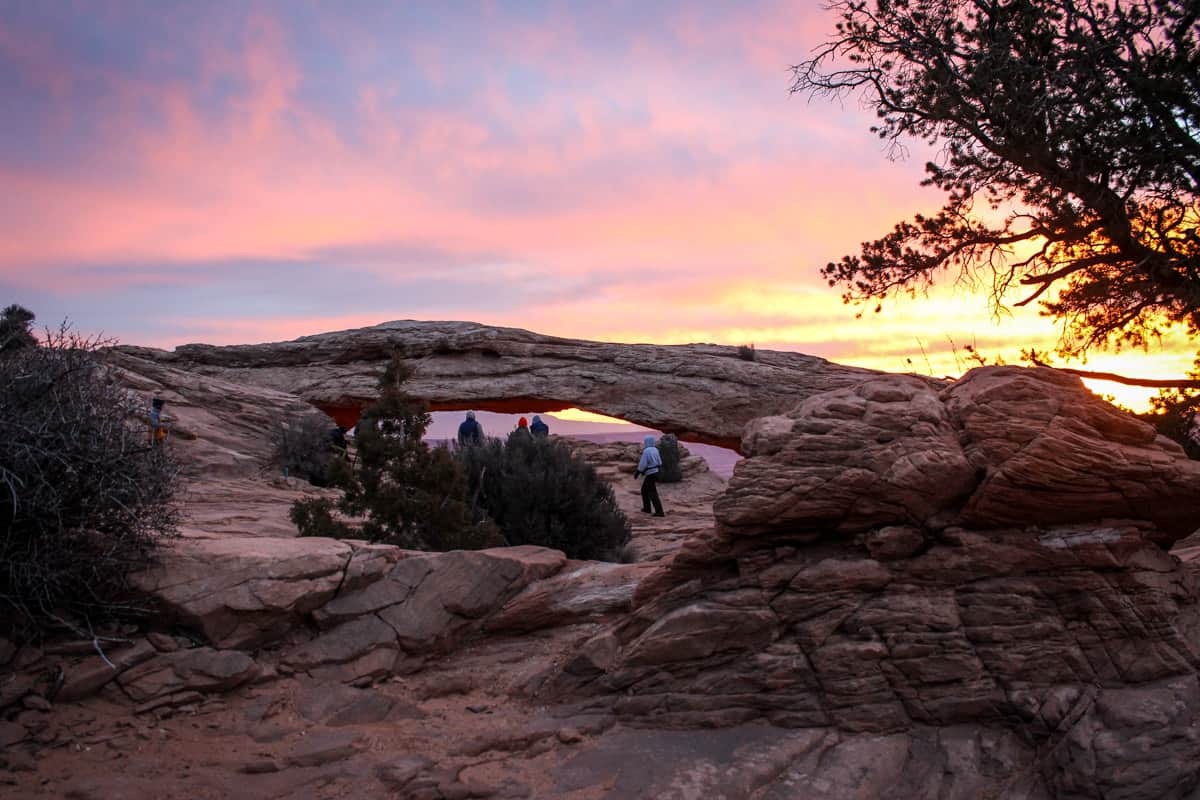
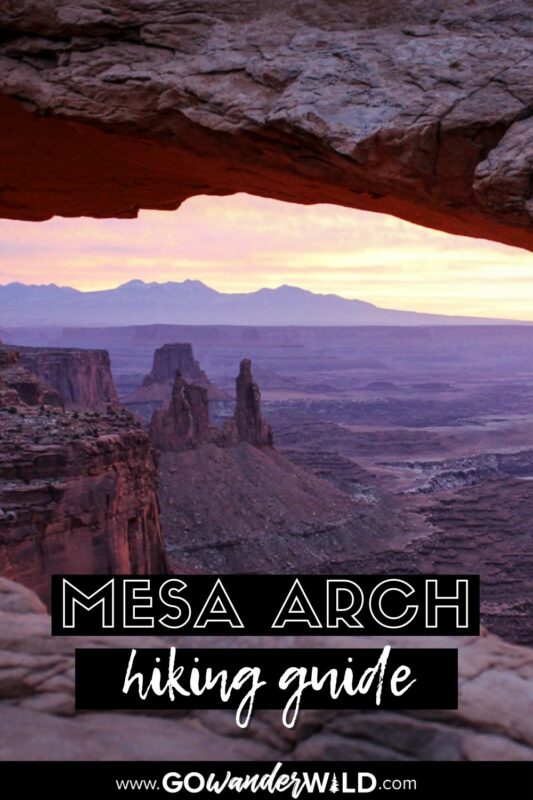
Peering through Mesa Arch is like looking at a natural picture frame. It very literally frames the canyon’s vast expanse below, along with the La Sal Mountains on the horizon.
The view is nothing short of spectacular, especially if you time your visit for sunrise or sunset.
Best of all, the effort vs. reward of hiking Mesa Arch Trail is huge. You’ll be face-to-face with the 27-foot-long arch and stunning views in under 15 minutes from the parking lot.
Article Contents
- Mesa Arch Trail stats
- Hike overview
- Route
- Know before you go
- Tips for hiking Mesa Arch Trail
- Where to camp
- What to pack
Psst! Check out our entire Canyonlands National Park guide on our sister site for more information on visiting the national park and what you can expect.

Mesa Arch Trail stats
- Location: Canyonlands National Park, Utah
- Distance: 0.7-mile loop
- Elevation gain: 88 feet
- Difficulty rating: Easy
- Timing: 30 minutes to 1 hour
- Pets: Not allowed
- Permits: No permits required, but you will need to pay the $30 park entry fee or have an America the Beautiful pass
- View the trail notes
Mesa Arch Trail overview
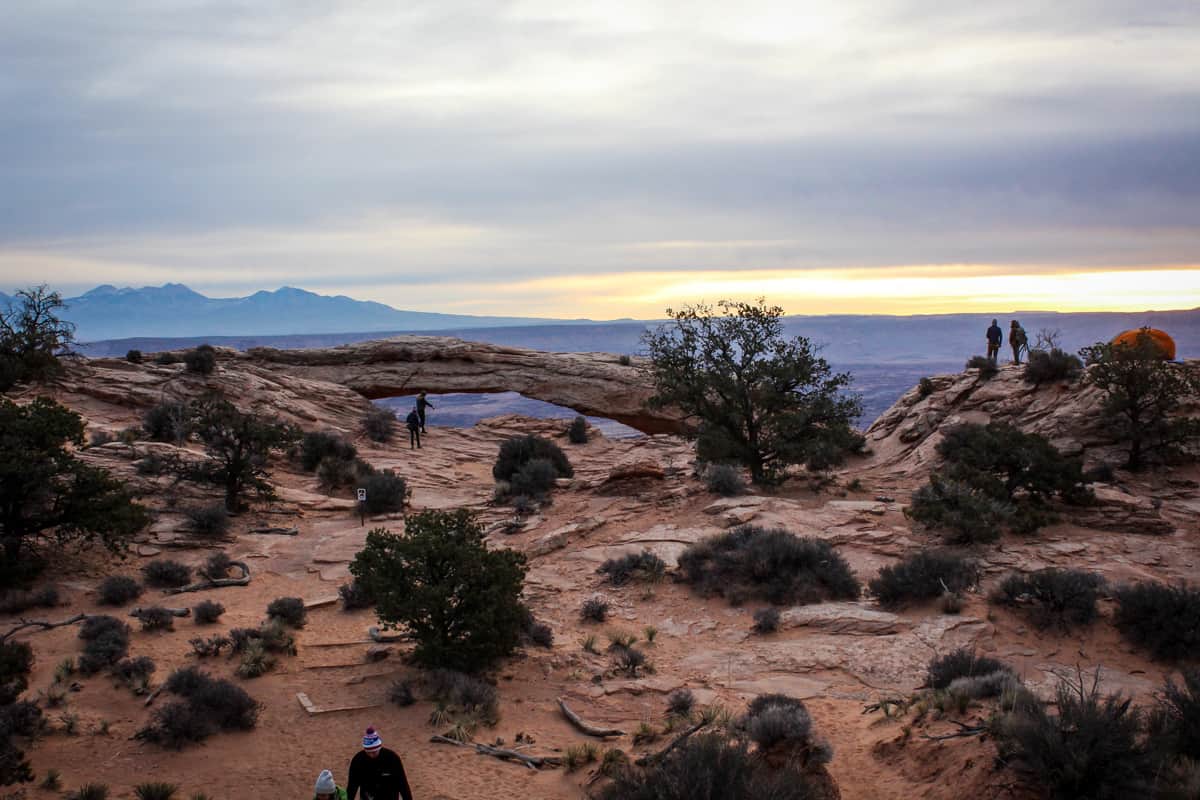
About 45 minutes from Moab, the Mesa Arch Trail is located in Canyonlands’ Island in the Sky District. This trail is famous for the iconic view of the Mesa Arch, which perfect frames natural monuments in the distance and glows bright orange when the sun hit its just right at sunrise.
The parking lot is about 10 minutes beyond the park entrance and visitor center. Once you park, you’ll be on the trail almost immediately. There are restrooms in the parking lot if you need to make a pit stop, but keep in mind that this is truly a short hike.
Beware that Mesa Arch sits right on a cliff edge and its backside is a sheer, 1,000-plus-foot dropoff. Be extremely careful walking around the arch, and don’t take your eyes off children.
Route
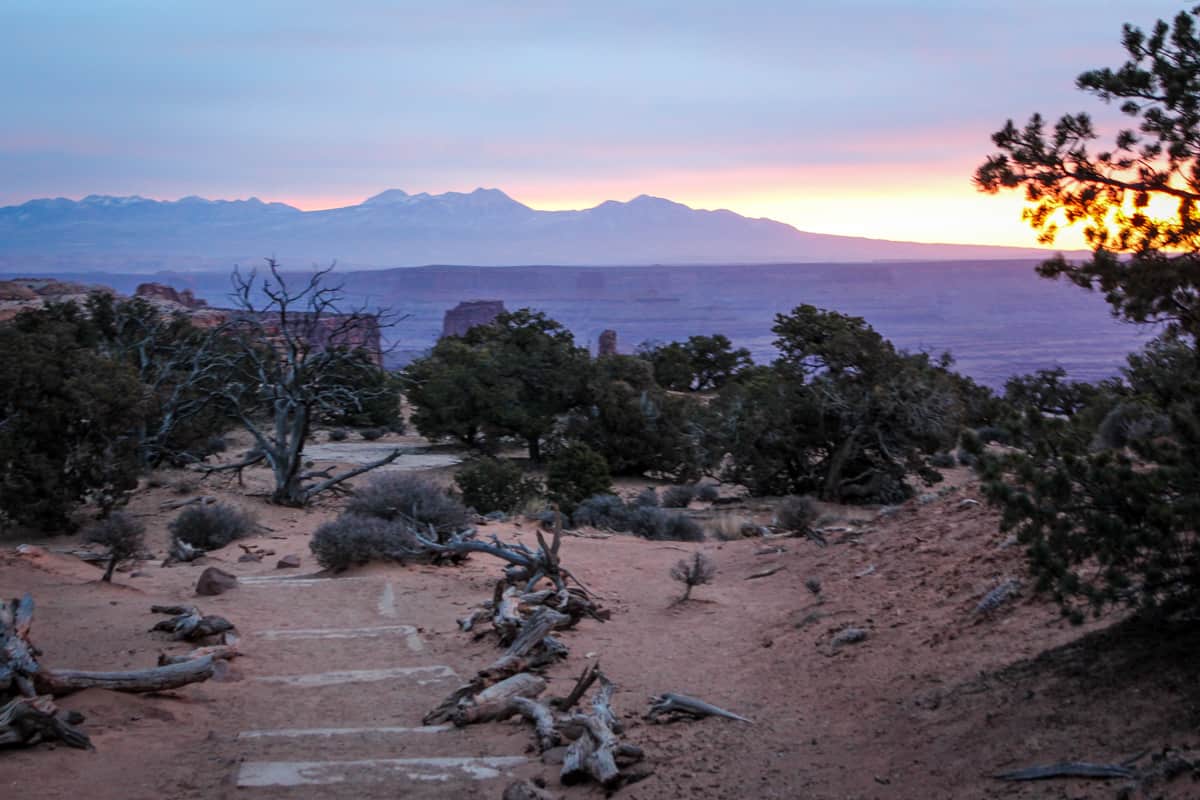
The trail to Mesa Arch is a loop, so you can hike it in either direction. We recommend hiking to the arch on the right path (counter-clockwise).
Although you’ll ascend a handful of steps going this direction, the views are much more open and expansive on this stretch. Hiking this way lets you enjoy those views for most of the hike up.
Regardless of which direction you hike, the trail is mostly flat but gets just a bit steeper as you approach the arch.
Pro tip: if you want an even easier trail with fewer steps, you can hike to and from the arch using only the left path.
After soaking in the views and snapping your pictures, head back to your vehicle by hiking the other half of the loop.
Things to know before you go
Even though Mesa Arch Trail is short and sweet, there are some things to keep in mind as you plan your hike.
Best time of year to hike the Mesa Arch Trail
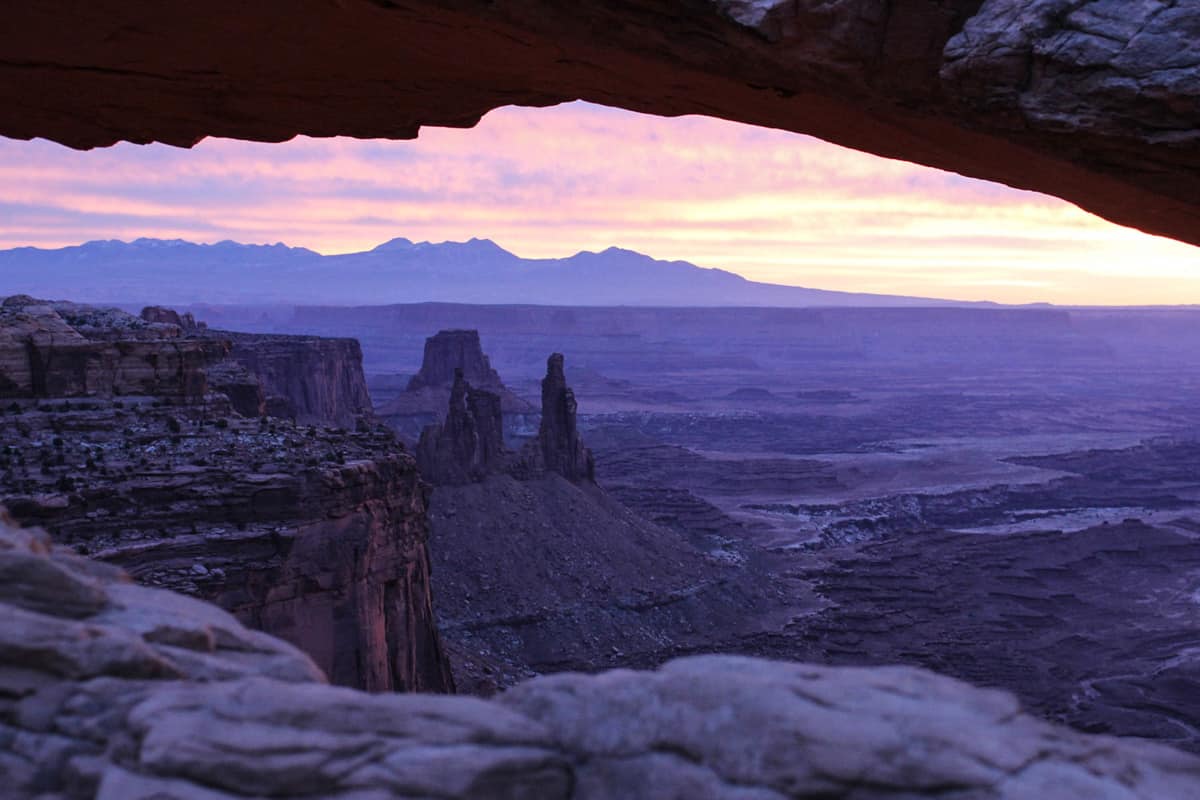
The Mesa Arch Trail is accessible year-round, and every season has its unique advantages. If we had to choose, we’d say the shoulder seasons between late fall and early winter (November-early December) or between winter and spring (February-early March).
This trail is extremely busy all year, but these “low” seasons give you the best chances of avoiding some of the crowds.
The weather is also mild and pleasant during these times, and you’ll likely see snow blanketing the La Sals (and maybe even dusting the canyon!). Glistening snow makes the view from Mesa Arch even more magical!
Keep in mind that Canyonlands is in the high desert. Regardless of when you visit, pack light layers in anticipation of dramatic temperature swings between day and night.
How long does it take to hike the Mesa Arch Trail?
Even if you hike at a snail’s pace, the Mesa Arch trail likely won’t take you any longer than half an hour or so. With that said, you may want to factor in a bit more time for taking photos and hanging out at the arch—about one hour total should be more than enough.
And if you’re in a serious hurry and just want to check Mesa Arch off your list, you can do the round-trip hike in as little as 15-20 minutes.
How difficult is the Mesa Arch Trail hike?
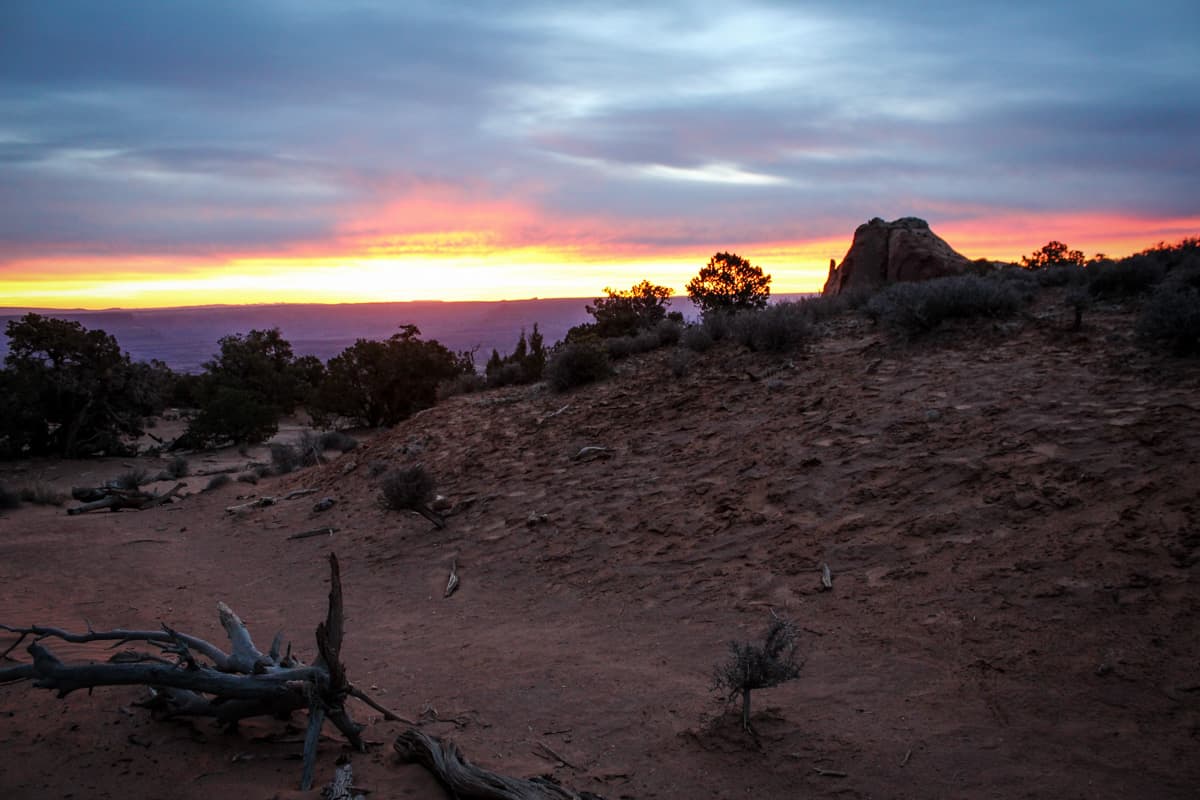
The hike to Mesa Arch is truly easy, even for brand new hikers or young children. It’s very short, gains minimal elevation, and doesn’t have any technical aspects.
In the winter, ice or snow can occasionally be present along the trail. Even then, the hike is easily manageable if you wear microspikes.
Keep in mind that Mesa Arch Trail still isn’t accessible for wheelchairs or strollers, and people with limited mobility may find it challenging. While much of the trail is relatively flat, it’s also dirt/slickrock, and there are uneven sections and some steps.
National Park Annual Pass

If you’re planning to visit more than one of Utah’s “Mighty 5” national parks, we’d highly encourage you to look into getting an annual park pass. At $30 per vehicle for the entrance fee, visiting Canyonlands National Park along with most other national parks in the U.S. can get expensive.
For just $80 per year, you can purchase the America the Beautiful Park Pass. This pass grants you free access to all of the national parks. Plus it also covers your entrance to over 2,000 natural, historical, and recreational sites across the United States.
→ If you still need convincing, check out our article: America the Beautiful Annual Park Pass: Is it Worthwhile?
Tips for hiking the Mesa Arch Trail
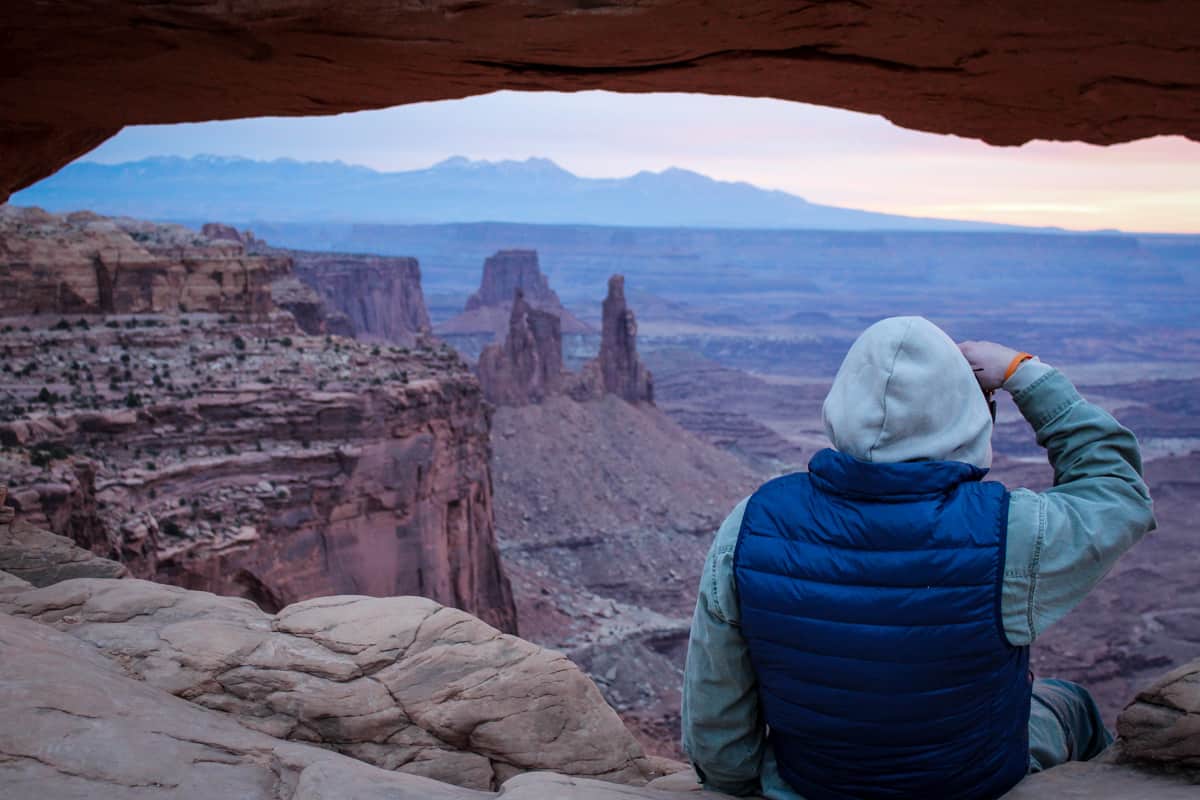
- Timing matters. Mesa Arch is most magical during sunrise and sunset. The light at ‘golden hour’ makes the arch and canyon below it appear to glow. If you visit mid-day, you (and your camera!) won’t get the same effect of the canyon’s incredible depth.
- Sunset is a great alternative to sunrise. Sunrise at Mesa Arch is by FAR the busiest, but sunset is spectacular, too. While you can capture a sunburst and ‘glowing arch’ at sunrise, sunset illuminates the entire La Sal range.
- Manage your expectations. Mesa Arch is the busiest area of Canyonlands, especially during the coveted golden hours. It’s unlikely that you’ll have the view to yourself, so be patient and considerate of others trying to get the same photos.
- Do not climb ON Mesa Arch. Despite multiple signs clearly stating not to do this, it’s surprising how many people do. The natural stone arch is a delicate, ancient formation, and it’s crucial to not disturb it—an important principle of Leave No Trace.
- Plan to do some laps before parking. The parking lot for Mesa Arch Trail is small, accommodating 20-25 cars and a few RVs. It fills up, especially for sunrise and sunset, but since the hike is so short, turnover is high with people leaving pretty frequently.
- There are restrooms at the trailhead. Fair warning, because this area is so busy, we’ve seen them in pretty nasty condition, especially late in the day when it’s hot out. Highly recommend bringing in your own TP and some hand sanitizer!
- Don’t let Mesa Arch be your only Canyonlands destination. It’s such a quick stop, it’s almost criminal to not do more exploring nearby. Green River Overlook is close, and Dead Horse Point Overlook in Dead Horse Point State Park is worth the quick detour.
Where to camp in Canyonlands National Park
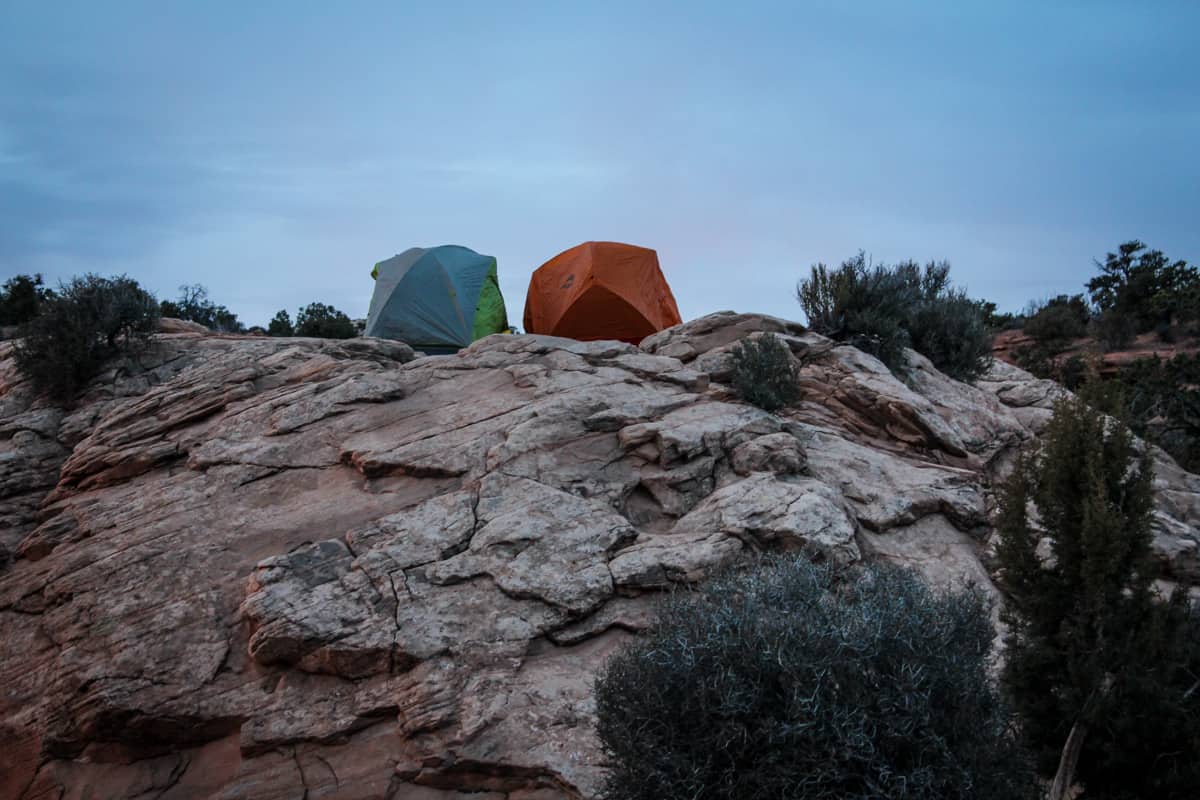
Great news: one of only two Canyonlands campgrounds is right near the Mesa Arch Trail. Willow Flat Campground, also called Island in the Sky Campground, is just a 4-minute drive from the trailhead (or a 35-minute walk).
That’s right, you can camp essentially right at the trail and be one of the first to arrive for sunrise at Mesa Arch!
The 12-site campground is open year-round and is always first-come, first-served, with a $15 fee per night. There’s no running water, but there are pit toilets, fire rings, and picnic tables.
As you might imagine, demand for these sites is extremely high most of the year, so have a backup plan in mind. Luckily, there are tons of dispersed camping opportunities in the vast area surrounding Canyonlands, most of them free!
We use The Dyrt app, to locate campsites while on the road. With the largest database of campgrounds (44,000+ campsites and counting!) and over 1 million user-submitted reviews, it’s a no-brainer.
Try their Pro Membership for FREE for 30 days and gain access to the offline version of the app, utilize their trip planning feature AND get exclusive discounts on campsites and gear!
What to pack for hiking in Canyonlands National Park
- Navigation*: we recommend using Alltrails+ to download the offline trail map
- Get your first week of using Alltrails+ for FREE when you sign up using our link!
- Hiking daypack
- Water bottles and/or bladder for your Camelbak
- Bug repellant
- Sun protection: sunscreen, hat, sun glasses
- Headlamp (especially if hiking for sunrise or sunset)
- Camera/tripod (this one’s our favorite for hiking)
- You’ll be happy to have a tripod with you if you want to film the sunrise at the arch!
- Lots of layers (here is a great resource if you’re wondering what to wear hiking)
- Comfortable hiking boots or shoes
- Plenty of snacks: check out our favorite hiking snacks here!
For camping overnight
- Lightweight tent: find out the best 2-person tents for camping and backpacking
- Sleeping bag
- Sleeping pad
- Toilet kit: toilet paper, small shovel, bag for packing out TP, hand sanitizer
- Bag for your trash
- Camp stove/fuel (we love our Jetboil!)
- Camping food
- Mess kit
- Biodegradable soap and towel
Be sure to download our FREE hiking packing list before your next trip and never leave another essential behind again!

You may also like…
- Best Hikes in Canyonlands National Park
- Best Hikes in Arches National Park
- USA National Park Checklist & Guide
- Cool Hikes in Utah
Save this article on Pinterest for later!
We want to hear from you!
Have you done the Mesa Arch trail in Canyonlands? What was your experience like? Are you planning a trip to Canyonlands National Park and want more advice? Comment below and let us know!

